Hello again...
I'm very happy to be back again with more tips and tricks for using stencils and chipboards.
Today I'm going to kick this post off with an up-cycled Christmas Card ...
just add paint, a stencil and a gorgeous chipboard set and you you'll have a unique and stunning card!
Here are the steps I took to get this look ...
1. First I loaded my old Christmas card with paint - a dark blue, a light blue and some white.
2. Next I spread this paint out with a brush, working the colours into each other a bit.
3. To finish off the painting I did diagonal brush strokes to even out the tonal ranges .... but my photo for this step was too blurry to use - so just imagine that !! 😂
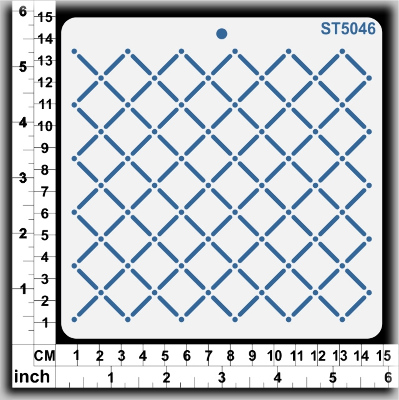
4. Next I took some heavy white gesso and the lattice stencil and added this to the base of the front panel.
Tip: If you lift the stencil and find you missed any bits
- just touch them up with a white pen after the paint has dried.
5. Next I prepped this fabulous card Chipboard set ...
6. Waste Not , Want Not! After taking out the floral elements I used a black sharpie on the outside chipboard support frame - it was the perfect frame for my card front.
7. I painted my chipboards white - BUT if you buy them in the white mist colour you can skip this step.
8. I Put down my base colours using water based markers.
9. Next I used white Gesso to blend the colours on the chipboard to give it a more painterly look.
( YEP - you can add white paint straight over the top of water coloured shapes and they bled beautifully!!)
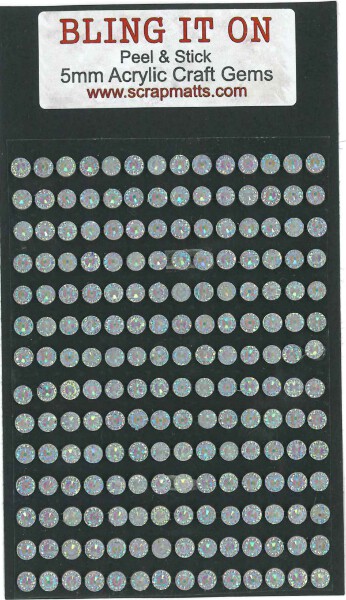
10. Finally I assembled all the elements on the card, added a title, rhinestones and butterflies.
Tip: I also used tiny 3D dots to create a multi layered look to the bouquet.
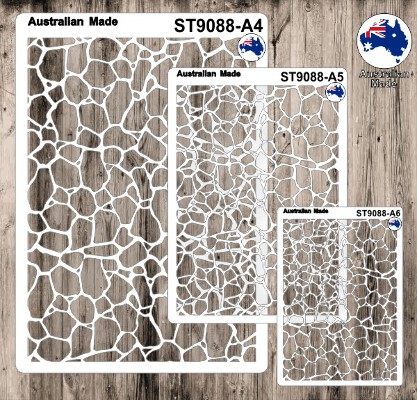
While I'm powering on with the stencils I wanted to also share this layout I did using the A4 Cobblestone template that I just managed to get my hands on recently ... I LOVE this outdoors look and teamed it up with some hanging vines and flowers ... and a few of the new Scrapmatts bling bits!
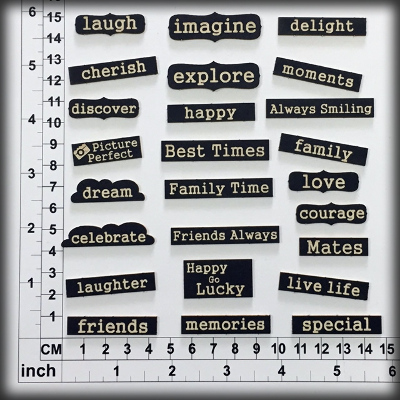
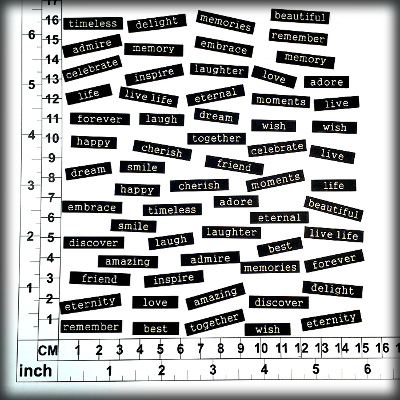
Apparently I'm addicted to the string circles chipboard and have to use them on every second layout I create!! lol 😂 My theory is that when you are onto a good thing you should definitely stick to it - which is why I also love popping any number of these fabulous chippy words on my layouts too 💚
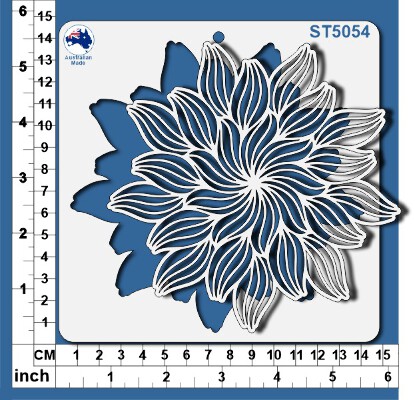
And I just have one more layout to share today ... one that was entirely inspired by that absolutely awesome new flower stencil you can see there in the background!
Scrapmatts have a whole new range of these STUNNING stencils that just make gorgeous additions to any layout... I've used some metallic structure paint with this stencil to create the patterns on this page....
an effect I adore!
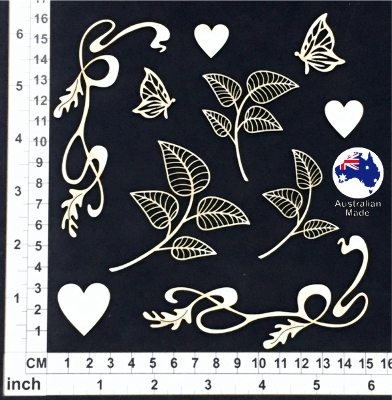
And of course no page is complete without some lovely chipboard elements, and these leaves and flourishes were the perfect additions to this layout.
A bit of blue paint and Crystalina kindy glitz finished them off nicely.
Thanks heaps for popping by the blog for a look,
I hope you have found some inspiration and ideas for your next creative adventure.
Cheers from Kel












Wow Kelly-ann such gorgeous work! xx
ReplyDeleteThanks Tania 🙏 xo
DeleteGoodness me! You have been busy and having fun. love the card, so eye catching and beautiful layouts too!
ReplyDeleteThanks Lizzy xo 🙏
DeleteFantastic creating, Kelly-Ann
ReplyDeleteThanks Kim 🙏 xo
Delete