Showing posts with label Card. Show all posts

Monday, June 17, 2019

Smile

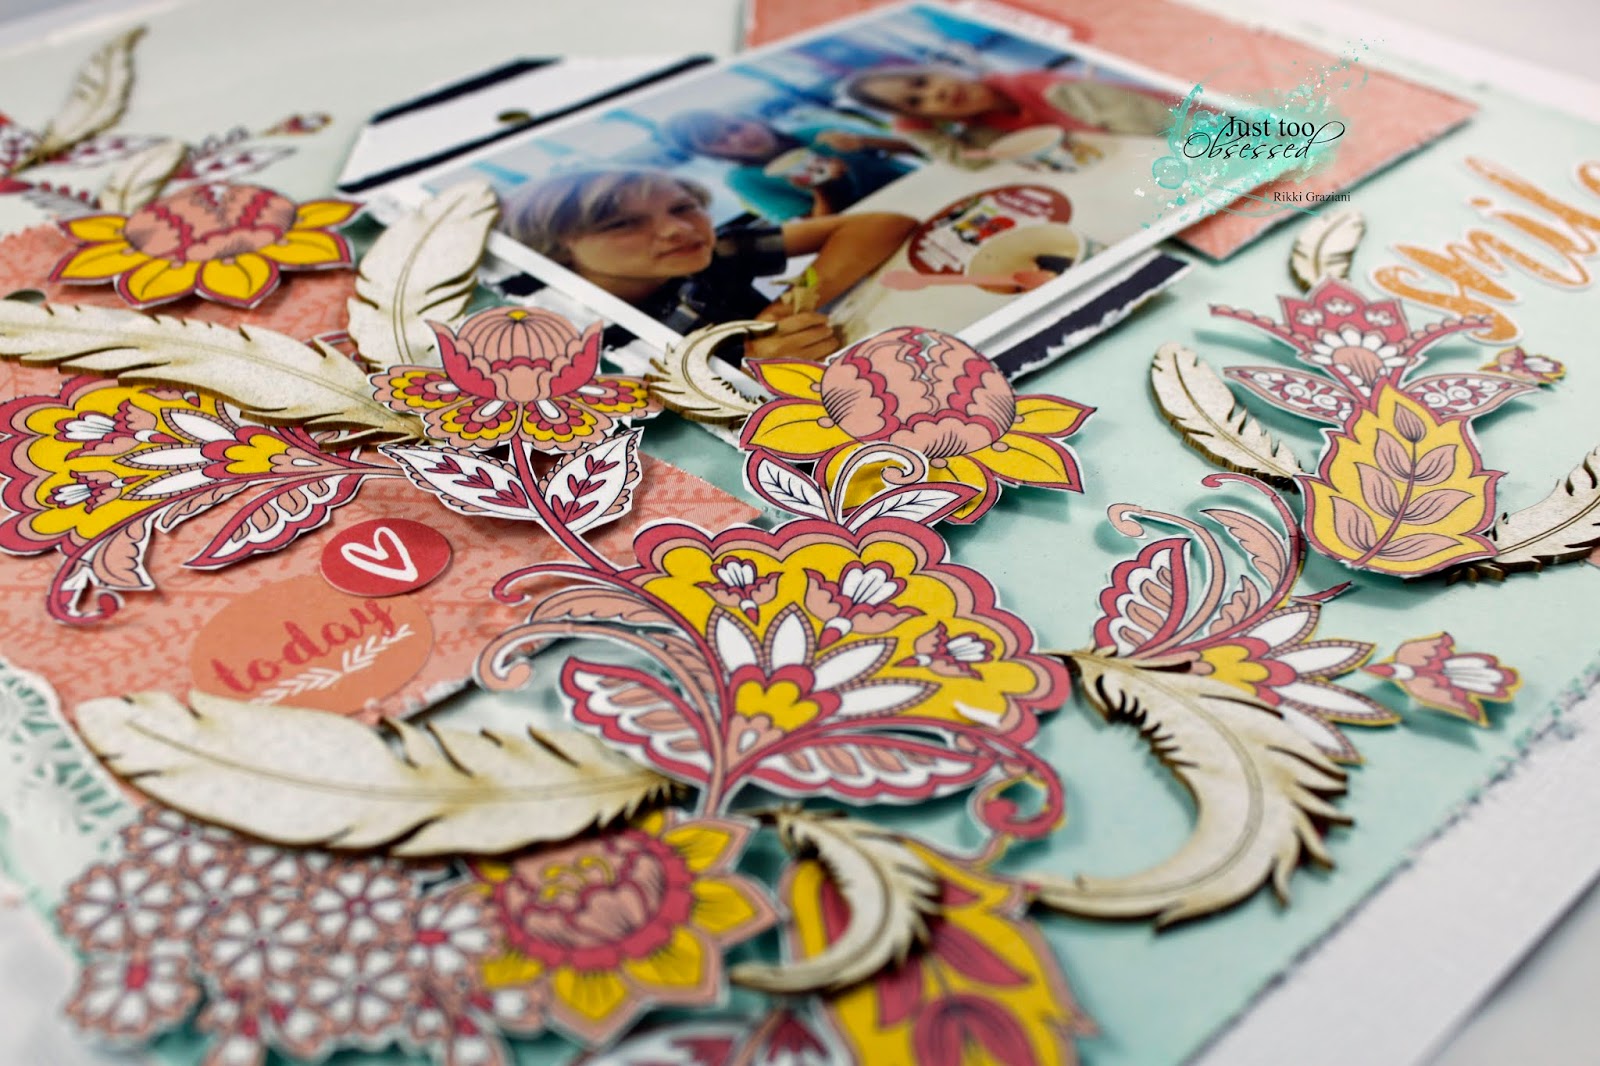
Good morning Rikki here ..... how are you? Its been a busy couple of months but thats not a bad thing, means I have a couple of new things to show you this month using some Scrapmattts Chipboard....


CB5116 Feathers 01


CB1222 Feathers 02


Monday, March 19, 2018

Beyond the Page with Rikki Graziani

Good morning how are you? Rikki here today with a few different things for me to share with you... Have been suffering a lack of mojo here lately so I thought I would change it up a little and for my first project go Beyond the Page.


CB1234 Flowers 12

CB4066 Ornate Frames 23


For my second project this month a layered card.....


CB6090 Ornate Frames 18


Till next time have a  creative day xxxx

Monday, September 26, 2016

Cappuccino or Espresso & a baking mold mixed media piece by Dunja


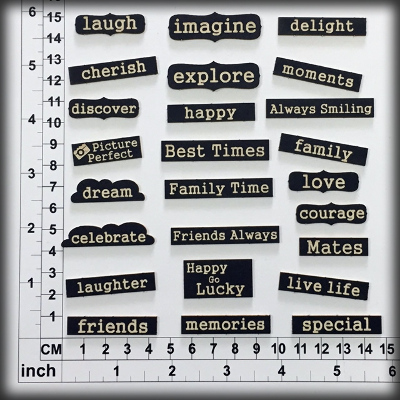
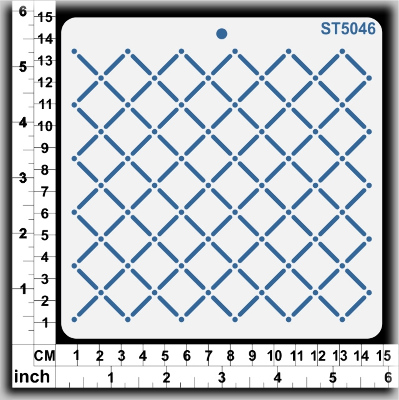
Hello everyone, today it's my turn at the Scrapmatts Blog. I've used the great stencils and chipboards from Scrapmatts and the stamp is from Vildastamps. The background I have embossed white with the Stencil and decorated with some splashes of color and enamel dots. The text 'Best Times' is a Chipboardset of Scrapmatts.


The coffee cup there is only one size - as the Cappuccino. As an espresso is mostly spent in small cups, I just cut off the bottom. ;) The band is made of kraft paper, the rest of the cup I colored myself with the ZIG Markers. Finally cut out the cups and tied a cord around the mug. The cups are glued with Glue Dots on the card.

Do you like the coffee card? :) 


And here is my second September Creation for you.


It's a little Mixed Media Piece. I've used an old cake baking mold and painted it with lots of Gesso, to get a shabby look. Then i've added pieces of old bookpages and glued them with an acrylic paint. After that i added a lace and a paper doily on the top. The cirle was cut out with a die and the stencil was used with modeling paste and color burst by Ken Oliver. For a lovely result of the baking mold i added a few flowers and the chipboard element as an eyecatcher.

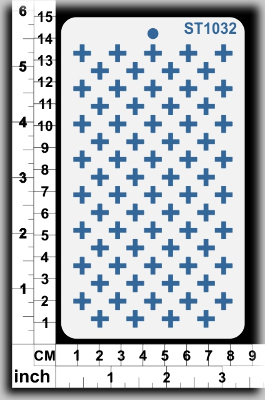
 http://papertoleaustralia.com/st1032-stencil-plus-signs http://papertoleaustralia.com/cb6112-scrap-words-31  


Thank you so much for stopping by today.
I hope that you've enjoyed both Inspirations :)

If you have any questions please feel free to ask me.
I'm glad to help :)

Lots of Love from Germany


Sunday, June 5, 2016

Times Square Layout and Some Messy Birthday Cards - Lauren Tomecek

Scrapmatts is sponsoring CSI: Color Stories Inspiration this month and so we've been given the opportunity to be guest designers over there. It was too much fun last year to say no this year, so here is my first layout based on their Major Case File. The circle frame is one of the fantastic brand new designs Sofie has created and I had only received the day before I put it on this layout because I thought it looked so good.
 
 
Chipboard: CB5152 Circles 02, CB5126 Diamond Mesh 02. Stencil: ST1002 Stencil Diamonds.
 

After I had made the background to the above layout, I put it under my craft mat to dry flat and minimise the warping. I pulled it out the next day to find three card bases I had made and forgotten about under there so I decided to make them my second project for this month. There are lot's of new stencil designs and chipboard pieces on these three cards.
 
 
Chipboard: CB1235 Leaf Spray 14, CB1243 Scrap Words 29, CB5151 Webbing 01. Stencils: ST5007, ST5003, ST5023, ST5024.


If you're interested in a tutorial to create these cards, check out my blog. If you have created a card or any project using Scrapmatts chipboard we would love to see your work in our Ning gallery!

Sunday, May 22, 2016

A Love So Deer - Lauren Tomecek

One of my favourite things about chipboard is how easy it is to modify to suit your projects. For example, I have a variety of different reindeer designs from Scrapmatts, so when I wanted to do a layout with these deer feeding photos fro my sister's wedding it was super easy to just cut off their antlers and paint up to suit the layout.
 
 
I have used two of the stencil designs on the background of this layout. The paint splatters are just your basic spray with a mist but the leaf pattern is a bit more complicated. I masked off the areas of the stencil I didn't want, then applied Versamark ink through it and clear heat-embossed this. It's given it a very subtle effect that I love.
 
Chipboard: CB1094 Reindeer 02, CB2020 Vines 01, CB6109 Lamps 11, CB1229 Chains 02, CB6105 Assorted Words 23, CB5132 Chains 01. Stencils: ST5004, ST5010.
 
 
My second project are two quick gift tags I've whipped up using some leftover pieces on my desk. I like how easy it is to create cards using the stencils and a chipboard sentiment.


Chipboard: CB1002 Flourishes 03, CB6100 Words 29. Stencils: ST1011, ST5007.

Thursday, April 28, 2016

April inspiration with Irit

Hello my dear crafty friends and welcome to my Scrapmatts April inspirational post.
This time I made a layout and a card in a totally different styles just to show you how the similar Scrapmatts chipboards can be used on a vintage style layout and very modern and bright card.
So first  the layout.
I made the background with Stencil  Circles CT1001 and green embossing paste ( DCWV cardstocks and old Plaid paste that is still working as you can see).
The whole set of three String circles 04 CB5140 was added over the two photos painted with almost white acrylic paint (also the natural color was very similar after all). The third circle was added to keep four journalling words from Scrap words 25 CB1239 set.


The  title cluster was made over the film strip  chipboard (Film strips 05 CB1232). It was heat embossed with clear embossing ink and black embossing powder. Another piece of Scrap words (Scrap words 25 CB1239) was also added to this title cluster.
All String circles were connected with wire- as the connection for this pair on their wedding day and just to keep them in the right position . A bit of washi tape was added from both sides of those circles too- again, for the connection and  as it's pretty difficult to glue such a thin chipboard piece in a nice clean way.


Scrapmatts products used:
Film strips 05 CB1232
String circles 04 CB5140
Scrap words 25 CB1239
Stencil  Circles CT1001

And now my card for today: bright to pastel colors and background layers made with DCWV cardstock and Sizzix dies (both matting and holes  in the yellow layer).
The Scrapmatts chipboard window was covered with DecoArt crackle paste that can be seen even over this so delicate chipboard piece.
The flowers were painted with gel acrylic paints and you just need one single layer for the full shiny paint coverage.
Both chipboard oval frames are from the same set. The pink one was heat embossed with pastel pink embossing powder. The inner frame and the title word were heat embossed with black embossing powder.


I also added a small topper piece from the same Ornate frames set on the bottom to add some interest (pink embossed as the big frame).


As you can see this card is pretty flat and can be mailed in the regular envelope and still it has lots of layers and texture.
Scrapmatts products used to make this card:

Windows 04 CB5120
Flowers 12 CB1234
Ornate frames 05 CB1220 
Assorted words 01 CB1134

Irit Shalom

Thursday, March 24, 2016

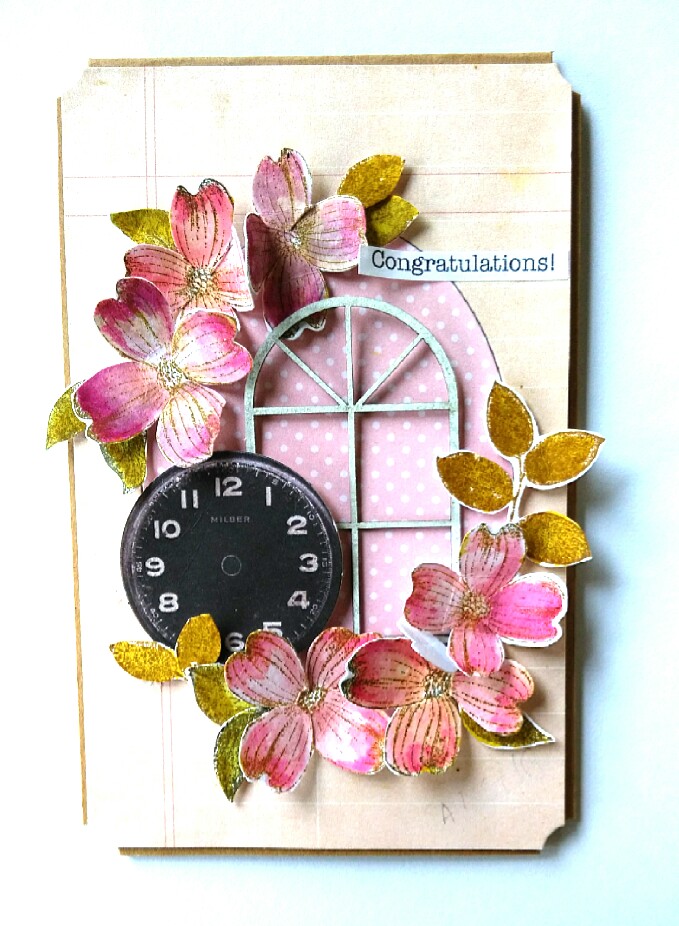
Congratulations! Card

Hi there chipboard lovers! This is Sharm here today, sharing a Congratulations card I made using the beautiful window chipboard.

Here are some close-ups and a picture of the card:


Materials Used:
Scrapmatts window chipboard
Echo Park Patterned Paper
Sizzix Stamp & Metal Die


Here is how I made my card:
*First you will want to give some colour to your chipboard. I used gesso and once it was dried, I added some distress paints.

1. Cut a piece of card stock to 4 x 12 & folded it in half.
2. Cut a piece of patterned paper to 3.7 x 5.7.
3. Using an oval die (so it matches the shape of the window), cut out the centre of the patterned paper
4. Flip the centre over so that the colour on the back creates a different effect for the card
5. Using a stamp of your choice, add some images of flowers and foliage about the oval shape
6. Add sentiment

Easy peasy ain't it? Do check the store for more, lovely chipboard designs!