Monday, November 15, 2021

November Creating with Lizzy

 Hello there!! Well we are on the down hill slide to the end of the year, and often it can be a very busy time. I have a layout to share with you today that I hope will inspire you to create a page using some fabulous Scrapmatts chipboard that I have left raw or uncolored.. It gives such an organic look that works well for any style. (and it helps to get a page done a little quicker!!!)

As I have used a white cardstock for the base I wanted to add just a hint of color and I did this by using an ink pad and a dauber and a pretty stencil..


I then sprayed a bit of water onto the stencil and patted it onto my layout to add some splats and splodges.. and remember to clean off your stencil after use.. (I just used a baby wipe).

Then it was onto deciding how I was going to use the papers and layering under the photo.
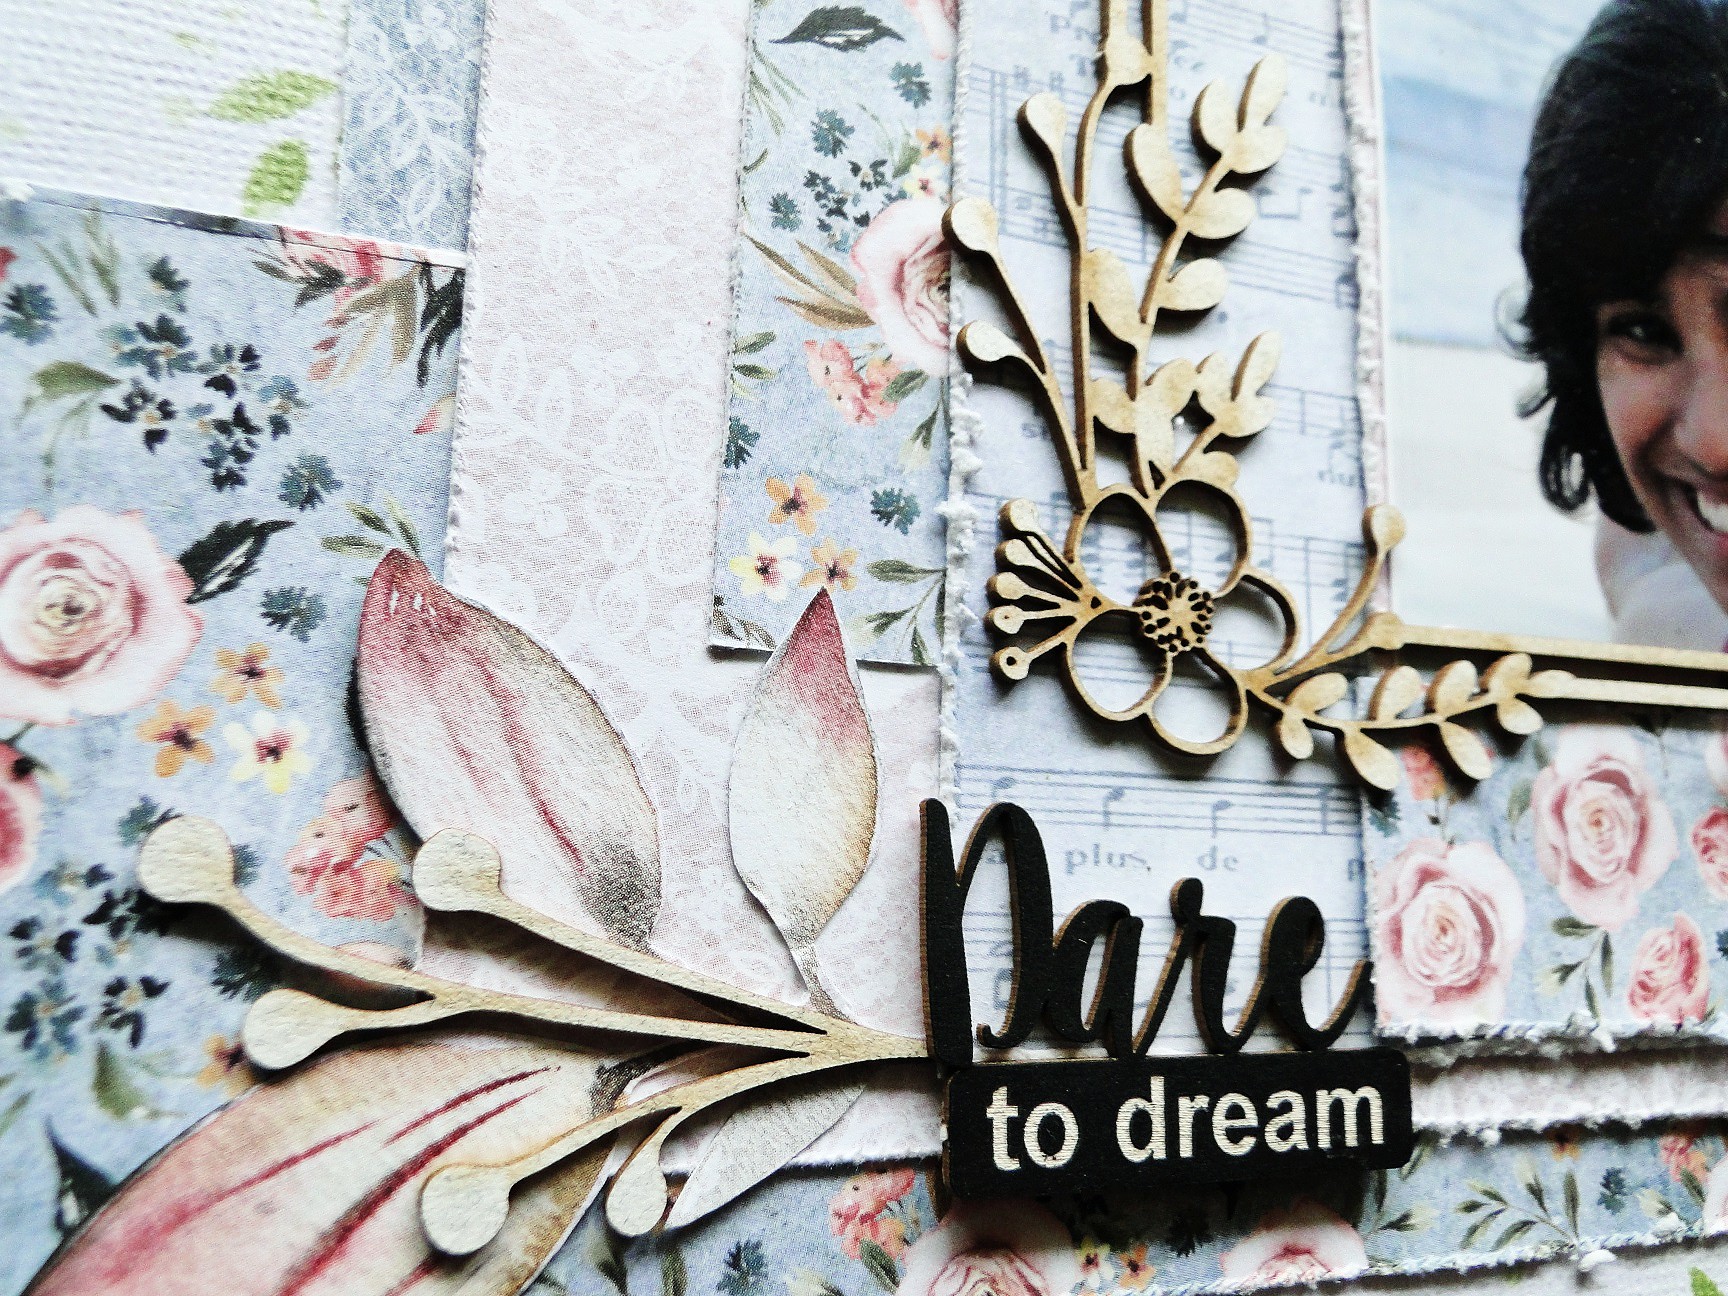

I have used the beautiful Wildflowers chipboard frame around my photo. It looks so good raw and I found this title was just right too.. It stands out in the black.. ready to use.. so good..


I did some fussy cutting of these papers and layered them with some old cardboard..The simple leaf spray added a little bit of dimension but not too thick for my album.


I did a little corner embellishment and placed the Wildflower chipboard on top to add to the cluster..

and my layout.. Dare to Dream.


The Scrapmatts Chipboard looks good embossed or colored with paint, but I like it just the way it is for this  soft feminine layout.. 

and here are the Scrapmatts I have used on my layout..

ST5066 Stencil Floral Pattern 


CB4073 Wildflowers 02 


CB1252 Scrap Words 35


CB1198 Scrap words 06 


You can find all these and lots lots more at the SCRAPMATTS ONLINE STORE HERE and just a little reminder that there is a fabulous section for CHRISTMAS too HERE!!!

Thanks for coming by, I hope you get some creative time just for you in these busy days with the end of the year approaching. 

Until Next Time, Happy Scrapmatting..


Wednesday, November 10, 2021

Christmas Ornament Shakers - By Crece T

It's almost Christmas, and I have been busy creating some fun shakers with the NEW Christmas Shakers from Scrapmatts.
There are 6 New designs including Plum Pudding, Window, Gingerbread man, Star, Bell & Tree.
Original Shakers came in 2 fantastic Snow Globe Designs.

Here are the 4 I am sharing with you today.


Plum Pudding Shaker

I have been after a Plum Pudding Chipboard Shape forever, so I was super excited when I was given this Pudding Shaker to create with.
I have used hot foils to cover the base and frame in burgundy to give it a rich colour. You cant really see it in this photo but I have used iridescent white foil for the icing.

I then added some shaker elements to it, glued it all together and topped it with holly covered in foil with red rhinestones, and the word joy in gold foil. 

The pack contains 1 Base + 3 layers + Acetate + 3 pieces of Holly, 4 Stars + 1 Word 'Joy'


CB6136 Shaker Ornament Pudding 01


Mr Gingy & Miss Gingy

The Gingerbread Shaker pack comes with so many extras, and 2 different sized bows, so I thought it would be a great idea to create a mr and miss Gingy.
I used Distress Oxide Inks to cover the chipboard pieces for this shaker.
Miss Gingy has gold and red shaker bits, and Mr Gingy has gold and Green.


CB6136 Shaker Ornament Gingerbread Man 01

Window Shaker

My final shaker was the Window.
I wanted to create a night sky with snowflakes falling.
I coloured the window using a brown water colour pen. I then used some Tim Holtz Grit paste to create the build up of snow on the window.
I used some pattern paper from Stamperia for the base and the angel.
Silver ink was used to  colour the stars and 'Noel'


CB6136 Shaker Ornament Window 01

I found these really easy to put together, To cut the acetate I used the image inserted with the product and just used my scissors to cut out the shape.

Thanks you for stopping by,


Sunday, November 7, 2021

CUTIES

 Hello again all my lovelies.

Today I am sharing two layouts with pics of my cute little great niece and my youngest brother when he was a toddler.

First up is Willow with such a cheeky little look on her face.

I only used two different types of chipboard on this page and relied on the the Bling it on Gems to give them that extra bit of pop (I did add some to the pieces on the top left hand corner but that was after I photographed the page oops).

As the paper had a weathered background look to it I used the Flower stencil in 2 different sizes with crackle paste, the different sizes of the stencil made it so easy to get a gradually flow to the page.

Sorry if the image is a bit dark, terribly overcast, rainy day here today so I had to photograph it inside.


PRODUCTS USED


ST9041 Flowers Stencil


CB5139 String Circles 03


CB5177 Wildflowers 04


5mm White Sparkle Acrylic Craft Gems


This page features a pic of my youngest brother Lance, I don't know the date or location but he is such a cute little boy.
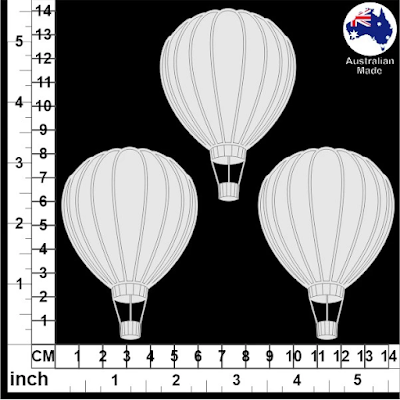
The hot air balloon and clock give it that bit of a vintage feel but adding the metal cogs as well as some of the left over triangle pieces make it a little boyish.


PRODUCTS USED


CB50405 Hot Air Balloons 02


CB1260 Scrapwords 43


CB6049 Clocks 03


That is it for me this month.
Looking forward to catching up with Andrew and Sophie at their Neville retreat this weekend and sharing some inspiration to the lovely ladies there.

Hope life is treating you well
Hugs and love
Annette xx

Sunday, October 31, 2021

Spring time

Hi everyone, a few days late with this post.  Time just got away from me.  After a gentle nudge from Sofie here I am.

Todays layouts are from the Just Add Flair Challenge and as you can guess it had a spring time, flowery theme - right up my alley.

Both of these layouts are of flowers in our garden.  I love September/October as all the flowers start to come out.  We planted these daisys just outside our back door.  It always amazes me how they open and close with the sun.


ST5030 Flowers


CB1024 Flowers 04


CB5189 Flourishes & Leaves 01


My husband is a keen gardener, and we have a lovely rose garden beside our front path.  Although the best time for roses is Autumn, we do get some in Spring.  I created this layout for Septembers Kraft+ challenge.


ST9073 Leaves Stencil


CB5189 Flourishes & Leaves 01


CB5166 Leaf Spray 15


CB6118 Boho 01


I hope my layouts have inspired you to create.

Hopefully as some of us are moving out of various stages of lockdown we are all getting out an about a bit more and are able to see family and friends. 

Until next time

Lisette  😄😄😄


Friday, October 29, 2021

Everything that glitters

Well I cannot help but notice that all over blogs and social media at the moment are beautiful Christmas collections and projects. How fast this time of year comes around! lol

So I took the hint and got cracking on my photos from last Christmas too...


Here on this layout I have used chipboard embellishments to create the title and some simple flourishes that really lift the whole page. I'm currently in love with the rough golf leaf application look so I dug out my metallic foil confetti jar and got working...


How awesome is this effect!!?

I used the words from this AMAZING chipboard set and have the rest aside for another page or two.


The process of getting the 'gold leaf foil' on there is simple but OH SO MESSY 😂
First I ink it with Gold ...


next I apply glue to where I want the foil to go, then it's just a matter of applying it bit by bit 
and tidying it all up at the end. 


I just adore this beaten metal look!


This technique can also easily be applied to non Christmas layouts of course ... 


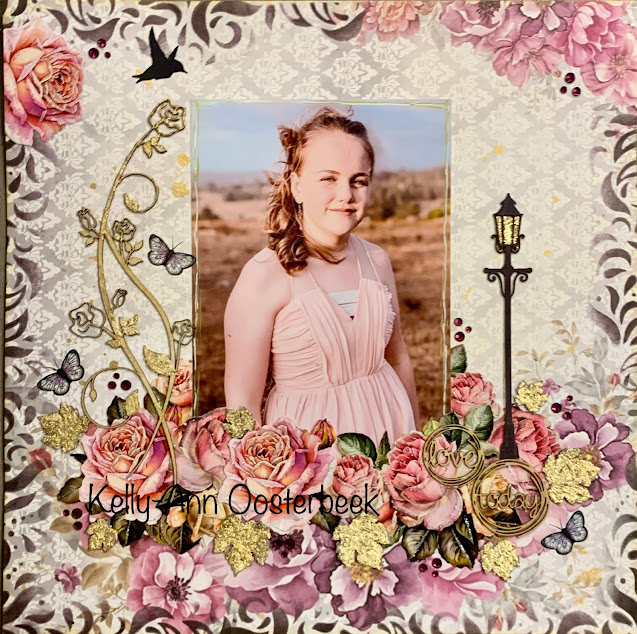
Here's a vintage feel layout with a bit of an edge it it where I've used the gold leaf foil on actual leaves and to highlight the other chipboard on the page as well.

But my favourite look on this page is the fabulous flourish border pulling in from the edges...


Its a very easy technique to do with the help of this gorgeous square stencil.


This time with the leaves I did not add any ink first I just covered each one in glue and then 
layered the foil bits over them (dusting the excess edge bits away with a stiff paint brush).


Some of the extras like the circle words I used gold ink on...


And I made sure I backed he lamp post with some extra foil bits to give it a nice 'glow'.


For the rose vine I actually cut this chipboard in half at the centre.
I inked it all with gold but only applied the foil to a few of the leaves and a flower,
leaning into the shabby chic look a bit.


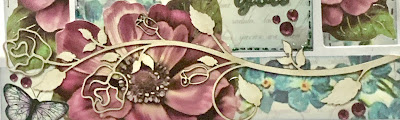
And of course I couldn't just leave that other half of the rose chipboard behind!
So I knocked up this 'Thinking of You' card to include it on.


These simple template stencils are still my favourite way of making cards.


Step cards are so fast and easy with this combination...

1) Make card from stencil
2) Stick Papers on panels
3) Add a chipboard title
4) add a chipboard embellishment.

Too easy! 


I couldnt resist a little bling here either and after I inked the chipboard title a pale blue 
I also added some Crystalina Kindy Glitz to the letters.

I left the chipboard rose natuaral though ( see it does happen some times 😜).


And thats it from me this month.
Thanks for popping over for a look xo 


Cheers from Kelly-ann