Showing posts with label Chipboards. Show all posts

Wednesday, March 29, 2023

Titles Made Easy With Inks 💥

Hi All, 
well, I'm back again this month with more layouts made using inspiring 
products from Scrapmatts' incredible range of beautiful products.

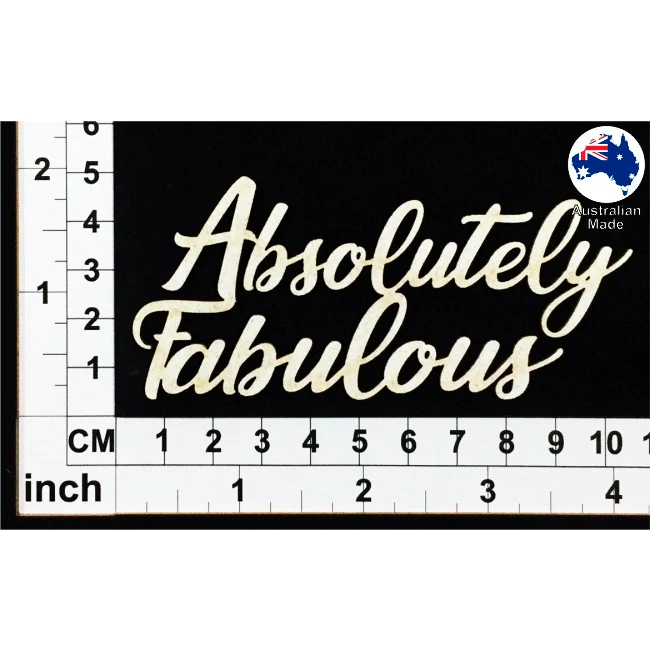
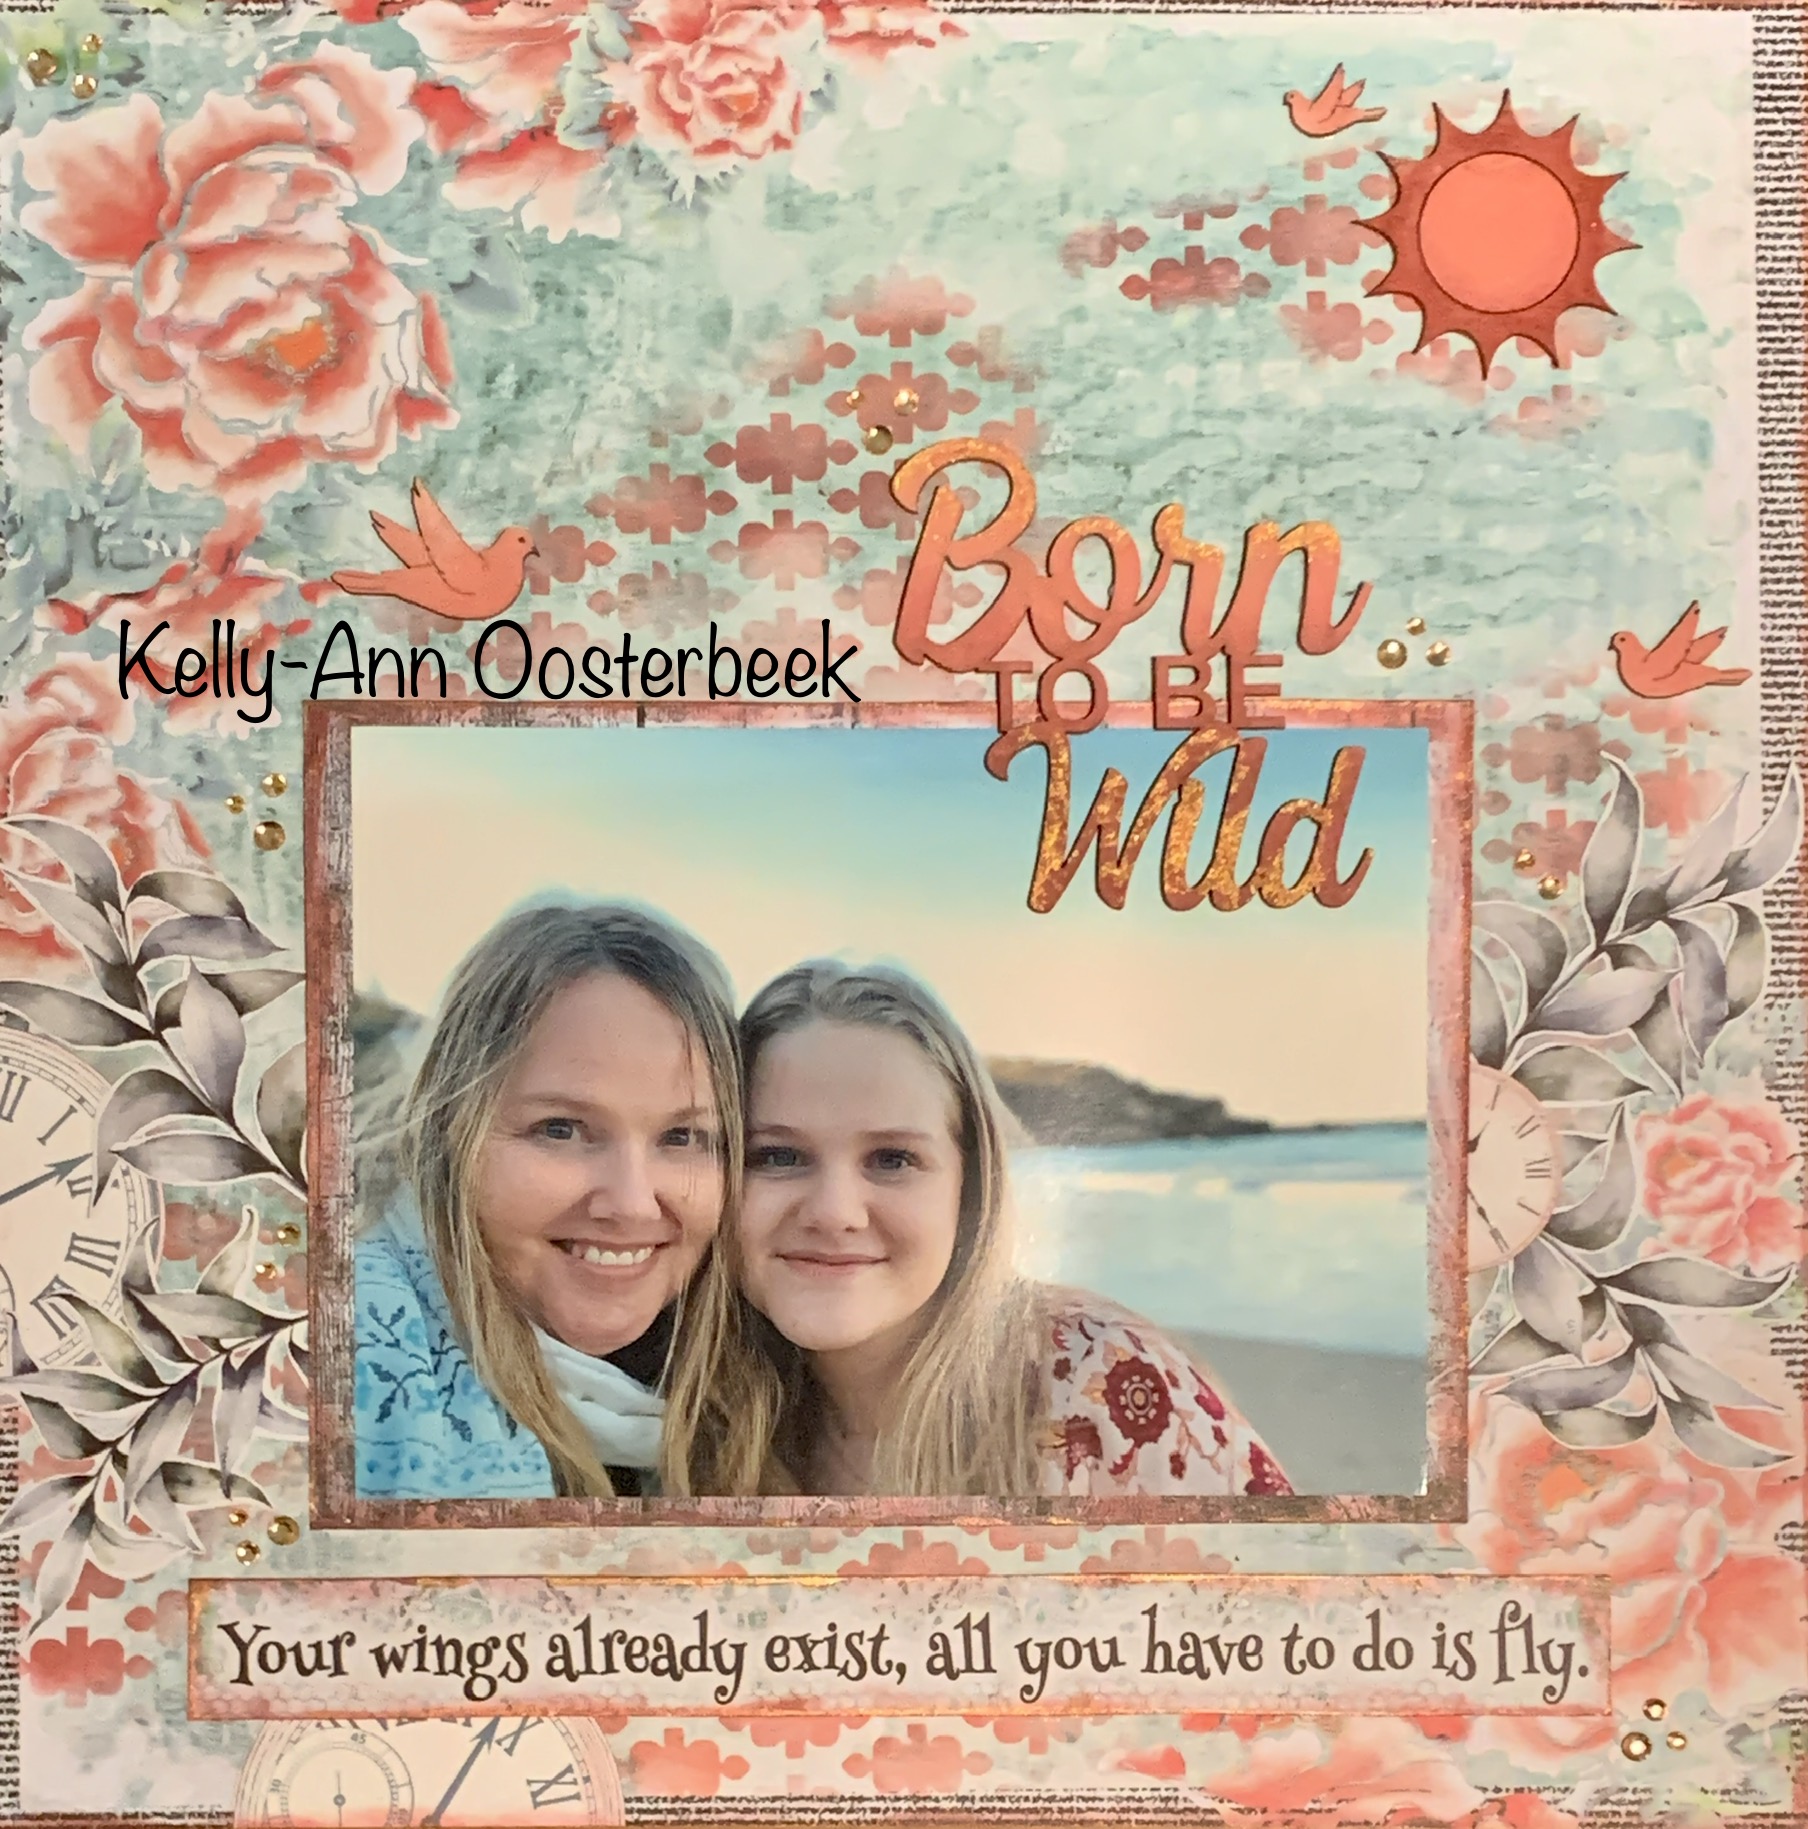
This first fun layout is brought to life by the fantastic title 
- which was coloured using a very simple technique of layering inks.

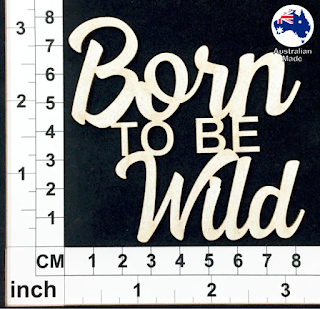
Starting with a white sprayed chipboard title, creating a variegated colour look is as easy as choosing two tones of whatever colour you like and then adding the lighter tint to the top of the title, moving towards the centre. 
Repeat this process with the darker tone coming up from the base 
until they blend in the middle of the title. 
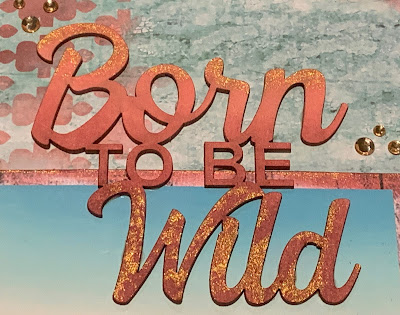

To create the sparkle at the top and bottom of this title I then touched up both 
areas with some copper ink.
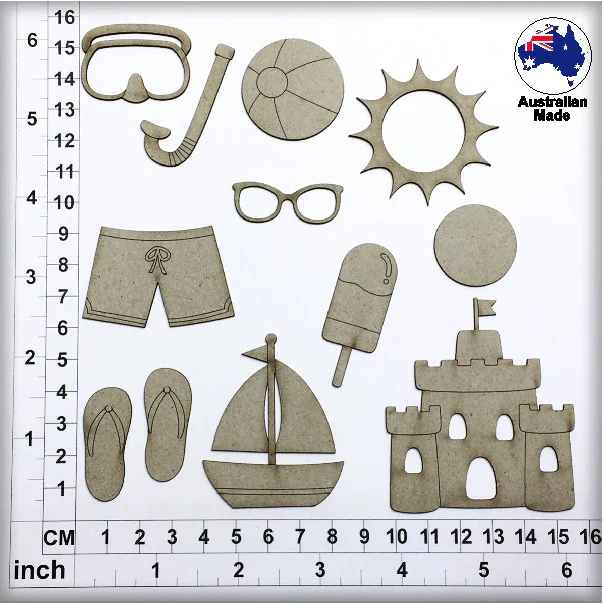

I did the same thing with the two elements of the sun chipboard as well.


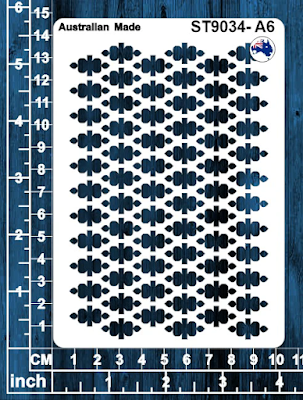
Using the same coloured inks and blending them randomly, I then added the pattern from this stencil. 
The pattern helped to lift the layout by tying together the title and flowers ... 
Scrapmatts stencils are fabulous for this little design trick! 


For this second layout, I decided to just go with a plain title as the patterned papers were 
so dynamic already.... but I did use another stencil just to pull the different papers in the background together and give the whole layout a sense of cohesiveness. 
💛

This cute chipboard title was easily covered with some mat blue ink.


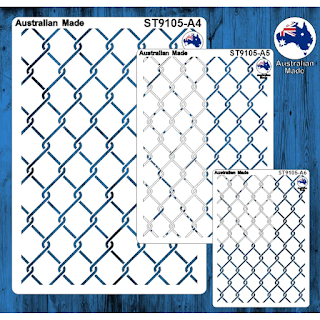
I used the A4 size stencil from this set and a white gel pen to create a pattern
 that blended with the white pattern on the dark blue papers of my layout.


This technique works really well if you are wanting to create some subtle background patterns. 
Gesso or white paint would have been a lot more solid and/or opaque so this gives us a 
lovely muted pattern that looks particularly good with a shabby chic design.


To finish with I added more of these ready-to-use scrap words chipboards to the page.


These make a wonderful alternative to journaling.


And to lift the whole layout I also scattered clusters of these 
4,5 & 6mm Champagne Acrylic Craft Gems around the page.


And that's it from me this time, I hope you have got a few good ideas from this 
post that you continue to enjoy your own crafty journey.


Cheers,
Kel xo


Saturday, January 29, 2022

Spritz it, Paint it, Stick it!

I hope you are enjoying this brilliant summer we are having here in Australia... and if you are reading along from the other side of the globe... then hope these projects inspire you that warmer weather is just around the corner! 

I'm kicking off today by sharing a beach layout I pulled together using good old fashioned spritz ink... 


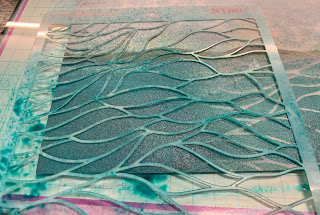
To create this look I spritzed over this gorgeous waves template and then ran the spritz all around the outside of the whole page to tie it all together.


Spritzing is perfect for creating that wind-blown, messy, water splatter look 
that works so well on beach layouts. 


To keep the colour scheme tight I also sprayed the title chipboard with the same coloured spritz
then added some white shine lines to finish it all off. 


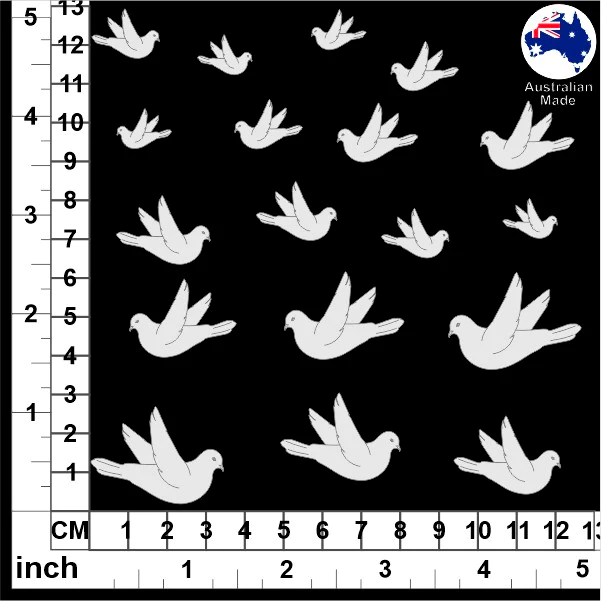
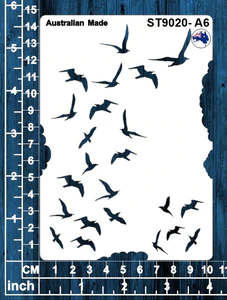
Of course I couldn't resist adding some seagulls flying about as well - using one of my all time 
favourite stencils - these gorgeous flying birds...


These I simply drew on with a black felt tip pen and coloured until they were solid silhouettes.


I also added in a couple of other little bits a pieces of chipboards ... some hearts from this leaves and flourishes pack and a string circle word from another set.


Next I'm sharing a bit of a fun Birthday layout ...


I felt like there were too many colours in my photo to pin point a single one to coordinate with so I decided to just go with a green/blue background with black and white highlights. 

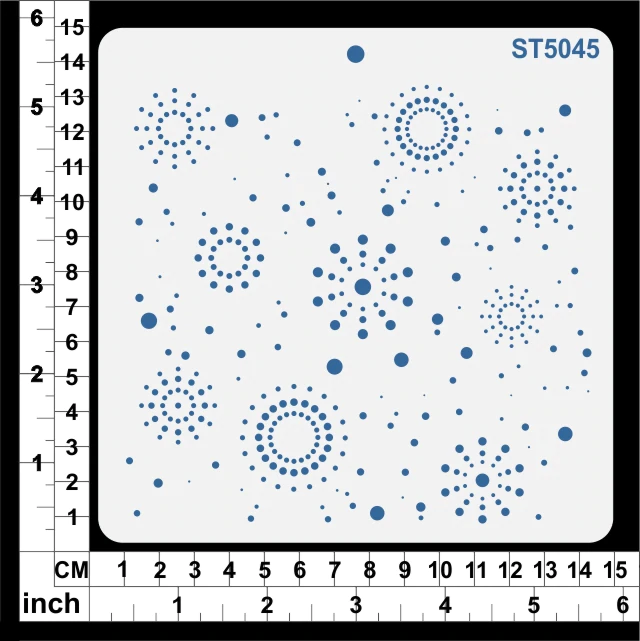
To start with I used this stencil with white gesso to give the page a bit of a celabratonry feel...


next I used my spatular to fan out more gesso over the page until I had a busy 
background pattern to mount my photo on...


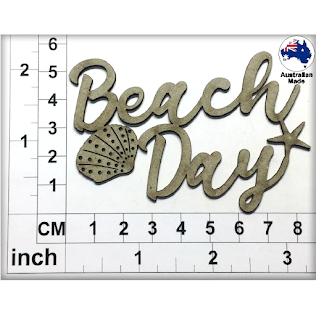
I used black spray paint to give my title chipboard a nice matt finish.


This simple look is very effective against a contrasting background.


After that I added in some other fun chipboards from different chipboard sets...

I even used the black frame that came with this set!

These ones were already supplied in black...


and these ones I spray painted with black along with the title.


Last but not least I'm sharing some Quick and simple baby cards
 made for some special family members...


To create these I coloured some stamped images, and popped them on 
backgrounds I made using alcohol inks...


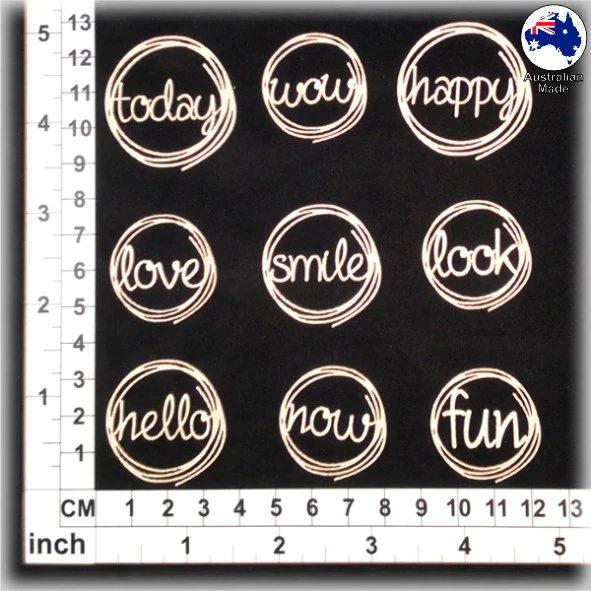
... to give the cards that edge I teamed them up with these versatile string circle chipboards
that I used more mat black spray paint on.


On the first card above I used the medium circle by cutting it into 2 sections.


For this next card I also used some of these fabulous scrap word panels.


And for this final card I used the large circle on a bigger square card and pulled in a couple of 
chip boards from some other chipboard sets...


and thats it from me for this month ... thanks for stopping by for a look 
at my latest projects, if you have any questions feel free to drop them in the 
comments section below and I'll be sure to respond


Cheers xo