Showing posts with label inking. Show all posts

Wednesday, March 29, 2023

Titles Made Easy With Inks 💥

Hi All, 
well, I'm back again this month with more layouts made using inspiring 
products from Scrapmatts' incredible range of beautiful products.

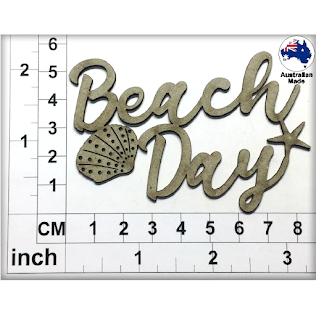
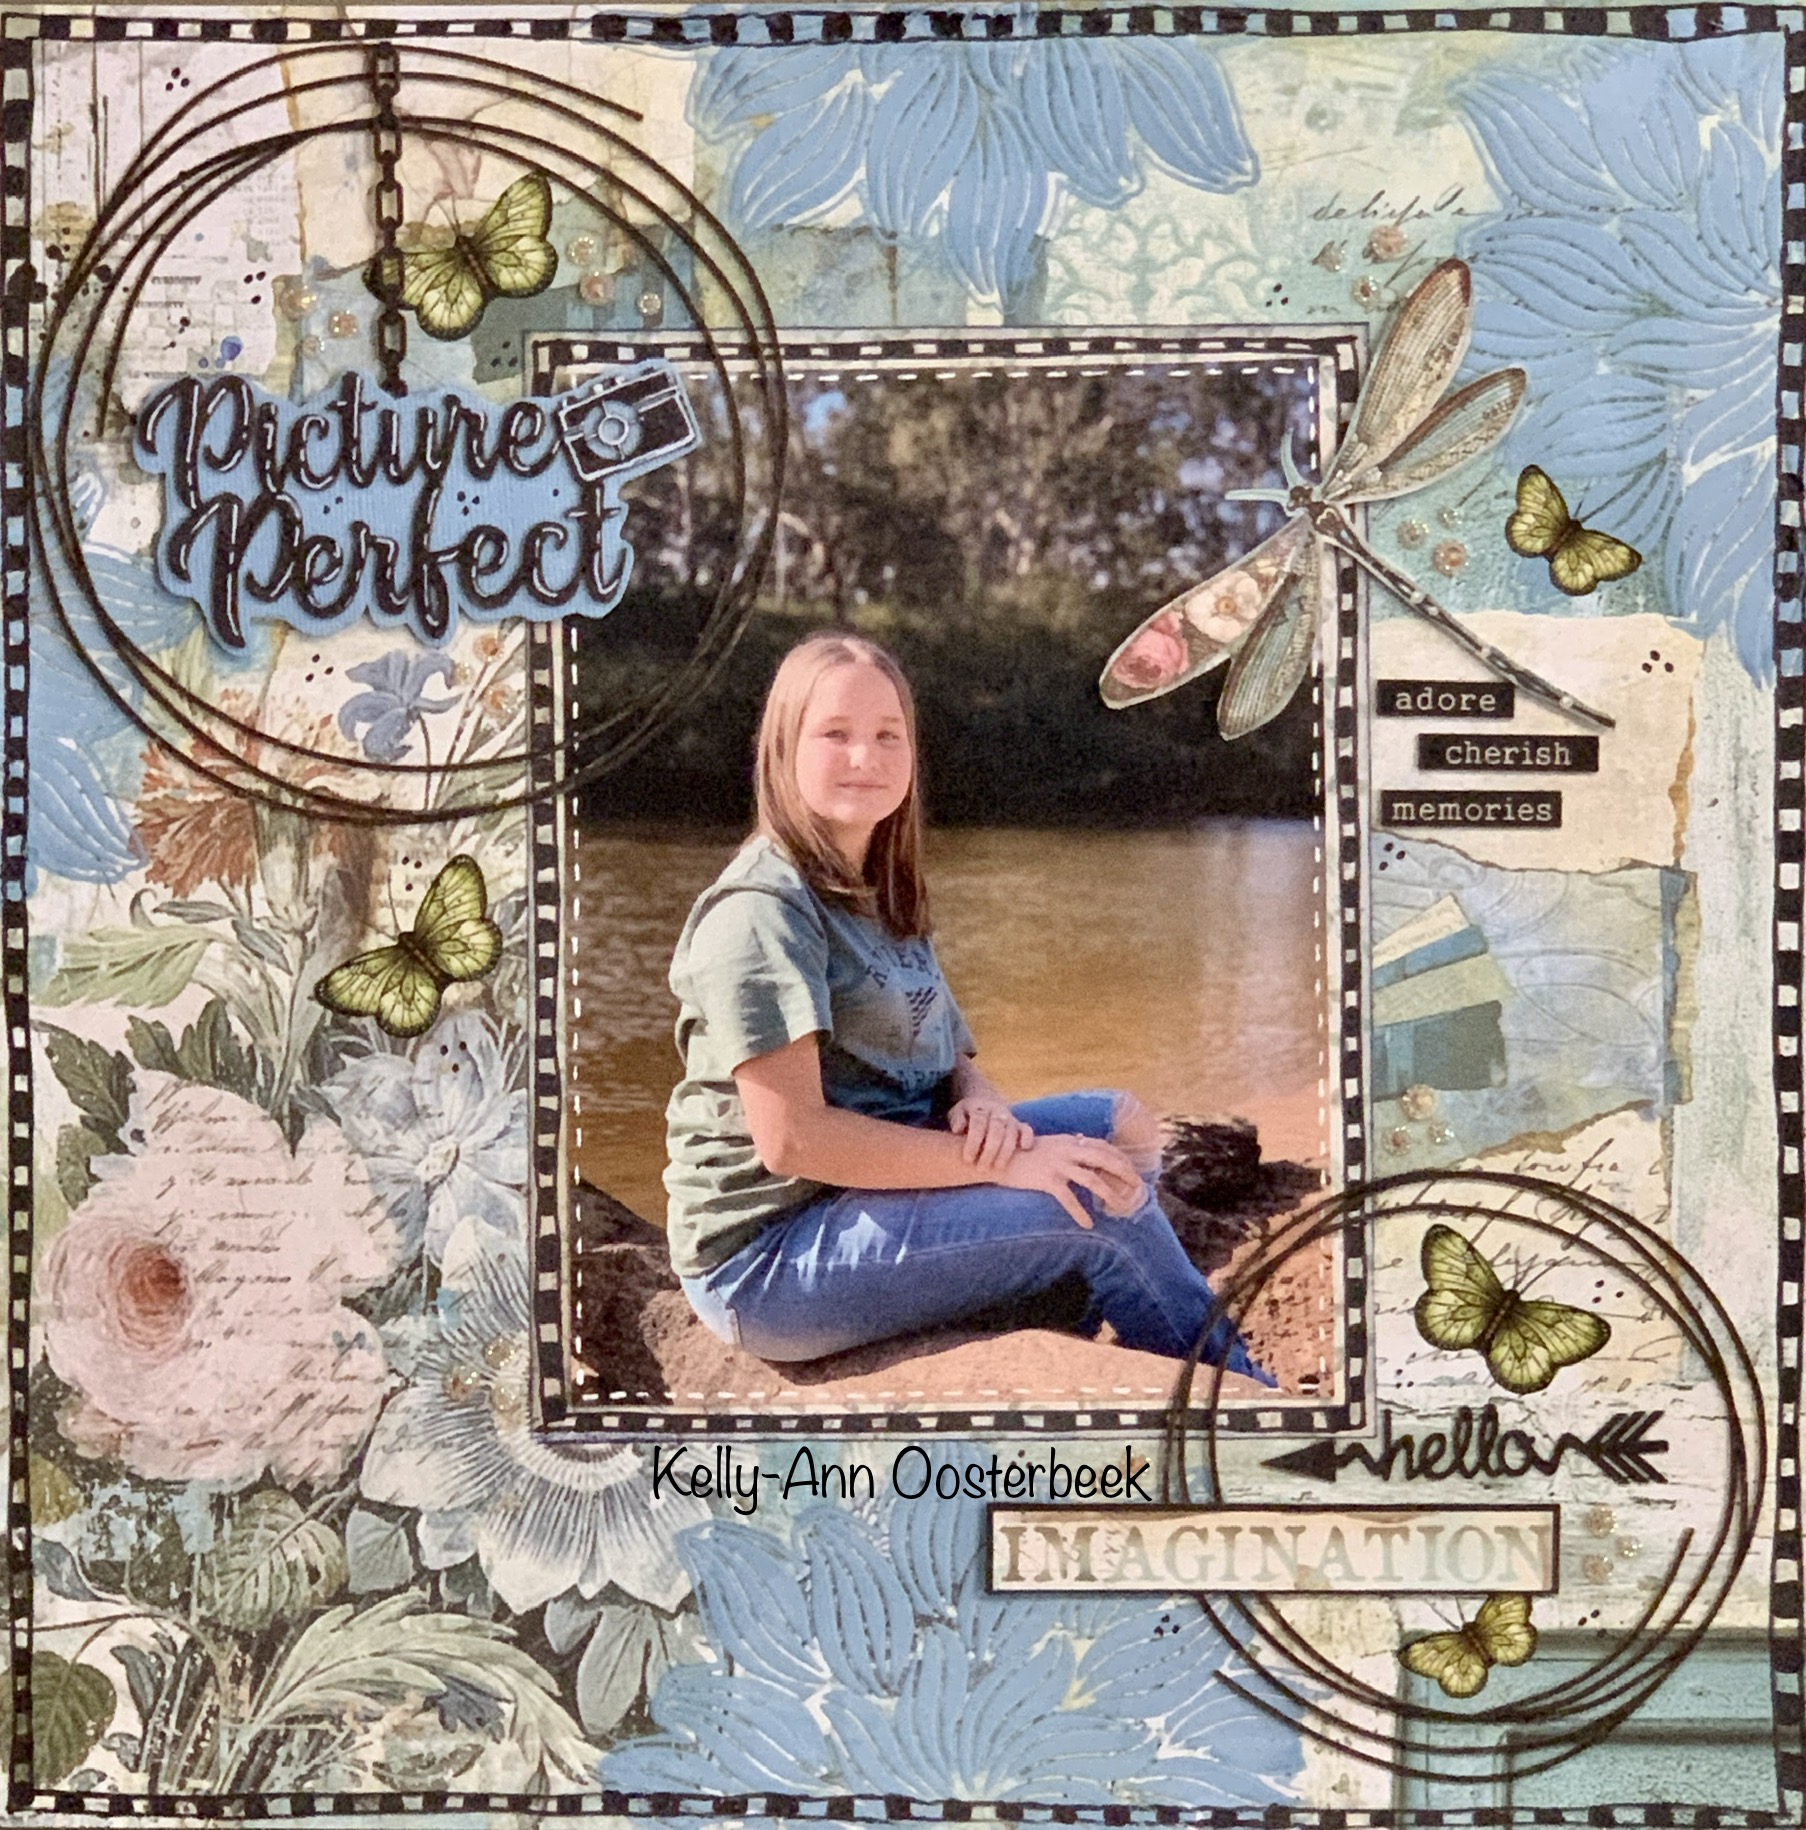
This first fun layout is brought to life by the fantastic title 
- which was coloured using a very simple technique of layering inks.


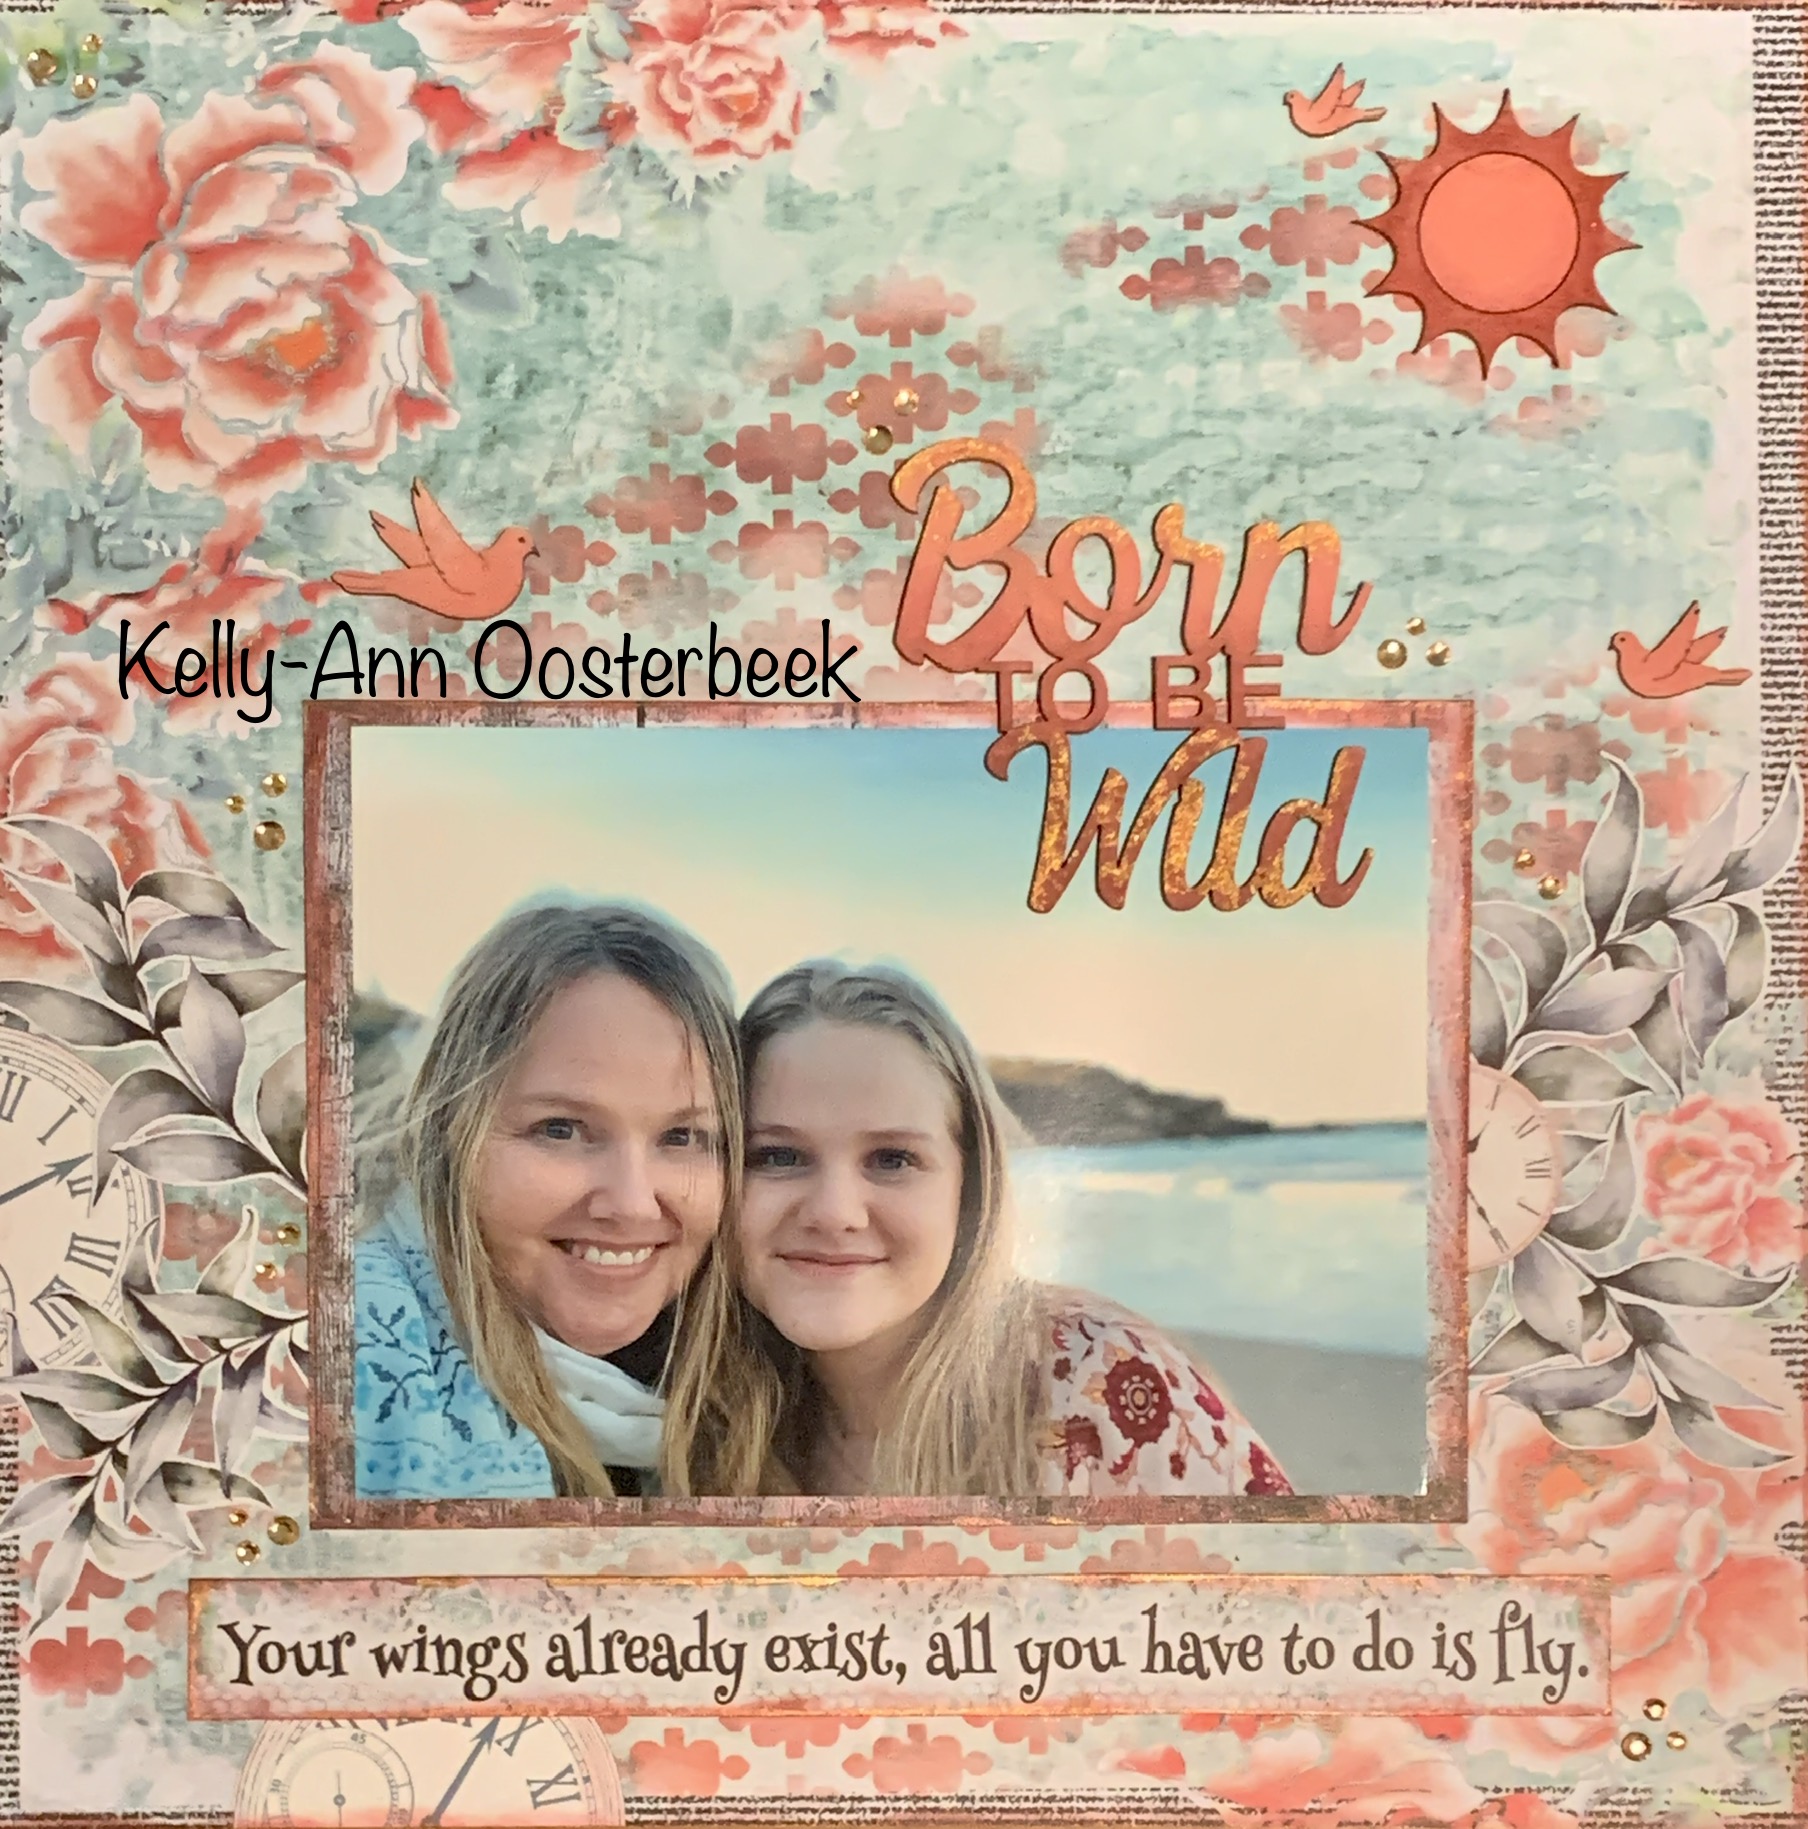
Starting with a white sprayed chipboard title, creating a variegated colour look is as easy as choosing two tones of whatever colour you like and then adding the lighter tint to the top of the title, moving towards the centre. 

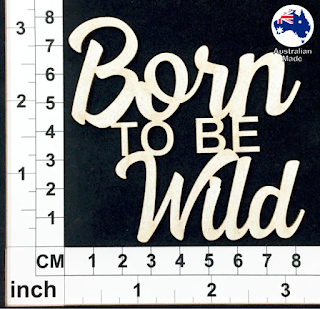
Repeat this process with the darker tone coming up from the base 
until they blend in the middle of the title. 


To create the sparkle at the top and bottom of this title I then touched up both 
areas with some copper ink.


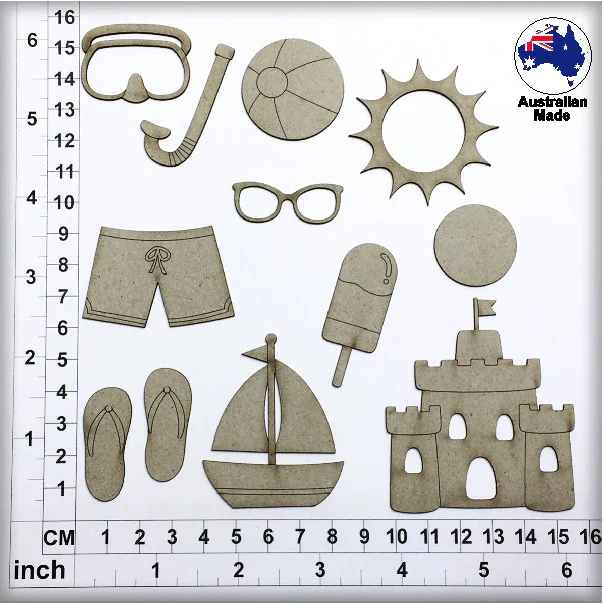
I did the same thing with the two elements of the sun chipboard as well.


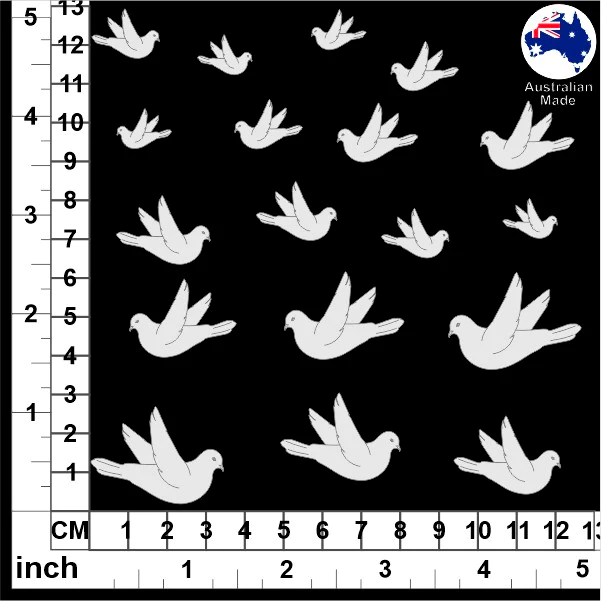
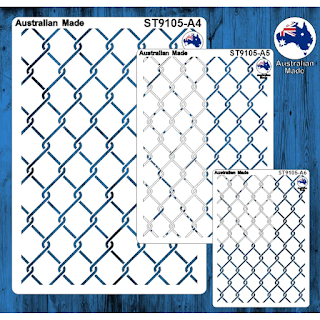
Using the same coloured inks and blending them randomly, I then added the pattern from this stencil. 
The pattern helped to lift the layout by tying together the title and flowers ... 
Scrapmatts stencils are fabulous for this little design trick! 


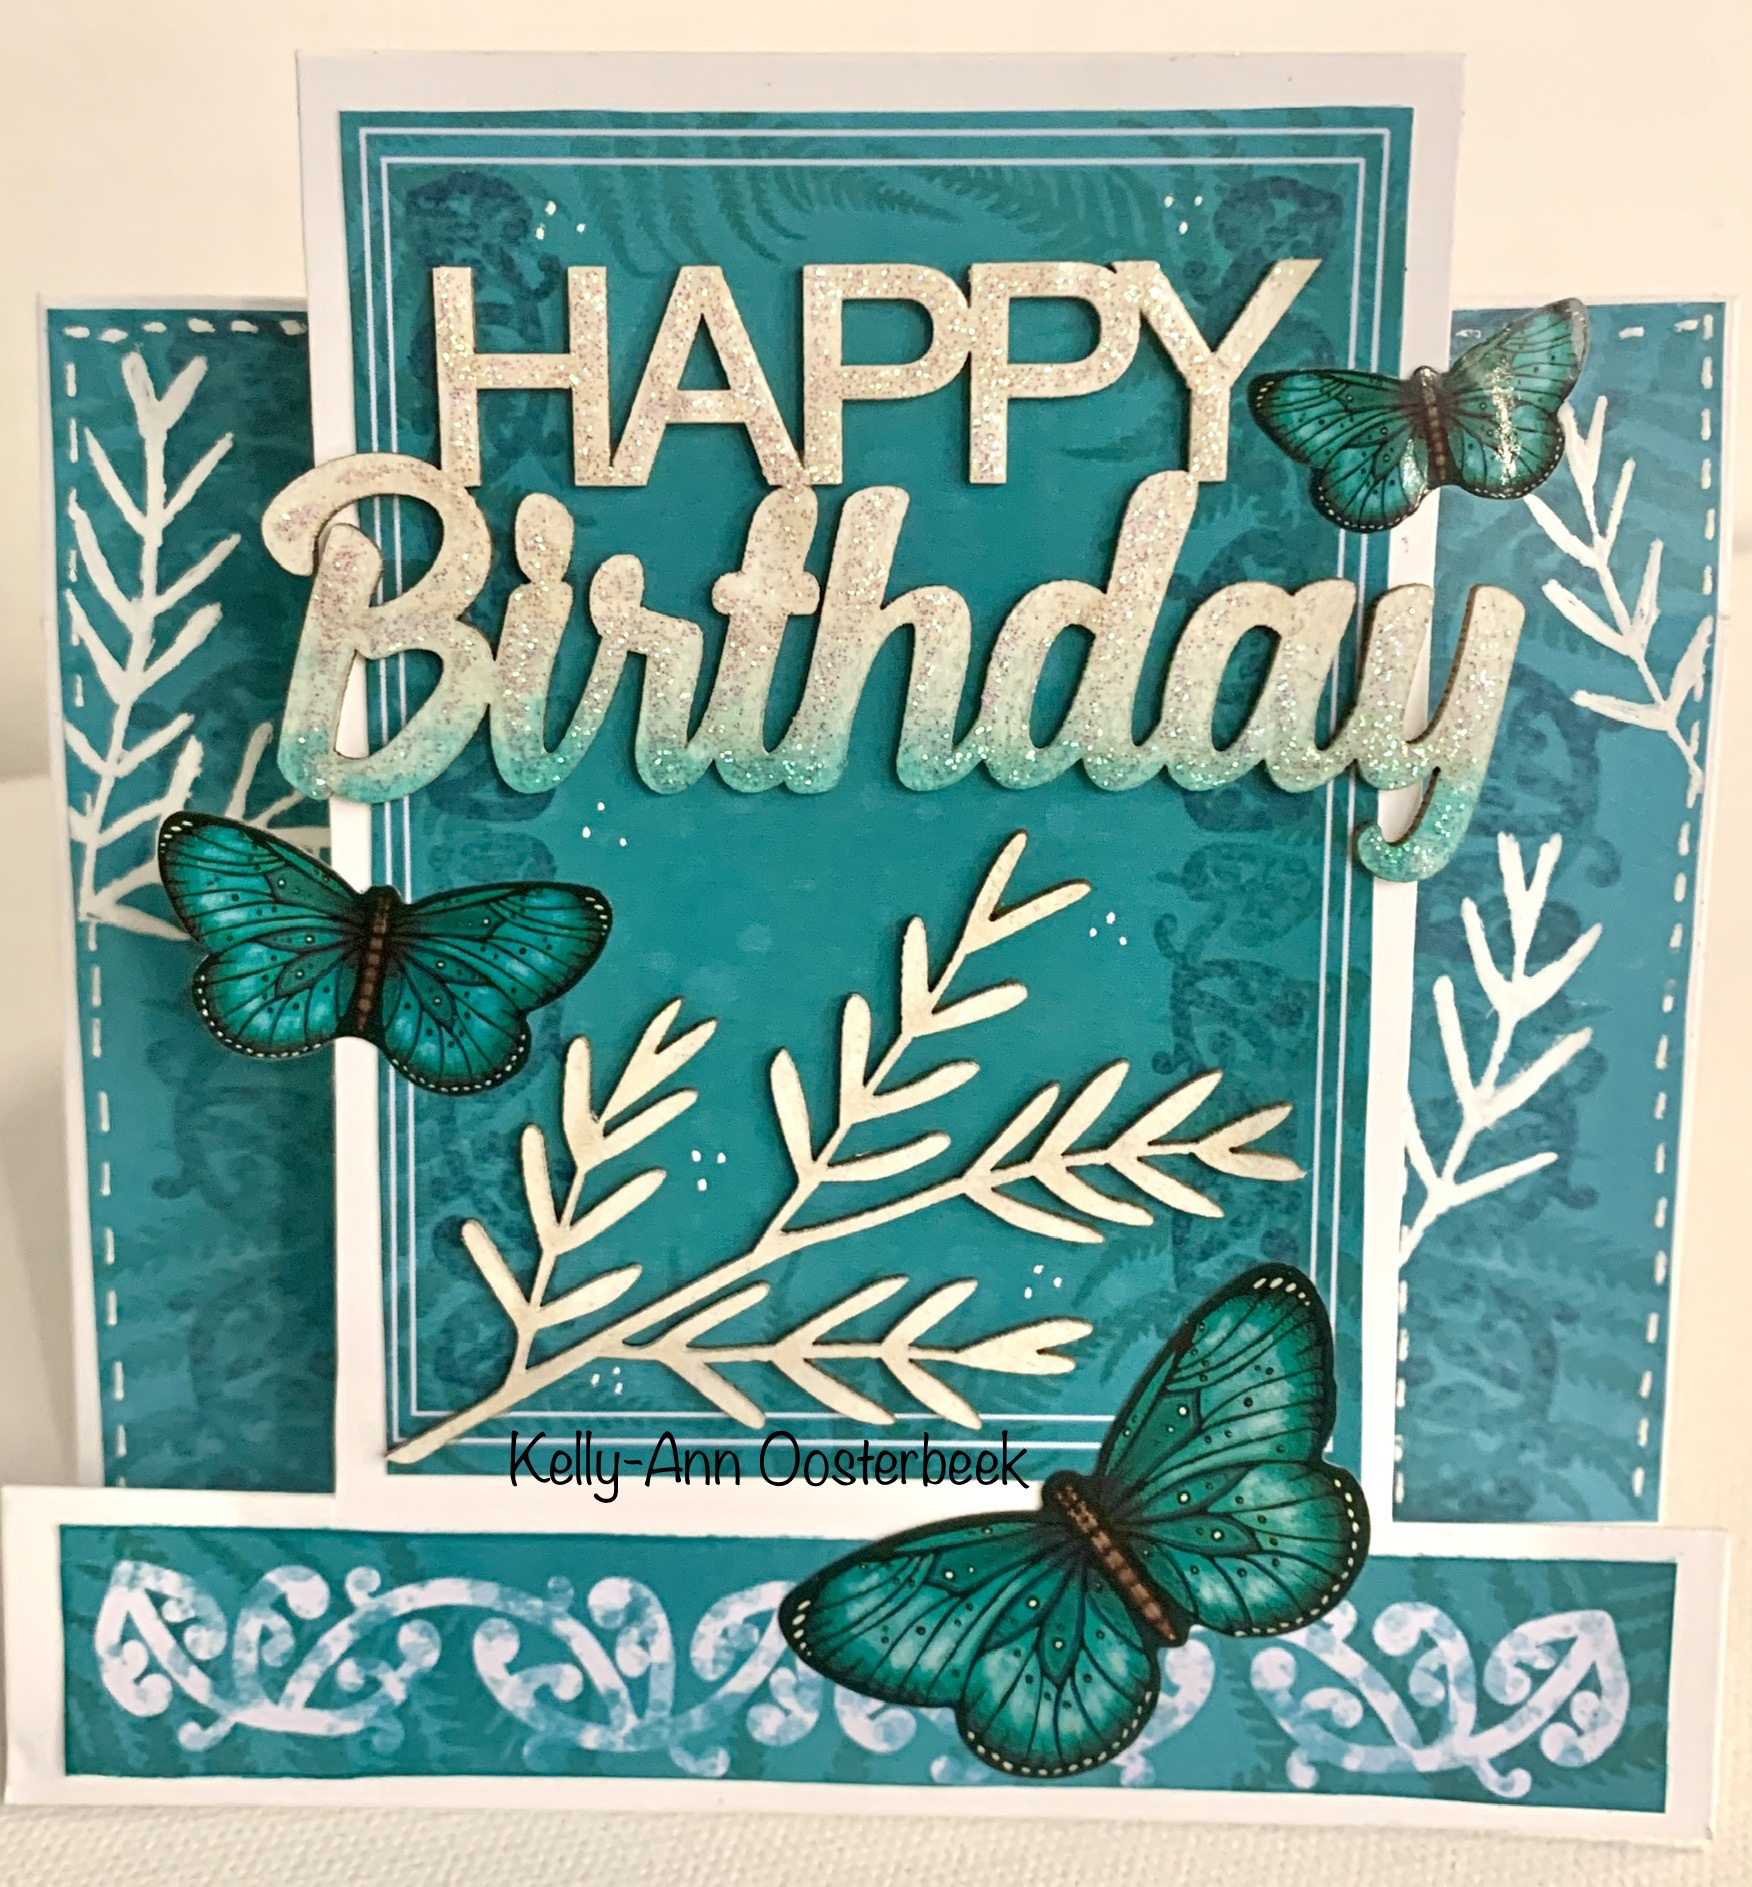
For this second layout, I decided to just go with a plain title as the patterned papers were 
so dynamic already.... but I did use another stencil just to pull the different papers in the background together and give the whole layout a sense of cohesiveness. 
💛

This cute chipboard title was easily covered with some mat blue ink.


I used the A4 size stencil from this set and a white gel pen to create a pattern
 that blended with the white pattern on the dark blue papers of my layout.


This technique works really well if you are wanting to create some subtle background patterns. 
Gesso or white paint would have been a lot more solid and/or opaque so this gives us a 
lovely muted pattern that looks particularly good with a shabby chic design.


To finish with I added more of these ready-to-use scrap words chipboards to the page.


These make a wonderful alternative to journaling.


And to lift the whole layout I also scattered clusters of these 
4,5 & 6mm Champagne Acrylic Craft Gems around the page.


And that's it from me this time, I hope you have got a few good ideas from this 
post that you continue to enjoy your own crafty journey.


Cheers,
Kel xo


Tuesday, June 29, 2021

Building a pallet...


As winter sets in here in Australia I must say I'm enjoying tucking up in front of the fire and scrapbooking more than ever 💙

With these layouts I'm still working my way through Bee Arty's 'Bohemian Bliss' paper collection - I'm loving the subtle tones in these papers! 

Today I'm focusing on how you can really tie layouts together by highlighting tones and colours from the pallet you find in your photos ...


To do this with this first layout I have chosen to pick up on the pretty light blue highlights
 from the jeans in my photo. 

Using white Gesso, as a base I added drops of different blue distress inks to the white paint until I mixed just the colour I was after then I popped it on the page by spreading it through this fabulous stencil...

ST5054 Floral Design


After drawing on a strong border strip around the page and photo with black marker I complimented these on the page by adding black string circles and word embellishments...


CB6105 Assorted Words 23. and CB5114 String Circles 01

.  

CB1236 Scrap Words 22


And of course I couldn't resist one of these fabulous easy chipboard titles to top it all off nicely! 

 
CT041 Picture Perfect

The  Blues in the paper worked in well my photo, but nothing compliments a photo as well as matched tone highlights! 

This method of building a pallet from the photo outwards means you never have to rely on finding the 'perfect' paper to match ... with some easily altered embellishments and stencils you can always create your own perfect elements 💙


This next layout was purely for fun! 😉
It was my daughter's 21st but I chose to scrap it in a pretty pink little girl layout style 💕


Again I chose to focus on the lovely pink of my daughters dress in the centre of the photo so I mixed some ink (a couple of drops of pink and one red) into white gesso until I got a tone that complimented the picture, I then added it to the background using this sweet heart template...

ST9050 Hearts


For the the Chipboard title I simply covered with a nice bright pink ink.

CT093 Families are Forever

.       

I also added a few other bits and pieces I had in my stash...
 just to personalise the page a bit more 💞


CB1270 Scrap Words 52 and CB5194 Beach 04


And of course I couldn't resist adding in a couple o these corner flourishes - they just frame the photo so well 💕 Scrapbooking is about the photos after all! 😊


And last, but not least today I'm sharing one of my recent step cards - this time made with some New Zealand themed papers I designed and printed myself 💚


The title was coloured using white ink with an overlay of teal at the base and then the whole surface was covered in Crystalina KindyGlitz! ✨


CT102 Happy Birthday

As is so often the case - I couldn't resist popping one of these gorgeous leafy branches on the front as well...

CB5082 Leaf Spray


...and then I used it's casing as a stencil to draw some more down the sides of he card... 

- A fabulous and easy trick! 💙


And thats everything from me today - thanks for popping by for a look, I hope you have found some inspiration for your own projects 👌


Take care and remember to feed your soul often and generously 😊

Cheers from Kelly-ann.


💋 xoxo 💋