Showing posts with label Heart Stencil. Show all posts

Tuesday, February 28, 2023

Watercolor fun

 Hi all, I've returned today with some more bright and bold projects featuring my teenagers - who simply refuse to wear colours anymore! lol 

They often just wear black these days, making my scrapbooking quite the challenge. My theory now is not to worry if they won't bring the colour to our photos, that's my job now - some cute papers, a bit of creativity and in this case some bright watercolour paints and we are back to living life in colour! 


For this page, I started by adding in a bit of watery blue and green to the background. This photo was taken at the beach, and I wanted to reflect this feeling. 

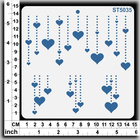
Once the watercolour paint had dried I used this groovy heart stencil to simply draw in a background pattern. I used the A6 stencil from the multi-pack for these smaller-sized hearts.


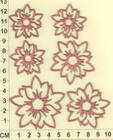
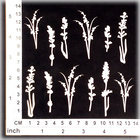
I also used watercolours to paint onto these beautiful floral and stem chipboards to create my little flower patch ... this is a super easy and effective way to colour chipboards... and to add a bit of variety to the finished flowers I also did a few details with a white gel pen before hitting them with the colour. 


The good thing about watercolour is that once it has dried you can go back over the chipboard as many times as you like, making the colour richer and richer if you are keen.


The rest of the layout is just a big blur of fun pen work and embellishments - I was really wanting the page to reflect the whimsical fun of the photo.


My second Project is a gift tag that I just couldn't resist whipping up from the leftover papers and chipboard I used for my layout. 


This time I made my flower chipboards stretch even further by cutting one in half and offsetting them on the edge of the tag ... I also went over them with more paint so that they were a very bright pink.


This time I used the heart stencil at the end and just kind of let it be a guide as I added hearts to the finished tag rather than my usual trick of using it as a background tool. 

I also added a special message to the back of this gift tag ... tags are a great alternative to cards ๐Ÿ’–

And that's it for me today, I hope you are all enjoying your creative journey and have found some inspiration in today's blog. 


Cheers, Kel xo


Thursday, October 29, 2020

Magical Moments


Magic happens right!?

It does for me when I get a few good hours to sit down and get creative ๐Ÿ’•

Watercolours, flowers, gold ink, bling, butterflies and unicorns are the inspirations for this months project.

 This layout of my daughter and myself probably looks better in real life with the light catching on all the Bling on the page. These Acrylic Craft Gems are just that bit more sparkly that traditional rhinestones - I think they bring a very pretty and whimsical look to projects.

My favourite technique for adding bling is to cluster the rhinestones in sets of three different sizes.

These simple quick titles are a must on almost all my layouts lately... this one was VERY simple.
 I coloured it with a black marker and hit it with a white pen to create shine lines...
 - it's an old trick but a good one!! ๐Ÿ‘


Title - CT049


CB1239 Scrap Words 25


CB2009 - Page borders 08  &  CB1020 - Card Borders 03
.  

I jazzed these groovy chipboards up with some gold ink.


And for the background I used these stencils with watercolour paints to pull in the colours that you can see in my daughters outfit from the photo.


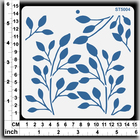
I also ran the watercolour paint through the leaves stencil over the edges of the page and then, 
using the same colours, added hearts to the background. ๐Ÿงก

Hearts Stencil - ST9050 - A5


And thats my share for this month. 
I hope you are all going well and treating yourself to some crafty moments as well.

Cheers from Kel


Friday, February 7, 2020

Love The Way You Smile Tag + More by Kim


Hello...hello!!!
Kim here with you today with my first share for this year...

I'm excited to be creating for 
Scrapmatts for another year!
Today I have a two gift tags to share with you, celebrating 
LOVE
With Valentine's Day only a week away as I type this post up!

Let me share with you my first tag.
I simple love this one!!!

 I love the contrast in colours!

 To create this gift tag I made my own base out of thick cardboard and then glued red cardstock over the base. I then used the small heart stencil from Scrapmatts and texture paste to make the heart background.
Once this was dry I inked around the outer edge using a blending tool. Next I cut out numerous hearts from cardstock and also canvas paper and inked the edges of the red hearts. I then stuck my Scrapmatts Chipboard pieces in place and arranged & stuck down the hearts and other elements.

Scrapmatts Products Used
 
My next tag is the opposite of my first, super soft and pretty!
 For this tag I also created my own base, then covered it with some pretty paper & inked around the edges.
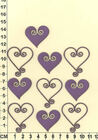
Then I stuck this gorgeous Scrapmatts Steampunk heart in place and the Scrapmatts sentiment. 
I decided it looked a little plain so then I added some beautiful Scrapmatts lace.
(Did you know Scrapmatts stock lace in their online store?)
CHECK IT OUT

 Then I stuck down a few other elements

Scrapmatts Products Used

 The final project I wish to share today is a layout all about LOVE

For this layout I used one of the newer Scrapmatts stencils, and let me say how much I like this one!!
Lots of possibilities with this stencil....my daughter has even used it to decorate some of her books/dividers for her study this year and it looks amazing!

 I did my usual thing with lots of fussy cut flowers and lots of layers, including some Scrapmatts Lace Flowers Motifs


 Scrapmatts Products Used

I do hope you have enjoyed looking at my first projects for the year, here at 
Scrapmatts?

Make sure you head on over to the 
and checkout all that Scrapmatts has to offer

Please make sure you pop back here in a couple of days to see what the other Design Team Members have been creating!

Until Next Time 
Happy Crafting

Kim

Kim Ewins 


Monday, September 11, 2017

September with Helen

Hello and welcome back to Scrapmatts.
It's Helen with you today.

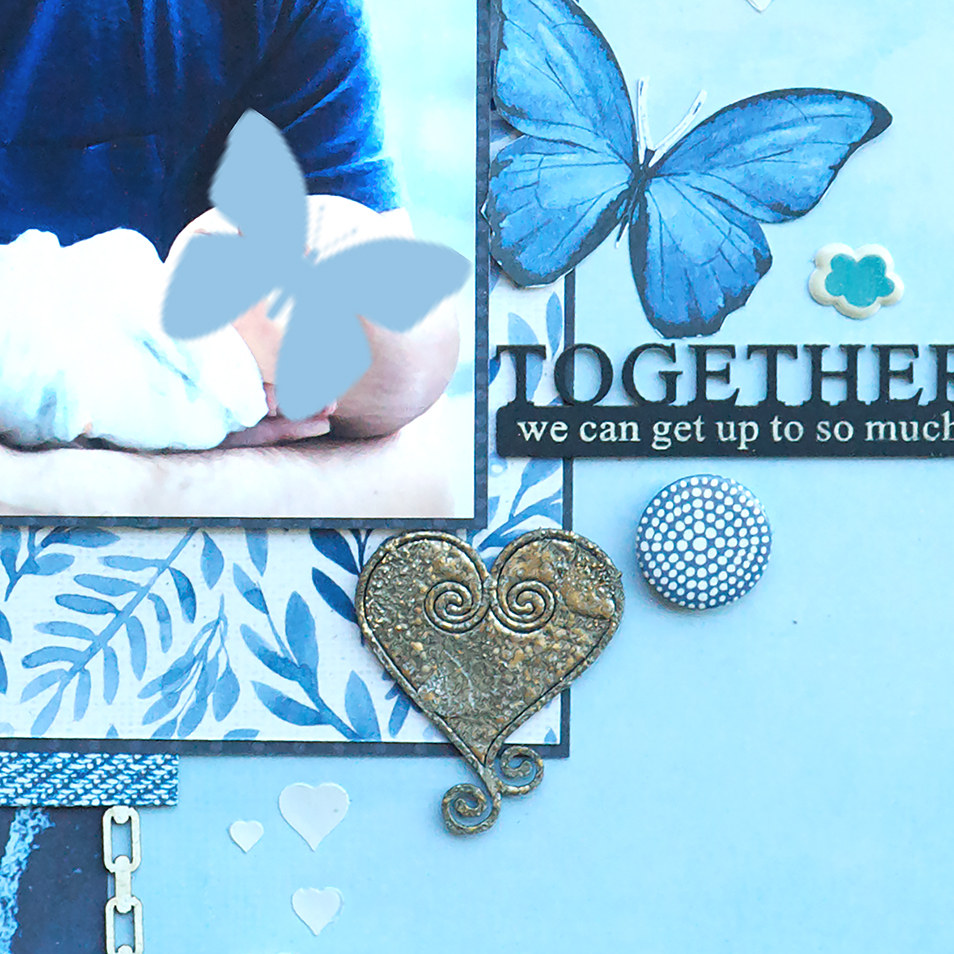
First I'm sharing a layout about a newborn baby meeting her Daddy.
The photo was slightly out of focus, but too precious to discard, so I added a watercolour filter, to blend in with the ombre background paper.
All the papers are from the  Kaisercraft collection, "Indigo Blue." 
The flair is from Studio Fourteen 40.
The puffy clouds is from Amy Tangerine "Cute overload".
I'm not sure where I got the spotty flair, apart from the bottom of my stash, maybe G45?
I left all the chipboard bare apart from the heart which I wet embossed with 
Stampendous "aged Taupe."

Scrapmatts products used:-
CB1229 Chains 02
CB1071 Hearts
CB5142 Retro Squares
CB6112 Scrap words 31
Heart Stencil

I based my layout on a sketch by Laura Whitaker.


Next up is an older photo from a Christmas 2014.
Still stash busting, I've used scraps of older papers to make the red and patterned trees;
then combined them with a new Kaisercraft Christmas collection "Letters to Santa",
for the green tree and green mat.  I think that the gorgeous
 Scrapmatts products have added a touch of festivity and sparkle.
I used various water colours and Tim Holtz Oxides to paint the Holly leaves.
The Believe title, the Frame and the stencilling was done with Nuvo Mousse. 
Scrapmatts products used:-
CB5163 Holly leaves Holly 04
CB 6111 Assorted Words 27
CB6093 Ornate Frames
ST 1037 Bling
ST5041 Stars

I based my page on a sketch by Laura Whitaker

Did you know you can order direct from Scrapmatts?
CLICK HERE to see the amazing range.

Thanks for calling in today - you can see more Design Teams reveals every couple of days, so be sure to check back for more inspiration.

Tuesday, May 9, 2017

My May Creating!

Hello there, I hope this month of May has started well for you! And for all the Mums out there, I hope you get something special for Mothers day too..

I have a couple of creations I would like to share with you..  The first one is a card that I have embellished with  some lovely SCRAPMATTS chipboard.

Celebrate.
 I did some paper pleating across the front of the card and placed a lovely Card Border 02 which I embossed in white on top of the pleats to hold the pleats in place.. I also embossed the Flowers 03 in pink and put a fabulous sparkly gem in the centre of each one..  And for the Sentiment I used the word Celebrate from the  Scrap Words 24.

Here are the products and a link to the shop.

Card Borders 02
 

Flowers 03


Scrap Words 24


I would like to share with you a layout using some pretty papers and lovely chipboard colored by using water colors or gesso.

some closer views..

This close up shows the stencilling on the back ground using the Stencil Hearts , and the chipboard  Diamond Mesh 02 .

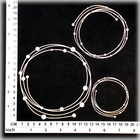
 You can also see the String Circles 03 which I have placed under my photo.. I actually cut it in half to use it in two places under my photo...

You can see some more stencilling on the back ground using the Stencil Leaf Sprays which is quickly becoming a favorite of mine! I have also used some gorgeous Flowers 12 which I have painted using water colors ( paint with gesso first as a prima for the color..)

and my layout..

Beautiful Memory..


I will list all the Scrapmatts I have used on this layout for you..

Stencil Leaf Spray


Stencil Hearts 
 

Scrap Words 24


Flowers 12


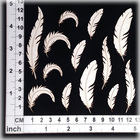
Feathers 02


Diamond Mesh 02


String Circles 03


Hearts 03


Thanks so much for coming by, make sure you pop by again to see what other Design Team members are creating for you to inspire you to use your lovely Scrapmatts products..

 Happy Creating!
Lizzy Crust