Showing posts with label scrapbook layout. Show all posts

Thursday, June 29, 2023

Pretty in Pink 💕

Hello again crafty adventurers, 
Well the time has finally come, my fist grand baby has arrived and I'm cycling back to baby layouts! lol

Having been a scrapbooker for 25 years now I've run the whole gauntlet, starting with my own children's baby albums and seeing them through to adulthood. Now the circle is complete and I'm back to babay photos - it's nice to know I'll get to all those papers in my stash eventually! 


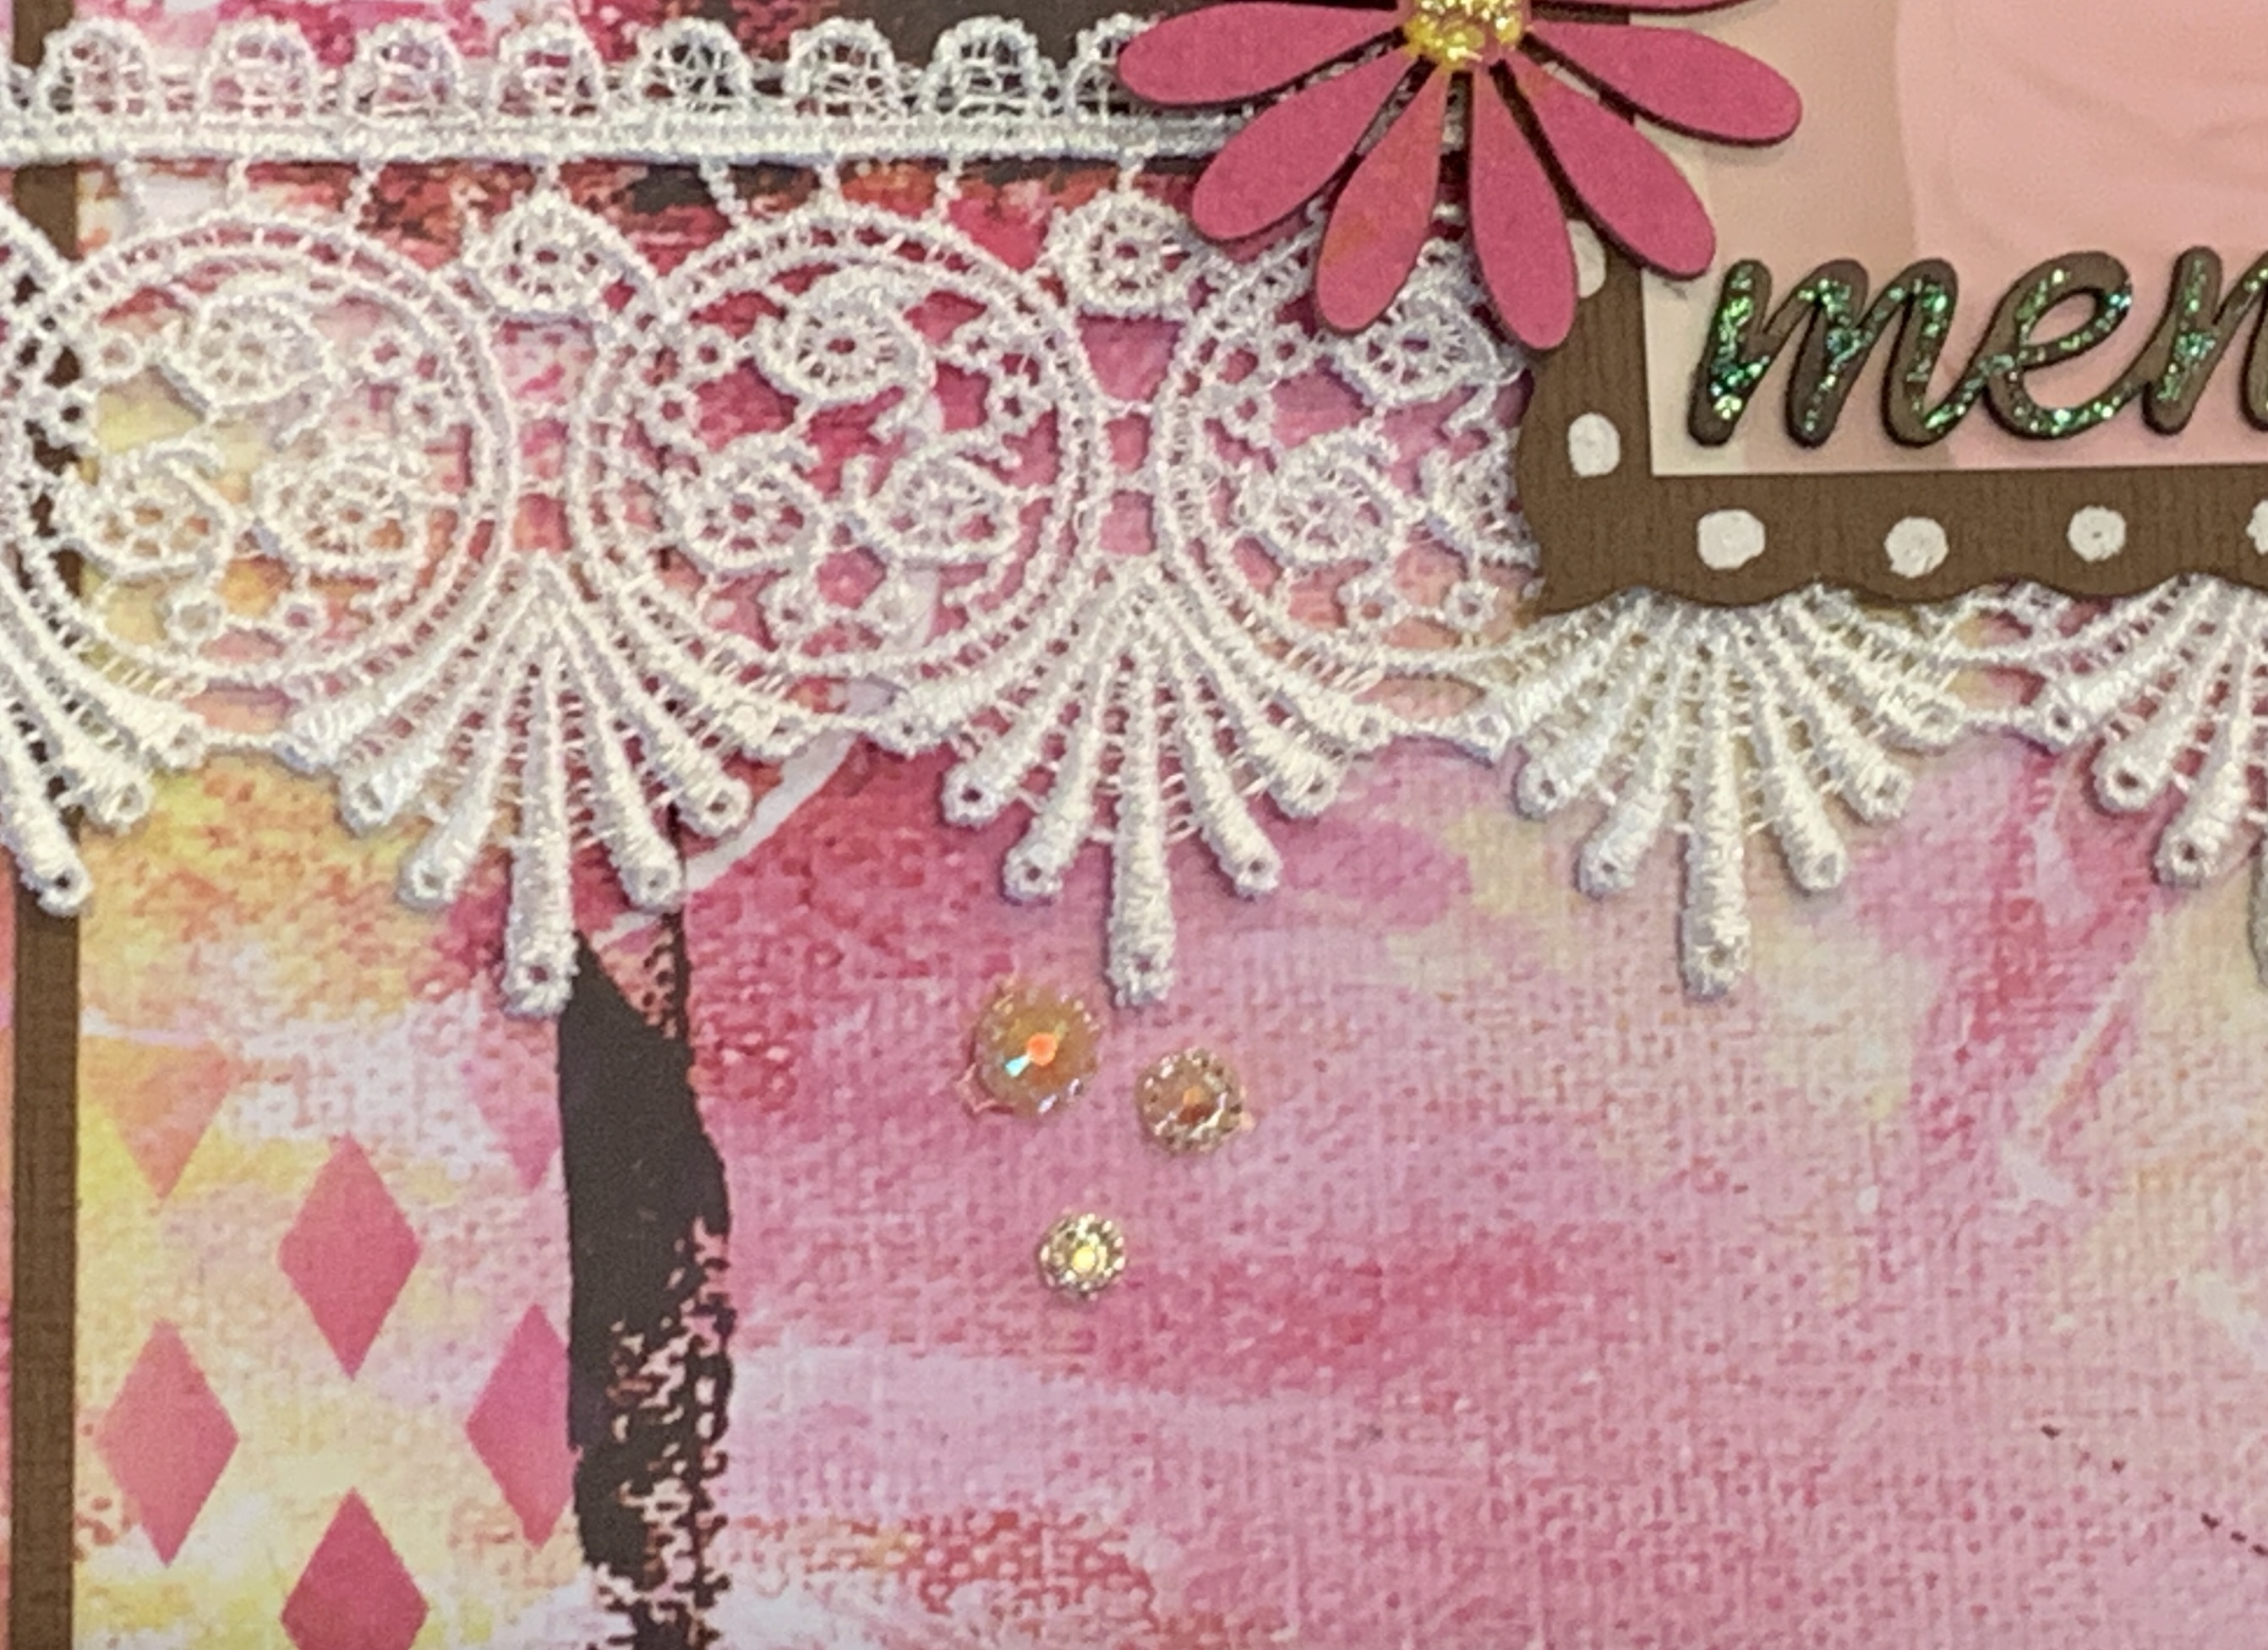
Nothing quite says little girl like lace so I stocked up on some beautiful Scrapmatts laces 
- white is perfect as you can colour them to suit your papers using inks, 
chalks and sprays, although I left the lace raw for this particular layout. 


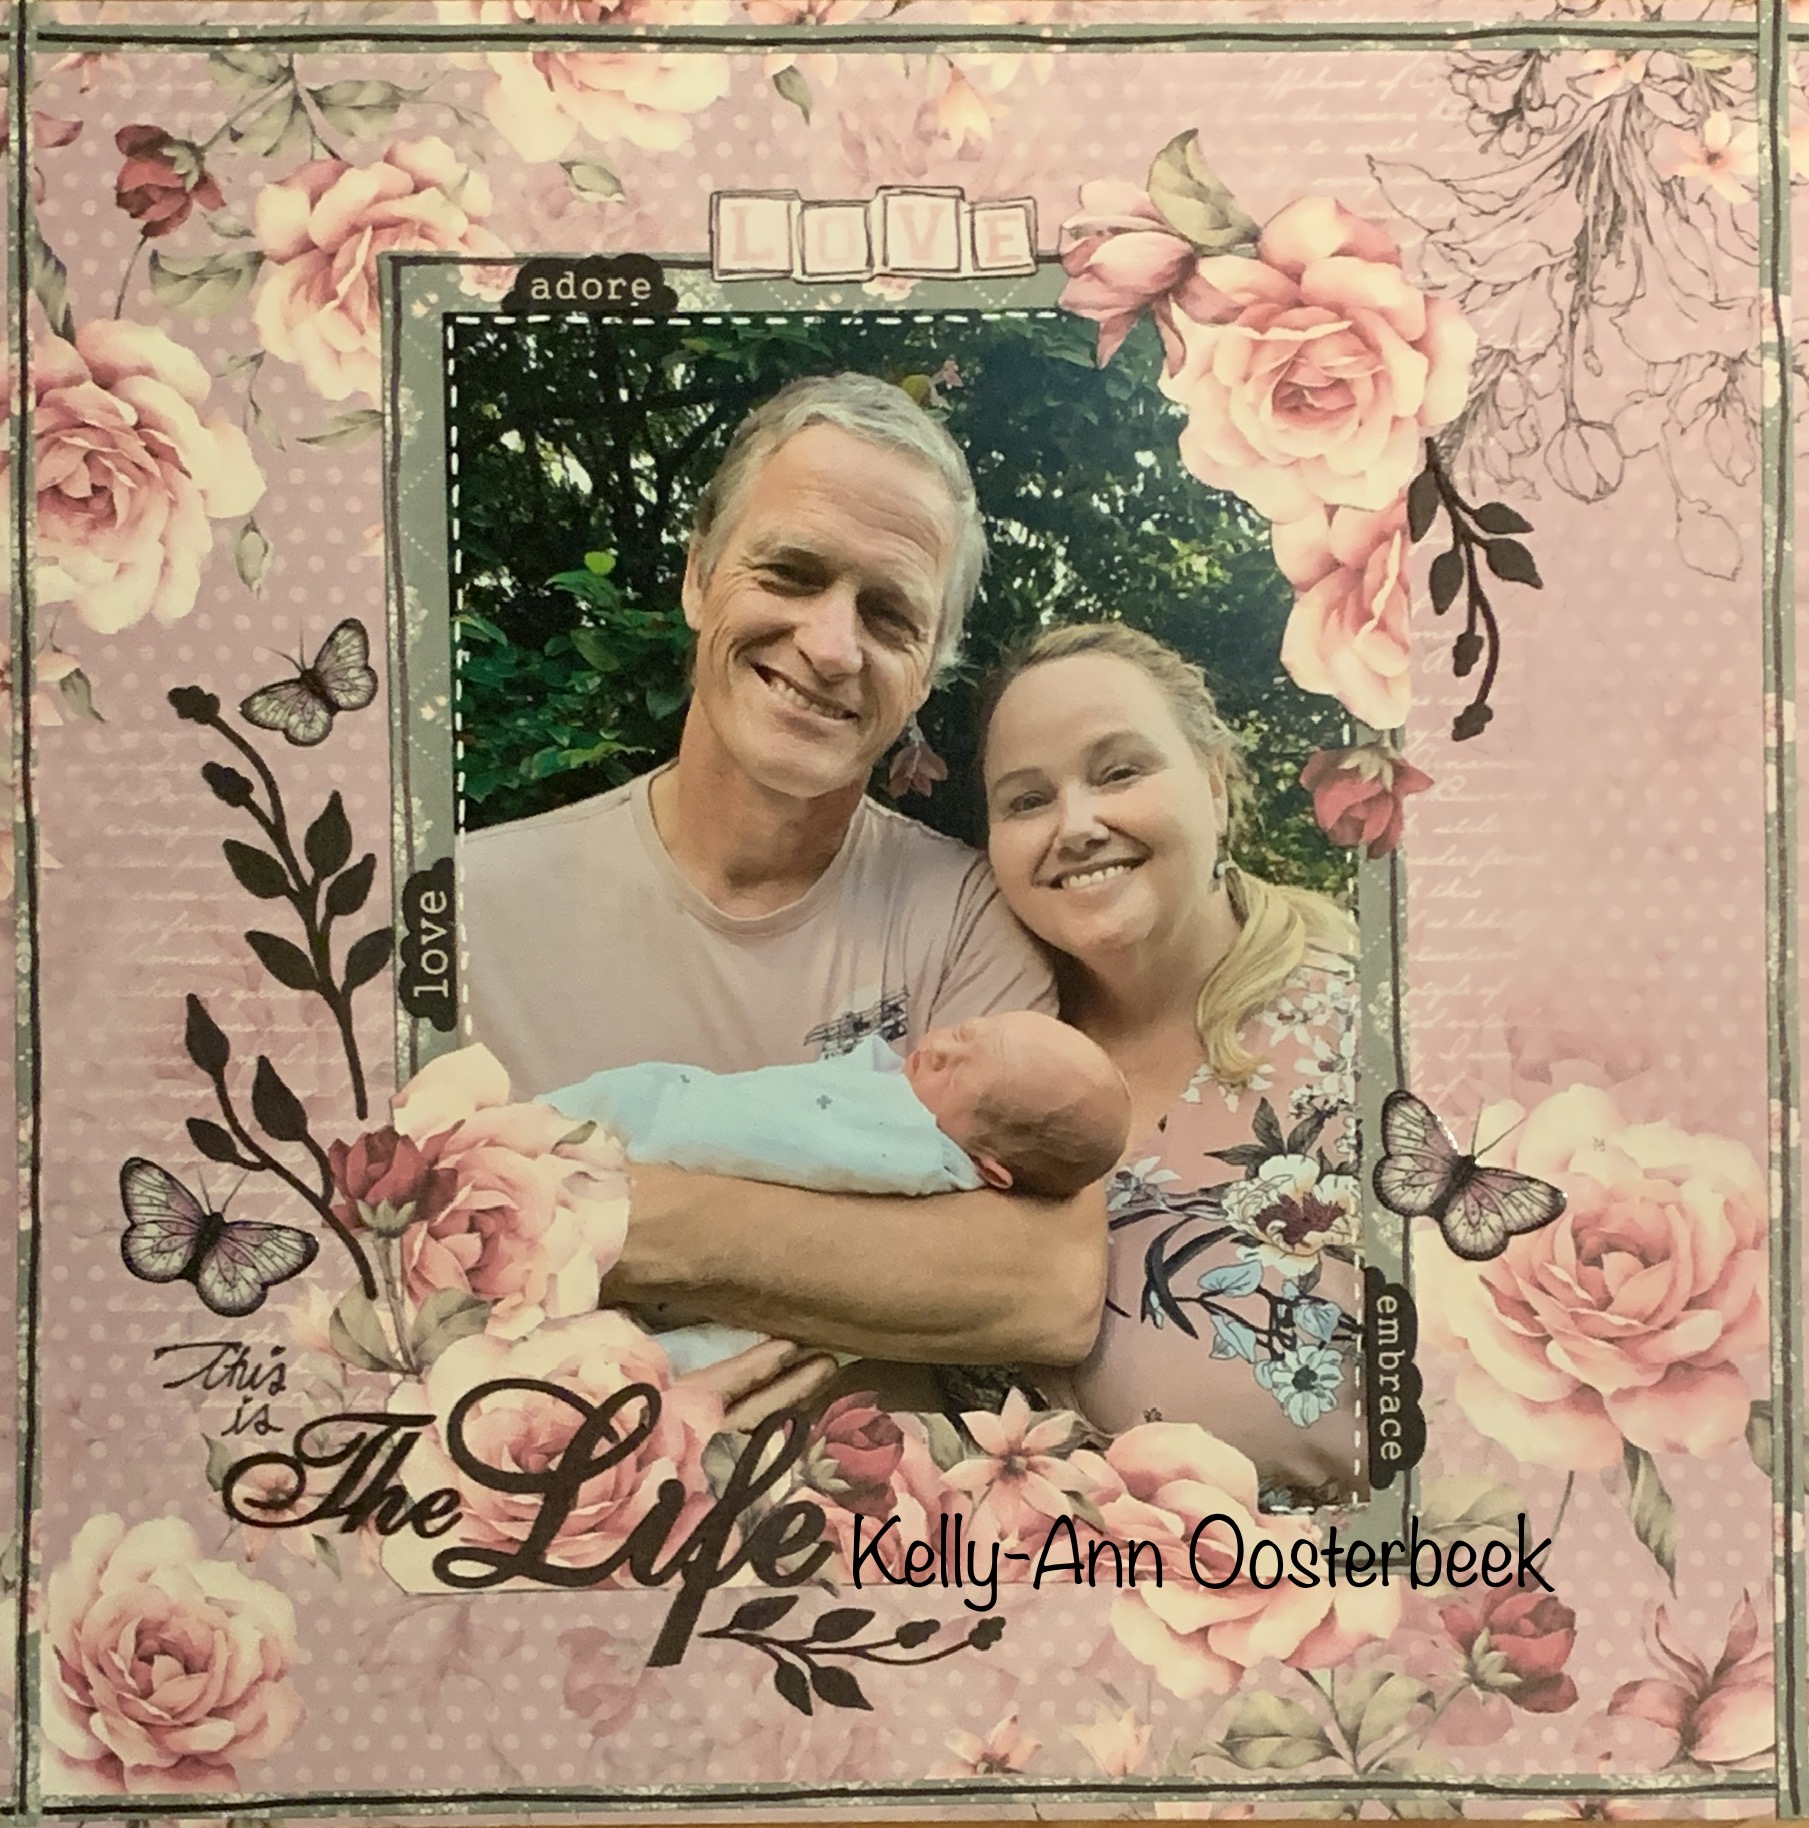
Next I mixed up some light pink gesso (using white gesso and some pink acrylic paint) 
and spread it over the hearts background stencil. I just adore this look 💕


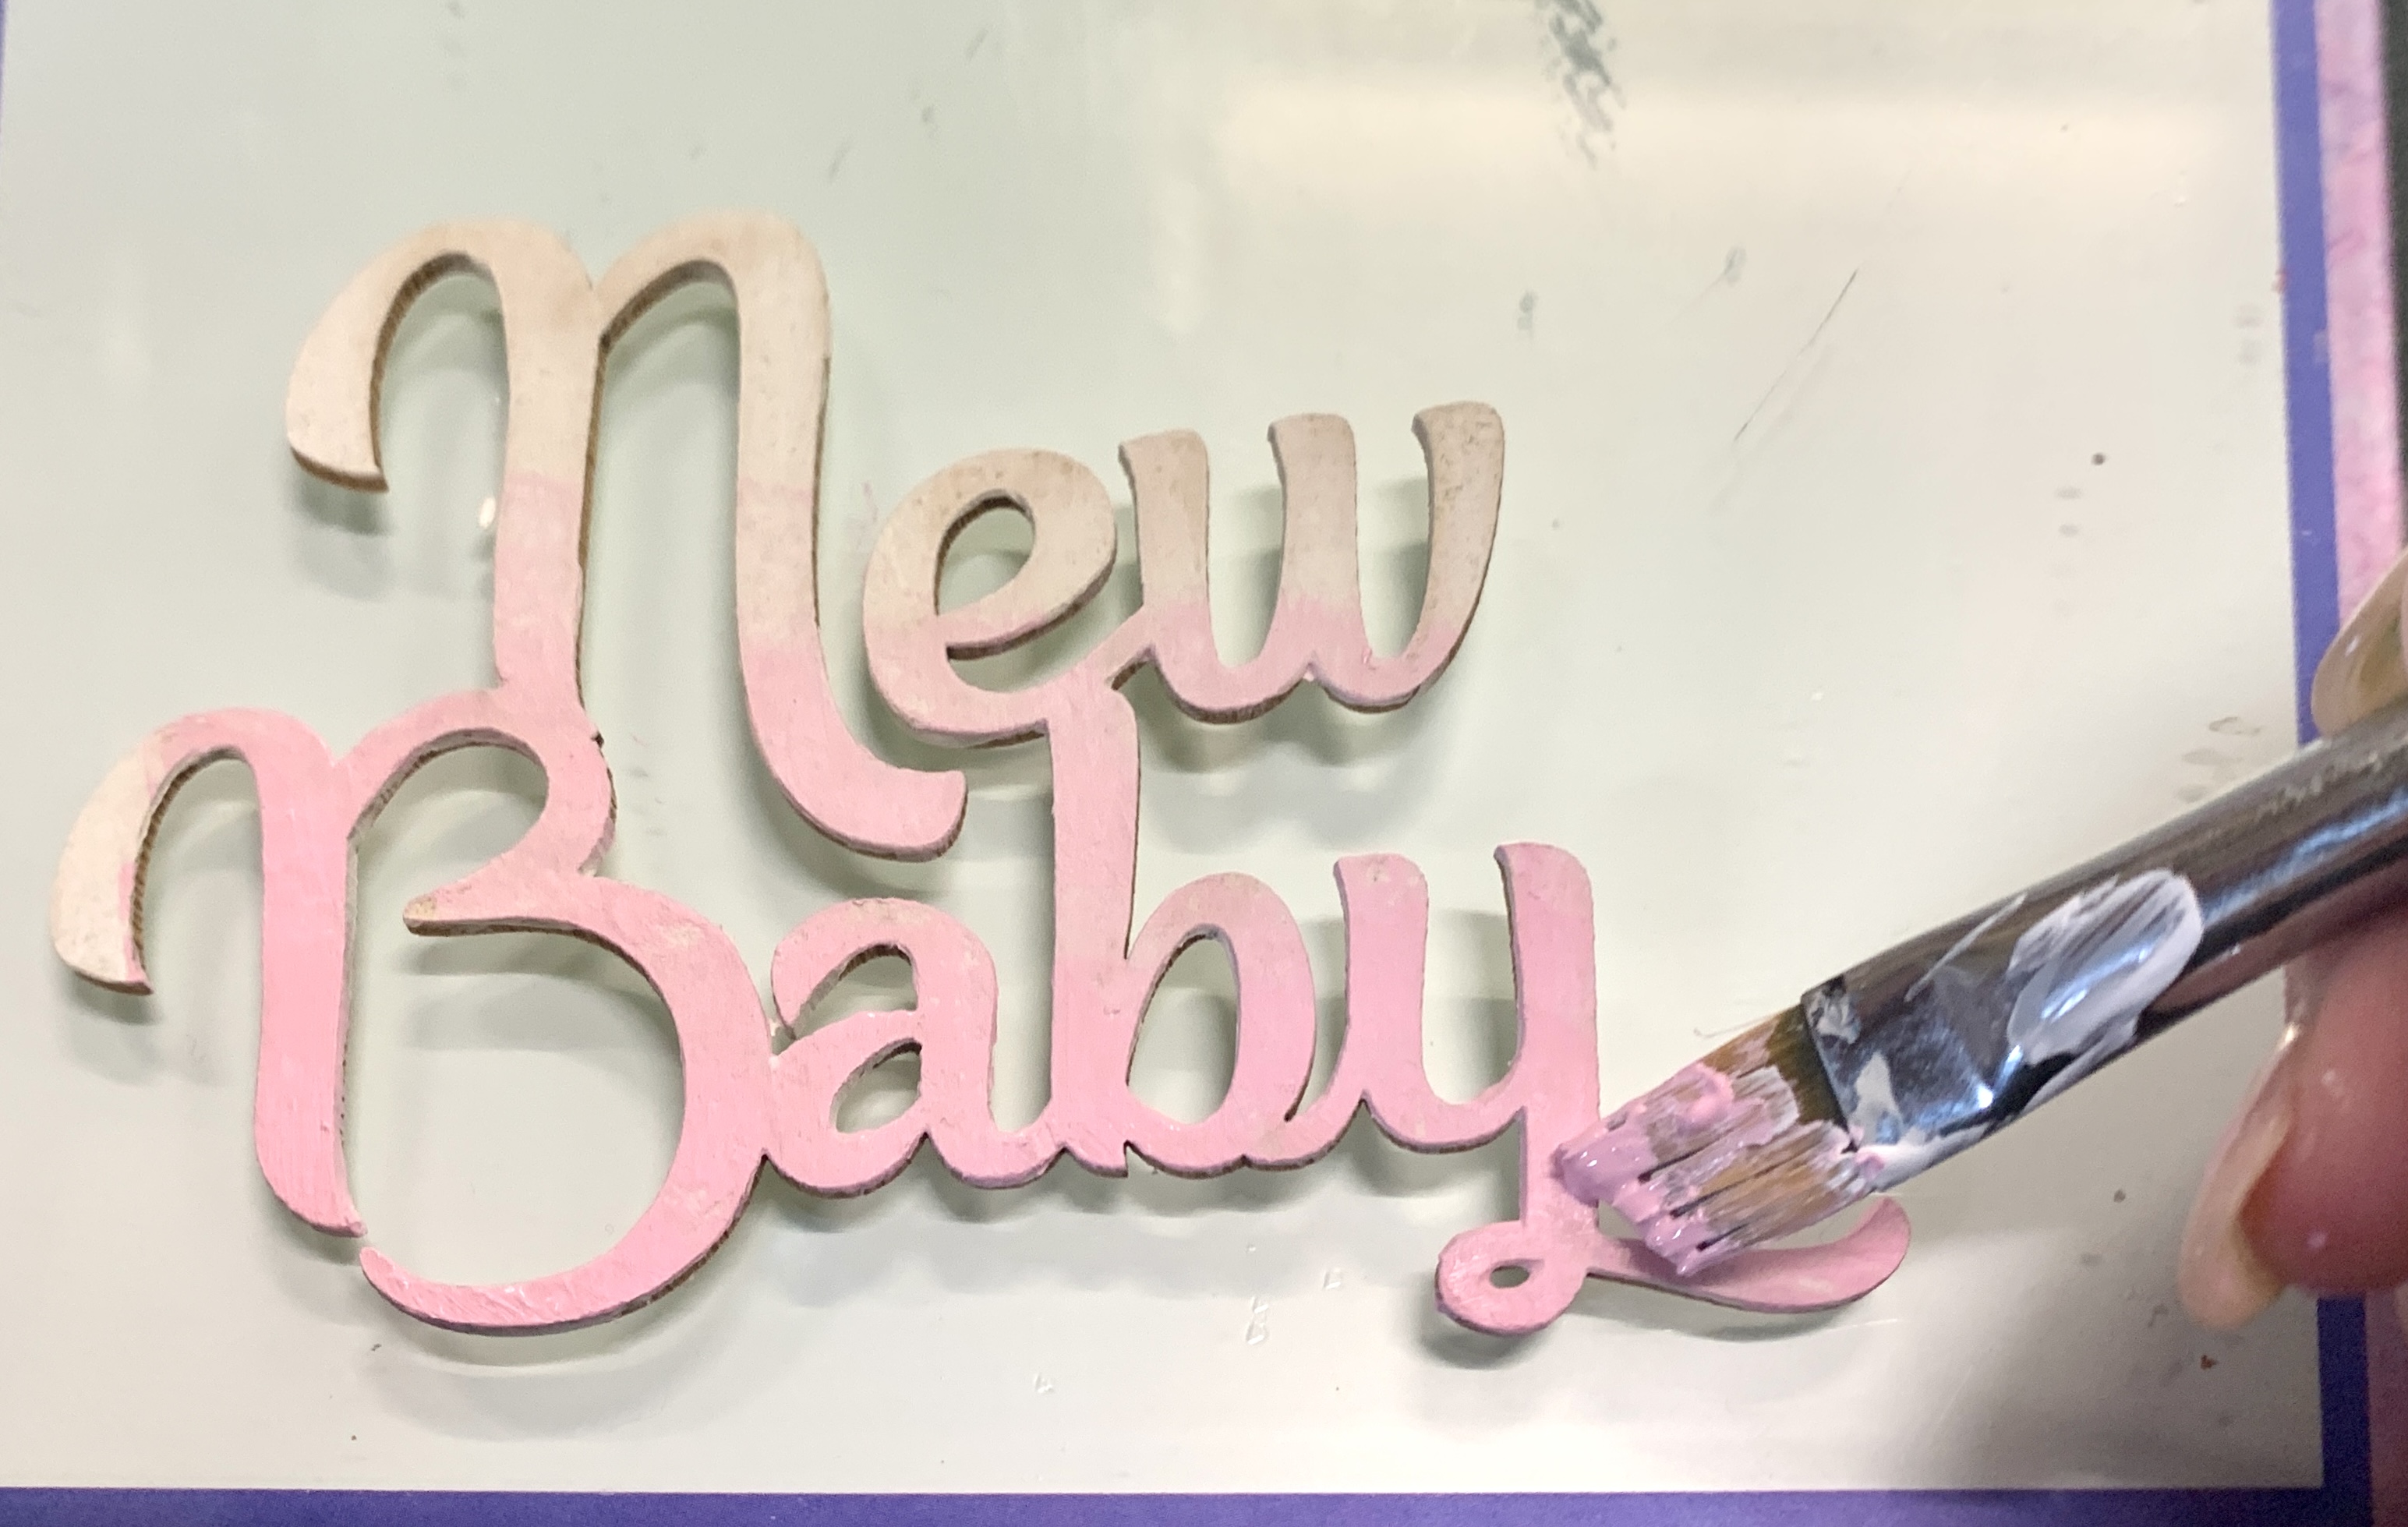
I also used the left over gesso to colour the title - but I verigated it towards the top, 
making the most of the natural white that the chipboard already has on it. 


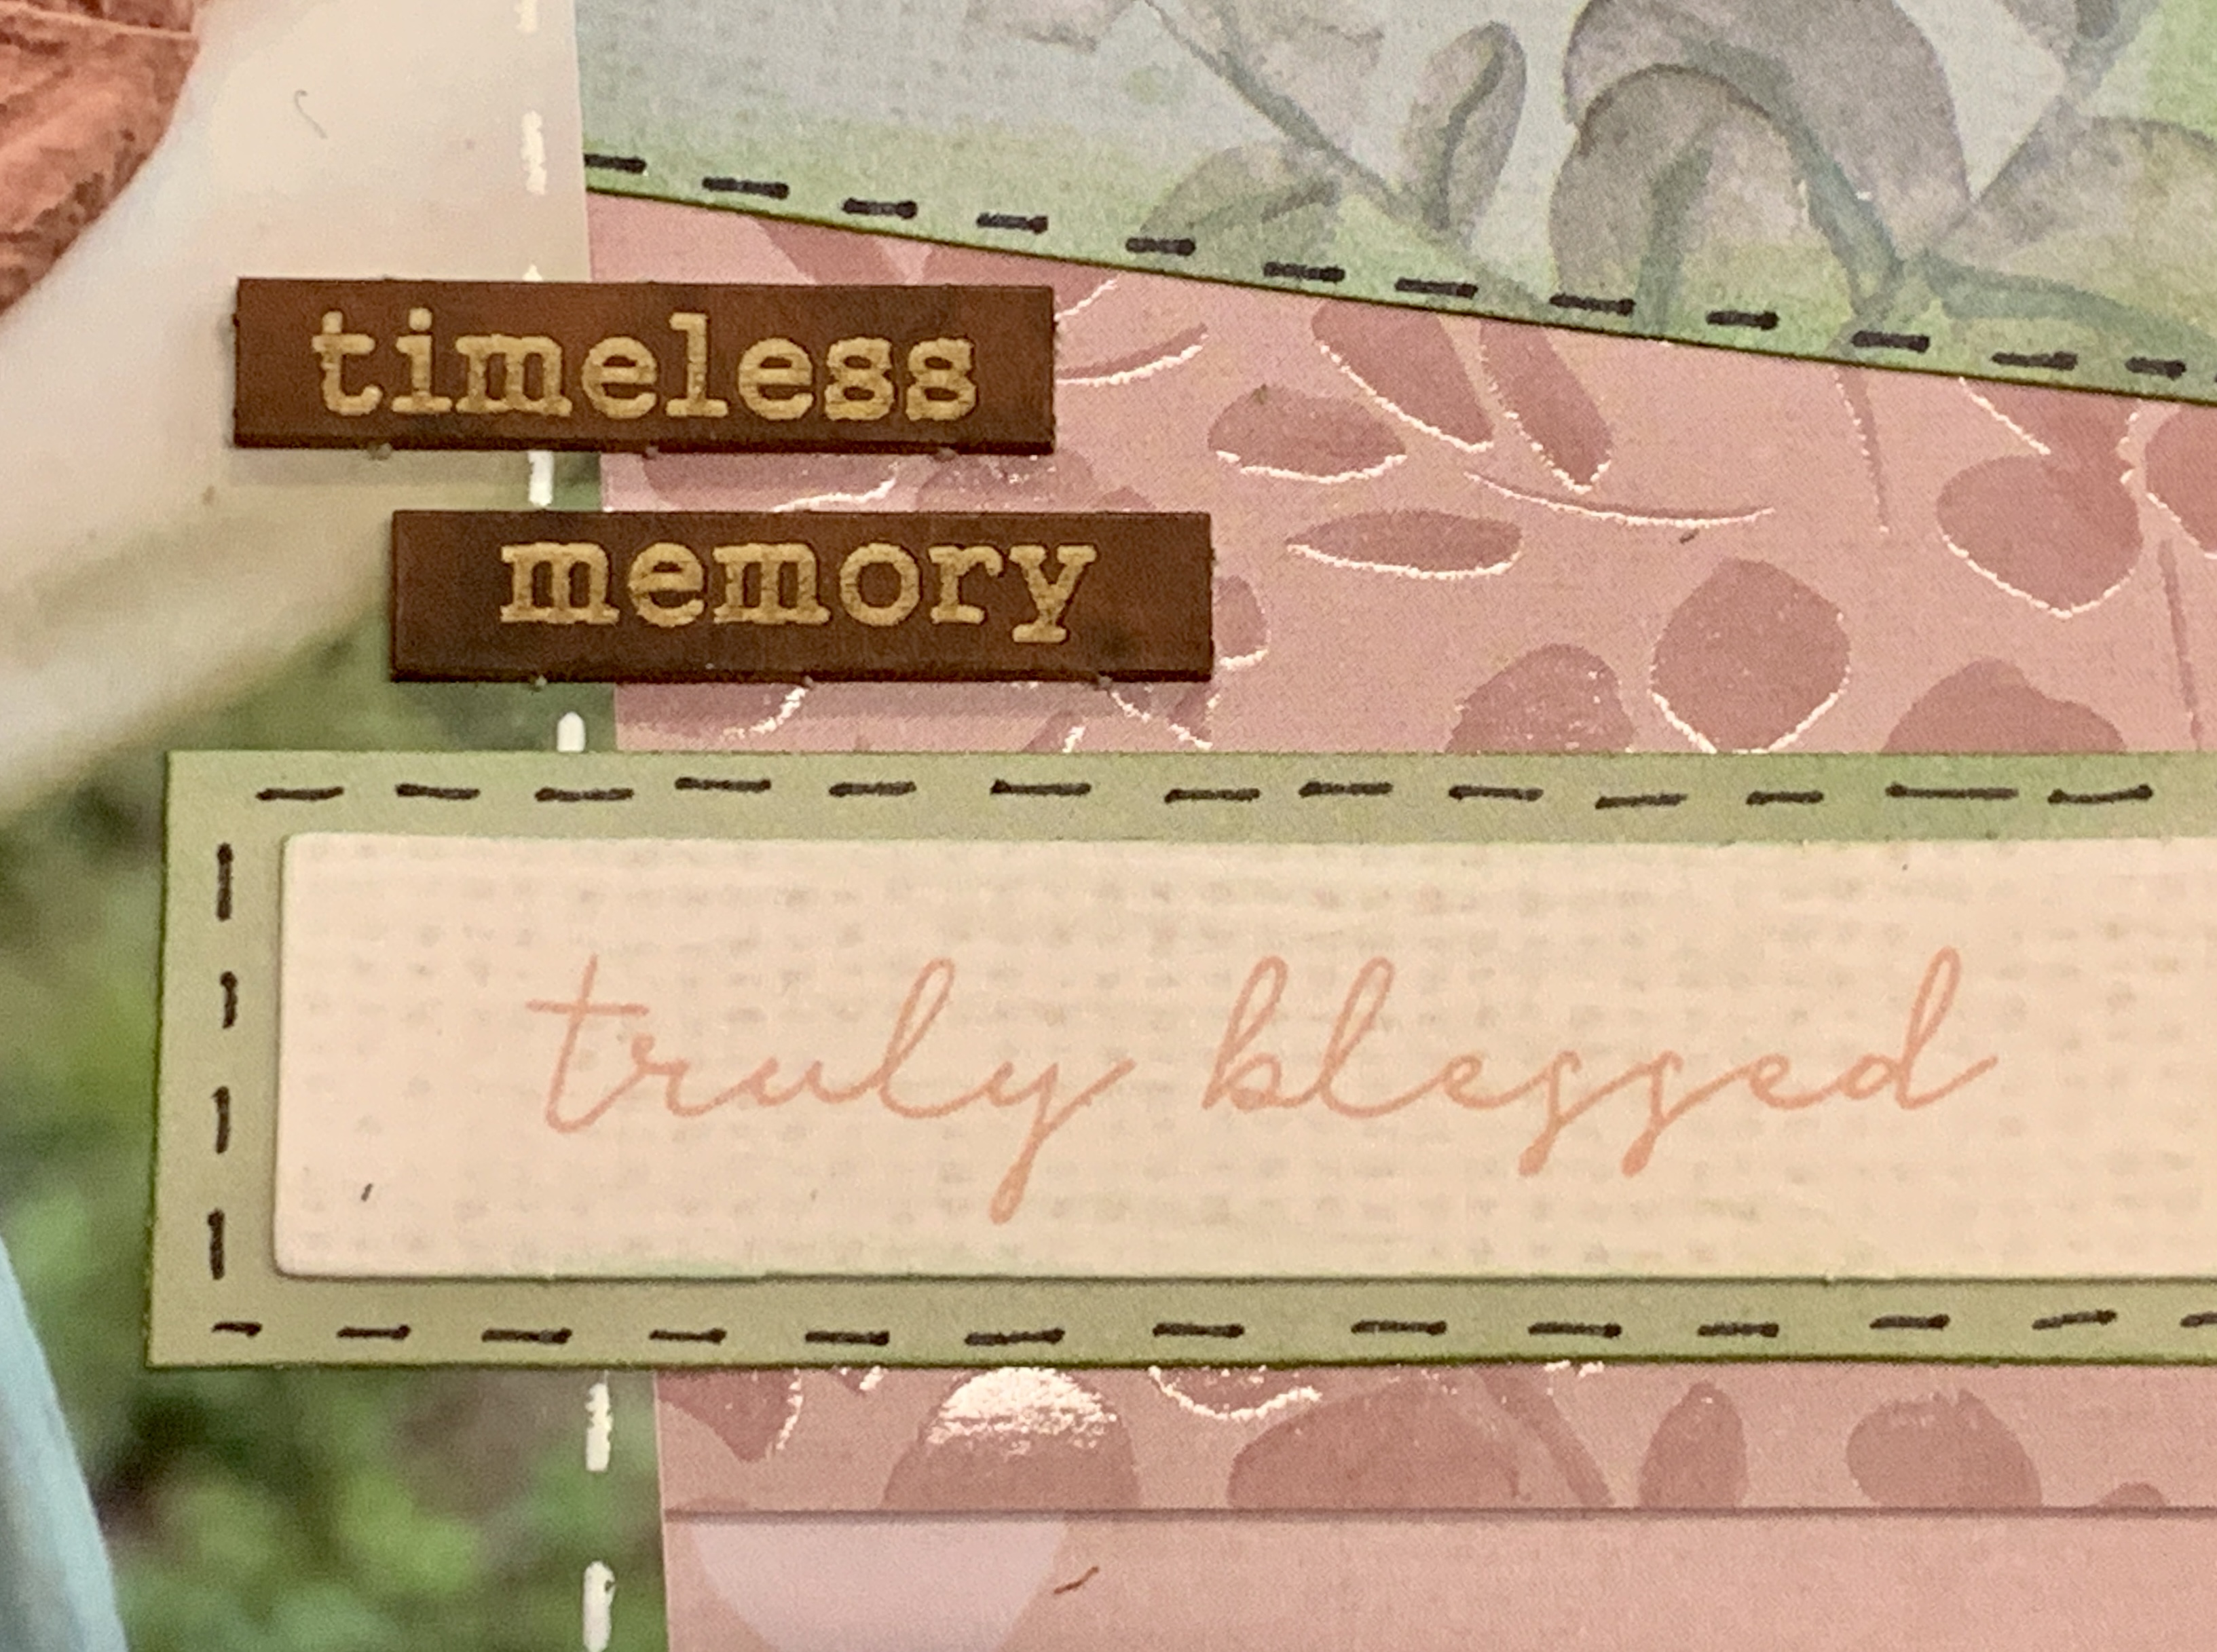
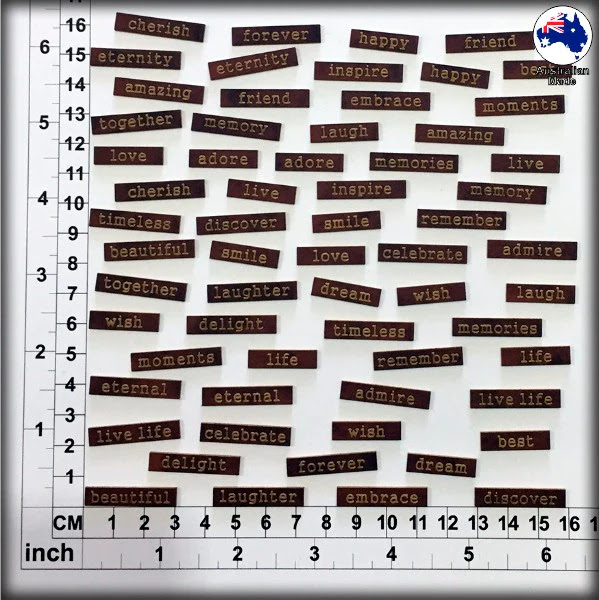
And then I simply tied it all up with these fabulous scrapwords 
- one of which always PERFECTLY expresses the moment captured in any photo.


This next layout was one just for me - I wanted to mirror the pattern in the dress 
I was wearing so this paper was perfect. I then complimented the heavier patterns 
in the fabric with the black chipboards on the page. 
 

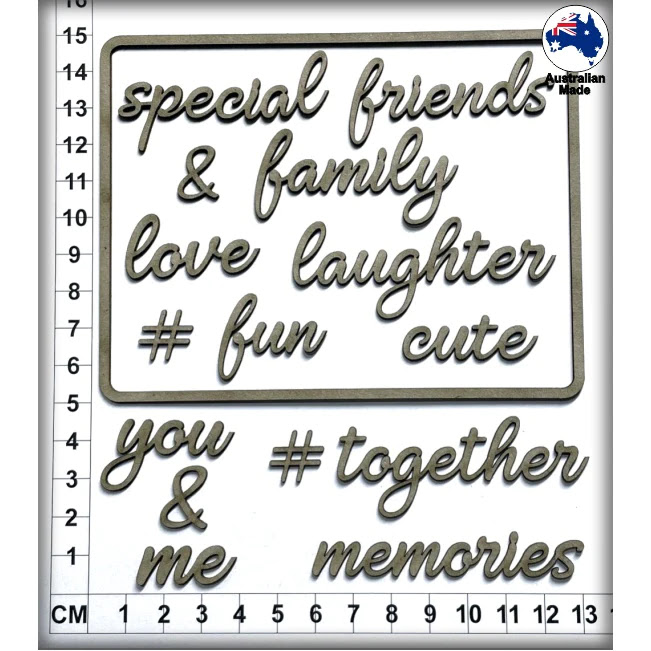
This is my favourite pack of chipboard words to use as titles - I come back to this set over and over. 


I coloured these quickly and esiliy with a black sharpie....
Occassionally if the tone of black doesnt match my picture 
I will use mat black spraypaint or a specific shade of black ink instead.


And of course, a layout is never finsihed for me unless I have added some emotions to it 
- and these gorgeous whimsical scrapwords are perfect for doing just that. 


And thats it from me for this month folks, it has been a priveledge to share the journey with you.

I wish you all the best with your own cerative adventures, 
regaress of what point in the journey you are up to. 


Cheers, Kel xo


Tuesday, May 2, 2023

Dynamic Backgrounds

With Mother's Day just around the corner, I decided to work on some pages 
using photos of my new granddaughter. I'm still in love with  
Australian themed embellishments so I made the most of them on this soft pink page...


The chipboards for the titles were pretty straightforward - the word Mother's I inked brown to make it stand out and the word Love I left as it was - as the raw look softened the whole layout. 


I used the Gum leaf stencil and two different green inks to add the leaves to the
top of the page. I decided in the end not to ink the Gum leaf chipboards at the top so 
they wouldn't be competing for attention with the leaves inked on the paper. 


but the leaves at the base of the photo got a good inking with the same two green
 inks that I used on the background stencils.


Of course, I just had to scatter a few of these wonderful journaling words around also...


For this next layout, I decided to go nice and bright and really lean into the
painterly qualities of the background on this paper.


The hero of this layout is the triangle stencil pattern in the background - created using
the A6-sized stencil, the hot pink triangles emerging from the lighter background really pop!


I rubbed the hot pink ink into the background using this cheap makeup brush
that I picked up at K-Mart on a whim, it worked brilliantly!


And for colouring the feather images I just hit them with some simple watercolour paints.


The various words on the page were gathered from the following sets and inked with brown
and then given a light run-over with Crystalian Kindy Glitz. 


I used the makeup brush again when it came to colouring these flower chipboards as well ...


Then I dropped a bit of yellow paint into the middle of each one to make a simple centre.


I also ended up adding this lace to the page just to pull a bit of the white back in below the photo,
and it's just such a beautiful lace, It really seems to add class to any page I use it on.


Finally, to lift the whole layout I also scattered clusters of these 
4,5 & 6mm Champagne Acrylic Craft Gems around the page and some random sprinkles 
of Crystalina Kindy Glitz.


And that's it for me this month, Thanks for checking out my crafty adventures.
And for all the mums out there - I hope you have a very beautiful and blessed Mother's Day this year 💕

Cheers,
Kelly-ann


Tuesday, February 28, 2023

Watercolor fun

 Hi all, I've returned today with some more bright and bold projects featuring my teenagers - who simply refuse to wear colours anymore! lol 

They often just wear black these days, making my scrapbooking quite the challenge. My theory now is not to worry if they won't bring the colour to our photos, that's my job now - some cute papers, a bit of creativity and in this case some bright watercolour paints and we are back to living life in colour! 


For this page, I started by adding in a bit of watery blue and green to the background. This photo was taken at the beach, and I wanted to reflect this feeling. 

Once the watercolour paint had dried I used this groovy heart stencil to simply draw in a background pattern. I used the A6 stencil from the multi-pack for these smaller-sized hearts.


I also used watercolours to paint onto these beautiful floral and stem chipboards to create my little flower patch ... this is a super easy and effective way to colour chipboards... and to add a bit of variety to the finished flowers I also did a few details with a white gel pen before hitting them with the colour. 


The good thing about watercolour is that once it has dried you can go back over the chipboard as many times as you like, making the colour richer and richer if you are keen.


The rest of the layout is just a big blur of fun pen work and embellishments - I was really wanting the page to reflect the whimsical fun of the photo.


My second Project is a gift tag that I just couldn't resist whipping up from the leftover papers and chipboard I used for my layout. 


This time I made my flower chipboards stretch even further by cutting one in half and offsetting them on the edge of the tag ... I also went over them with more paint so that they were a very bright pink.


This time I used the heart stencil at the end and just kind of let it be a guide as I added hearts to the finished tag rather than my usual trick of using it as a background tool. 

I also added a special message to the back of this gift tag ... tags are a great alternative to cards 💖

And that's it for me today, I hope you are all enjoying your creative journey and have found some inspiration in today's blog. 


Cheers, Kel xo