I love all kinds of Bling!
Rhinestones, pearls, sequins, gold leaf, Kindy glitz ... you name it ... I've over used it! lol
For me a page is never quite finished until I've added some bling. On water themed pages rhinestones and sequins are perfect for creating that water drop effect. On pages with flowers rhinestones and pearls make a beautiful dewy effect. Christmas and pages with yellow running through them often look fabulous with a touch of gold highlighting sections.
But don't just take my word for it, this month I've made some samples up of these examples using all my favourite Scrapmatts products...
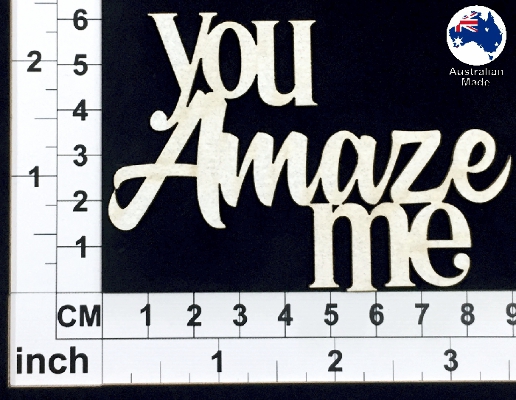
LAYOUT - YOU AMAZE ME (with rhinestones)
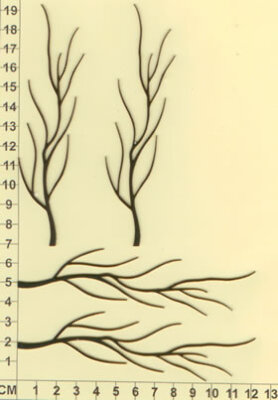
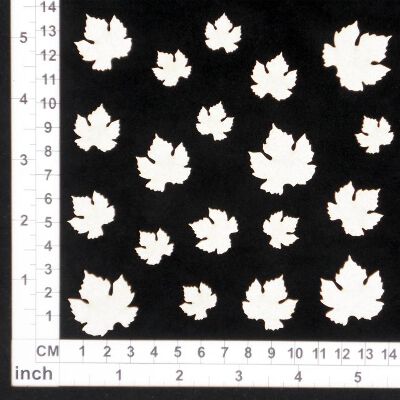
TIP: People look at these cute twig chipboards and think 'trees' all the time, but I promise you, they work equally as well on a beach themed page as driftwood!
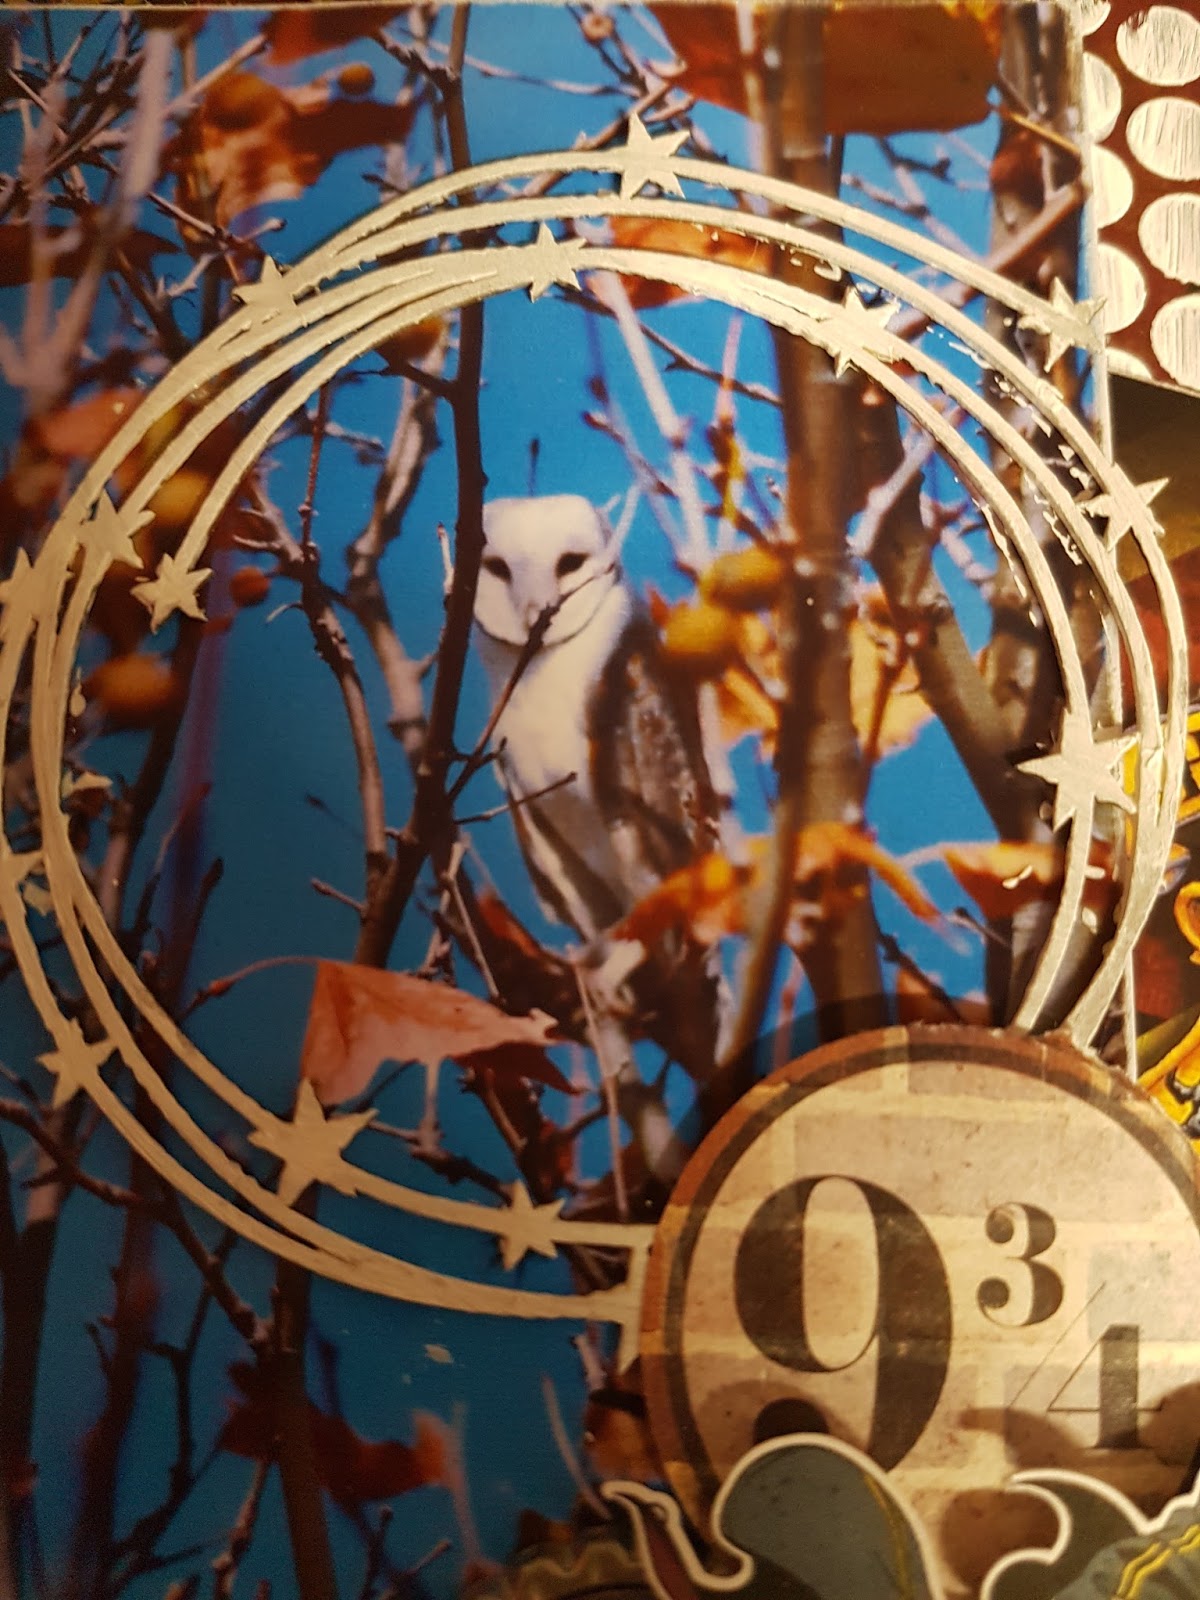
A title from one of the extensive range of chipboard titles Scrapmatts has to offer... at $2 each, you simply cannot go wrong. This one I've simply sprayed with a blue mist and let dry, them popped in some shine lines with a white pen to give it a bit of a wet look, which suits my page theme to a tee.
TIP: do yourself a favour and grab a set of flying birds templates!
I've owned several versions of these over the years... at first I used stamps a lot, but stamps remain the same size and it's difficult to chose this or that part of the image if you just want a random bird here or there. But these stencils that come in 3 sizes are PERFECT for any page or card. There are not many pages I couldn't add a bird or two onto, making
the 3 sized templates a staple for my personal kit!
Stencil 9020 Birds, Available in A4, A5 or A6
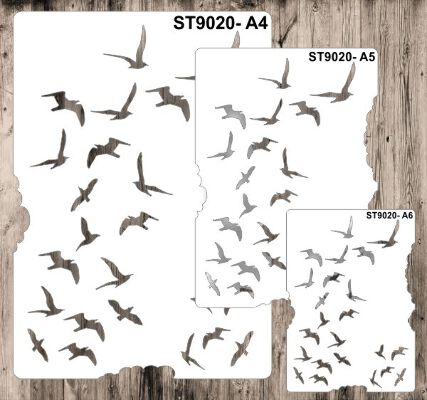 * While any of these would be a valuable addition to your paper craft kit, having all 3 sizes puts an amazing resource at your finger tips - highly recommended items here folks :)
LAYOUT - LOVING THESE MOMENTS (with gold trims)
With this layout I've tried to highlight the fallen Autumn leaves in the picture by running veins of gold through my chipboard leaves... a very simple effect to create.
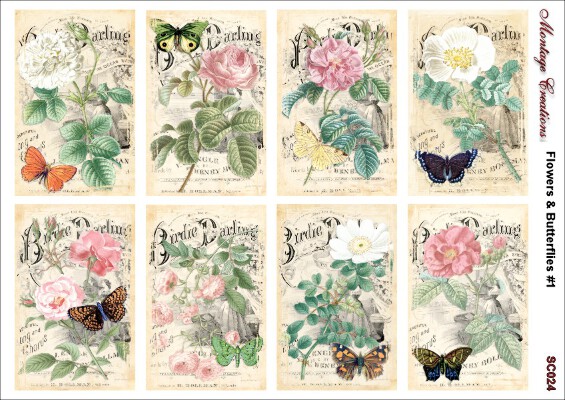
The inspiration for this page actually came from this beautiful panel of montage images that Sophie has created for Scrapmatts... there's quite simply one to suit any layout!
Below you will see this 'gold vein' look I've created on the chipboard leaves.
The technique was relatively simple too...
I couldn't resist running the same effect through the title...
Here I have a jar of metallic flakes. These are so thin you seriously cannot even breath too heavily around them! lol You can pick a jar up at your local craft shop or keep an eye out for them at craft shows.
I layed my colour down first on the chipboard ( yellow with some brown edging) and then just ran segments of glue over parts of the leaf. Then I took some flakes of gold and pressed these onto the glue. I let them dry and simply rubbed the excess gold flakes away, leaving behind a beautiful random pattern.
More birds ....
just to back up my earlier assertions that the birds templates are super versatile,
here are some spot-inking samples...
You can see I've just selected the ones I wanted here and used some black ink
and a blender tool to lay the images down on the layout.
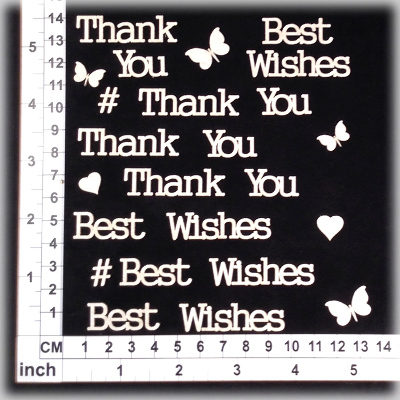
STEP CARD - BEST WISHES (with Pearls)
I had a whole sheet of these montage image panels left over from that last layout, so of course a step card was forthcoming. Teamed up with a simple chipboard word this card took me all of 13mins to make!
A few random pearls scattered around in clusters of three ( with 3 different size pearls in each set) was all it needed to make the card pop.
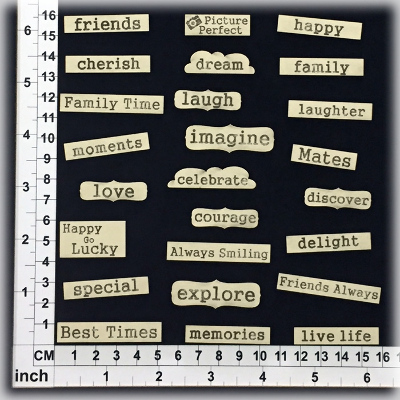
TIP: These simple words are the easiest way of adding titles to any cards, but just to give it a less formal look, I'll often trace over them to give it a messy hand written feel ... it somehow feels a little more personal and reflects the handmade nature of the card.
Thanks for joining me on this journey into the wonderful world bling.
I'm ALWAYS interested in what effects and products people find the most useful for their pages so if you have a favourite bling product that I haven't mentioned here, then PLEASE pop your 2 cents worth in below in the comments section and share with everyone 🙂
Cheers from Kel xo