Saturday, July 16, 2016

A new technique for July!

Lisette here with you today.

I have two layouts to showcase today, both using lots of Scrapmatts Chipboard.

The first one was for a Challenge Design Team I am on.  I surprised myself with this one.  I don't usually do pastel pretty layouts, but had heaps of fun doing this challenge.  The photo is of me as a flowergirl when I was 6 or 7.

CB1222 Feathers 02
CB5137 Ornate Toppers 01
CB1038 Dragonflies 06
CB4063 Leaf Spray 13
CB51444 Layered Poinsettias 01

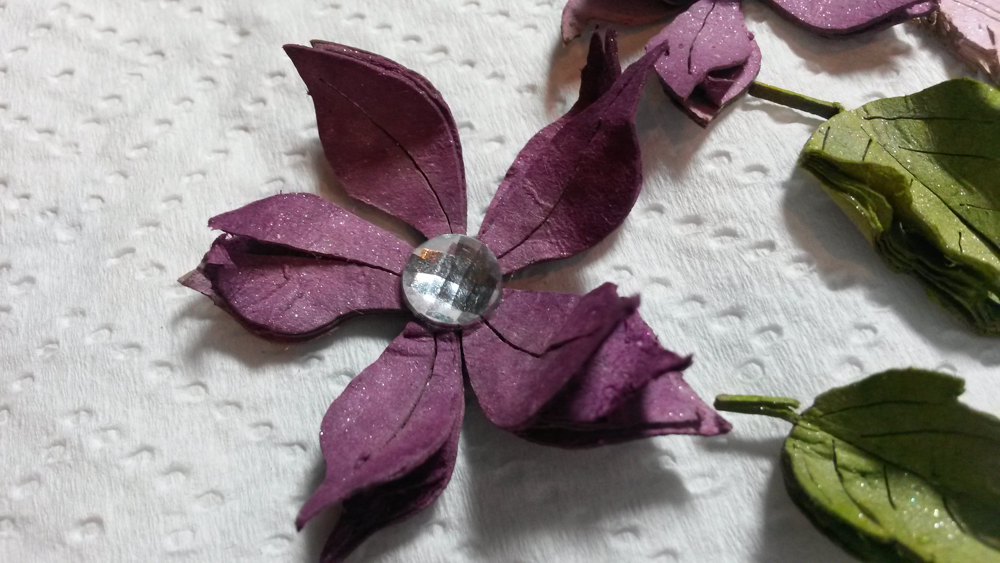
With the Poinsettias & the feather I wet the chipboard and separated the layers to give a 3D effect.  Once you wet the chipboard you gently separate each layer, mainly the outer edges, then cup the flower in your hand and gently crush to give dimension.  I then hit them with the heat gun to start the drying process and then left them to air dry.


My next layout is just for fun.  My eldest daughter was up from Hobart over the long weekend in June.  Tim had gone overseas for work, so we decided to head into the city to look at all the lights of Vivid.  We had a great night, taking lots of silly selfies.

CB1038 Dragonflies 06
CB1123 Signboards 01
CB6106 Assorted Words 24
CB 1004 Flourishes 05
CB1024 Flowers 04

All the chipboard are inked with Red/Gold Dew Drop Inks


Hope you have found lots of inspiration here and maybe a new technique or two.

Until August,  Happy Scrapping

Lisette

Friday, July 15, 2016

July with Amy

Hello My Scrapmatts Friends,

Amy Here, I have been looking forward to showing you my scrapmatts creations for you.

LETS start with Colour Inspire Story Challenge Blog CASE Number 202

For this layout I have used CB5155
Here is Winter
I cut this chipboard into two pieces and painted it with some colourblast paste and sponged gesso over the top to lighten the colour


The next layout I have called Forever in the Sun.
I have used CB4067
 And ST1035 
Materials - Colour Blast shimmer powders and pastes, Tim Holtz Distressed Crayons, Scrapmatts and Cocoa Vanilla Studio
Let me show you some details
Using the Stencil I used some texture paste around the frame of this layout and painted with Distressed Crayons and water
 I've painted the chipboard with Black and Cream Acrylics. Some of the pieces have dimensional magic added as well
 Using Colour Blast shimmer powders I created the background behind the chipboard. Its very glittery in real life and really helps the chipboard pop!

I hope you enjoyed my layouts for you this month.

Stay Scrappy
Amy,


Thursday, July 14, 2016

Wall Decor & Card

Hello there! Hope you fellow Scrapmatts fans are having a super week so far :) 

I recently moved house and have been on a mission to create some cutesy wall decor pieces to complement my scrapbook page that adorn the walls of my new home.

Here is one such piece that was put together using the adorable Owl chipboard piece:


How to:
1) Pick a patterned paper of your choice. (I chose subtle shades to match my girl's room)
2) Trace out the shape of the chippie onto patterned paper
3) When cutting out the shape, cut outside the line so that when you adhere the paper, it covers the chipboard fully
Materials Used:
MAking Memories Patterned Paper
Doodlebug Cardstock

CB4064 Layered Owls 03


Next up is a card


Materials Used:
Kaisercraft Patterned Paper

CB1200 Scrapwords 08

CB1195 Silhouettes 03


Wednesday, July 13, 2016

Take Two This July : Andrew Roberts

July is almost half way through  but there has been some awesome projects so 
far from the design team
My july post has rolled around so fast and I have done two very different projects.

I have made a crd for the first project and it has very vintage style.
I love the colours and the scrapmatts chip board have made great accent points.


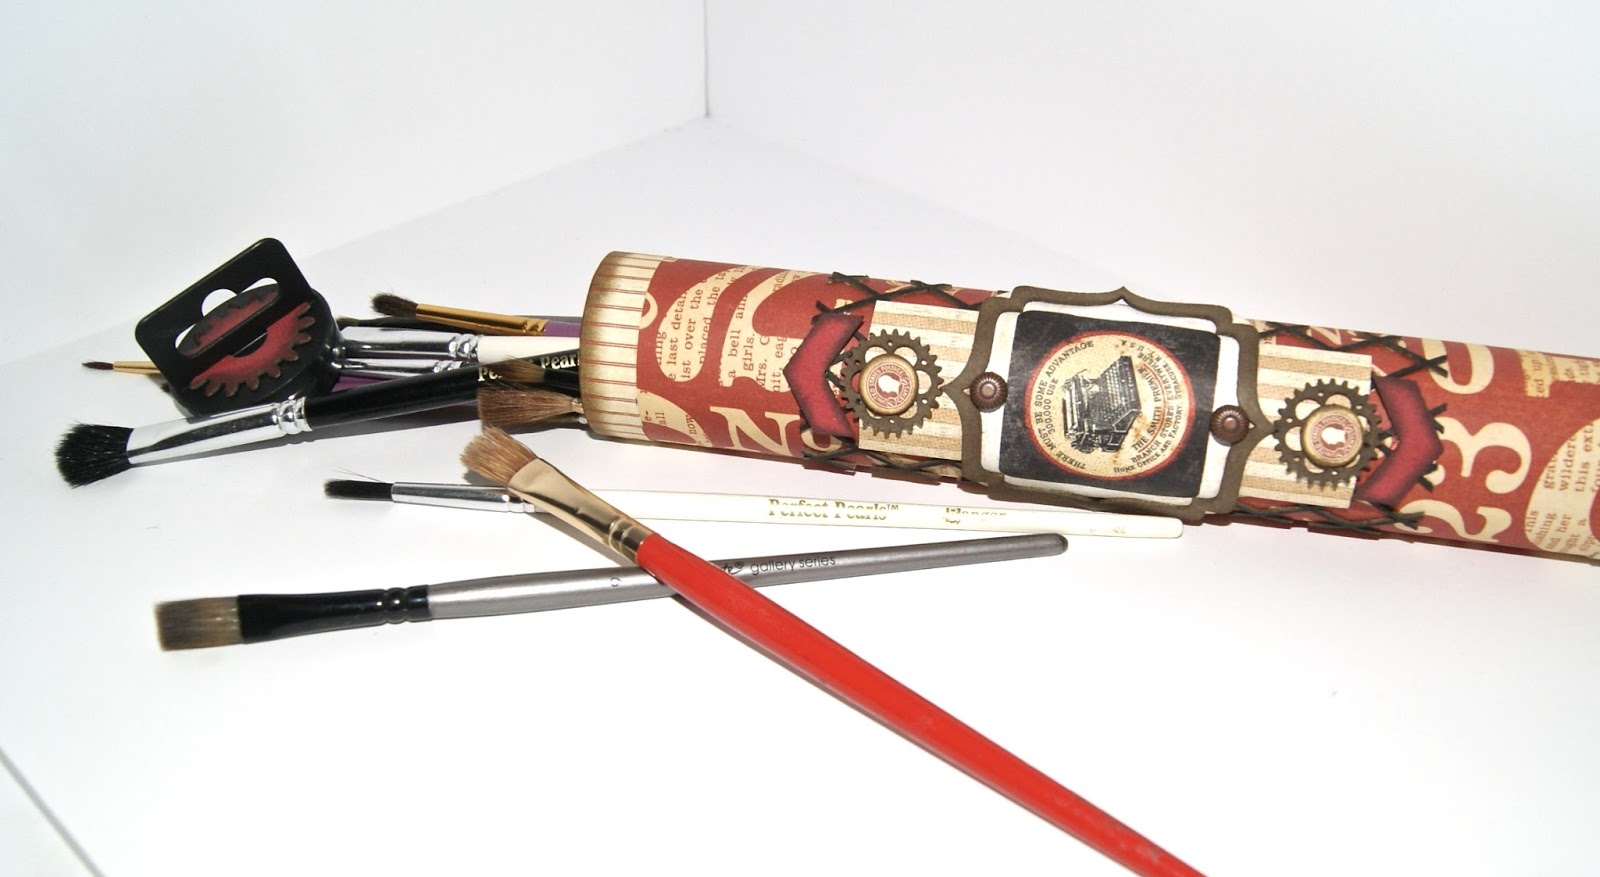
The second project is an up cycled tube that I have turned into a storage for my paint brushes.

Did you know that scrapmatts chipboard is so versatile that you can adhere it 
to a curved surface. This makes a great technique for adding texture to a more unusual shape.


Thanks for stopping by 

Cheers Andrew


Saturday, July 9, 2016

Life is a Journey and an Easel drawer card

Hello there, welcome to my July post where I've used lots of
products, including some new releases.

The acacia tree and elephant chipboard sparked the idea for this page.  I’ve had the Lion photograph for many years waiting for the right paper and the Graphic 45 “Safari Adventure” 
was just perfect for my theme.
I fussy cut lots of the G45 papers and attached them to 
a 13@rts paper, "Timeless", Today, tomorrow, always.

The new webbing chipboard formed a “hide” for the lion.
We slept in tents like this in the Maasai Mara game reserve.
 I love the way the chipboard responded to painting and glossy accents.
 I tried to replicate the texture of cracked soil by using crackle paste through a stencil and adding destress inks.
The journalling on the back of the page.
Our trip to Africa was a holiday of a lifetime; something I’d longed to do since childhood.  To sleep under canvas and hear the lion’s roaring at night; then in the morning light to spot them in their native habitat, was absolutely breathtaking.  The whole trip was filled with extraordinary moments like this.  We saw Leopard, Cheetah, Elephant and Cape Buffalo and Rhinoceros, as well as hundreds of gazelle, zebra, warthog and giraffe.
The migration of the wildebeest happened while we were waiting at the side of the Mara River.  I learned so much about other cultures, foods, and ways of living and am richer for the experience.  There is something about the big skies, the Acacia trees silhouetted on the veldt, the golden light at dawn and dusk, that feeds the spirit and constantly calls me to come back.

SCRAPMATTS PRODUCTS 
CB 5151 Webbing 01
CB 5134 Africa 02
CB 6103 Scrap Words 21
ST 5029 Stencil webbing

The second project is an easel drawer card for a friend’s significant birthday.

I found the idea on You Tube courtesy of 

Whilst it’s a bit fiddly to make, I think it’s worth it for a special occasion. 
My friend loves Autumn colours so I used the Graphic 45 papers,
“Children’s Hour” for the project.  
The Happy Birthday chippie was just the right colour.
The drawers are all lined with paper scraps.
The clock face was treated with silver and gold to create an antique finish.
I wet embossed the Flannel flowers and topped the centres with microbeads. 
 There are four little drawers, one on each side, 
each large enough to hold two or three chocolates.

SCRAPMATTS PRODUCTS
CB 5146 Flannel Flowers 01
CB 1028 Butterflies 18
CB 1107 Clocks 08
CB 1244 Scrap Words 30

We'd love to see what you create with Scrapmatts products.
Why not upload your work to the blog, so we can leave you some love?

Thursday, July 7, 2016

July's creations by: Rhonda

Hello happy crafters, Rhonda here again and another month has passed us by which means I have again spent some productive time crafting away.

This month I have another 2 projects to share...
The first project is a Printers Tray added to our DT stash by the lovely Sofie no doubt to challenge us all just a little.

 Memories last forever and ever.

I started off by giving the top layer 2 coats of white, then the back layer I painted a soft ocean blue.


Behind the lighthouse I used the ST1021 String and behind the words I used ST1030 Clouds with micro beads, down the centre strip I used ST1016 Tyre Tracks with Shells & Beach Sand.


In the bottom left corner I used CB1220 Ornate Frames 22 with a few shells around it and under the frame. 


As I did under the right centre CB1221 Nautical Designs 04
and the bottom right corner CB1221 Nautical Designs 04,then the righthand corner CH036 Ships Wheel


Memories Last Forever and Ever
Tim Holtz
Distress Paints – Picket Fence

FMS
Art Ingredients – Micro Beads – Silver,
Gel Medium, Modelling Paste, Gesso,
Watered Down Aqua Acrylic Paint,
Shells & Beach Sand


Scrapbook Layout

My son & his lovely girlfriend were in the spotlight
this month for my 2nd project and as such
featured in this layout.

YOU & ME
"Makes Me Happy"

My inspiration was the waterfall in the background and
creation of water elements such as blue and
bubbles/circles was where my lovely stash
of Scrapmatts goodies took me.


I cut some brick shapes out of a Free Range (Bricks)
paper and glued them onto a Graffiti paper
from the same Fabscraps range to give an
industrial feel that would compliment the male aspect
against the lighter feminine tones.


I cut CB5152 Circles 02 background into 3 pieces
and splashed it with white & blue paint in a
random fashion.
I did this same technique on the gauze that is
positioned behind the photo.
I talked in my introduction of this layout of them
being in the spotlight so thought what better
opportunity to use CB6109 Lamps 11 to which I
double embossed it to give it an antique copper look.


And I couldn't find a better title if I tried than the one
that was part of CB1208 Scrap Words 11 in
"You & Me - Makes Me Happy"


FMS
Gauze, Acrylic Paint (White & Light Blue),
Modelling Paste, Embossing Liquid,
Brown Embossing Powder & Stampendous Fragment Powder Blue,
Twine, Hemp Twine,
Kraft package from an old package I had saved,
Double Sided Self Adhesive.

Fabscraps
(Teens Collection)
Hash Tag C80 008 (Graffiti)
Free Range C80 007 (Bricks)

Thank you so much for stopping by!
Make sure you pop back in a day or two or head over to the 
 to check out the Design Teams amazing creations!
If you have creations using Scrapmatts products why not upload
them into the gallery?!
(We would love to see them!!) 

Until next time
Happy Crafting
X