Wednesday, March 29, 2023

Titles Made Easy With Inks 💥

Hi All, 
well, I'm back again this month with more layouts made using inspiring 
products from Scrapmatts' incredible range of beautiful products.

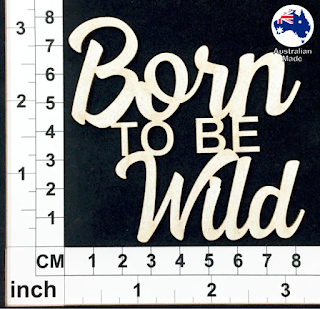
This first fun layout is brought to life by the fantastic title 
- which was coloured using a very simple technique of layering inks.
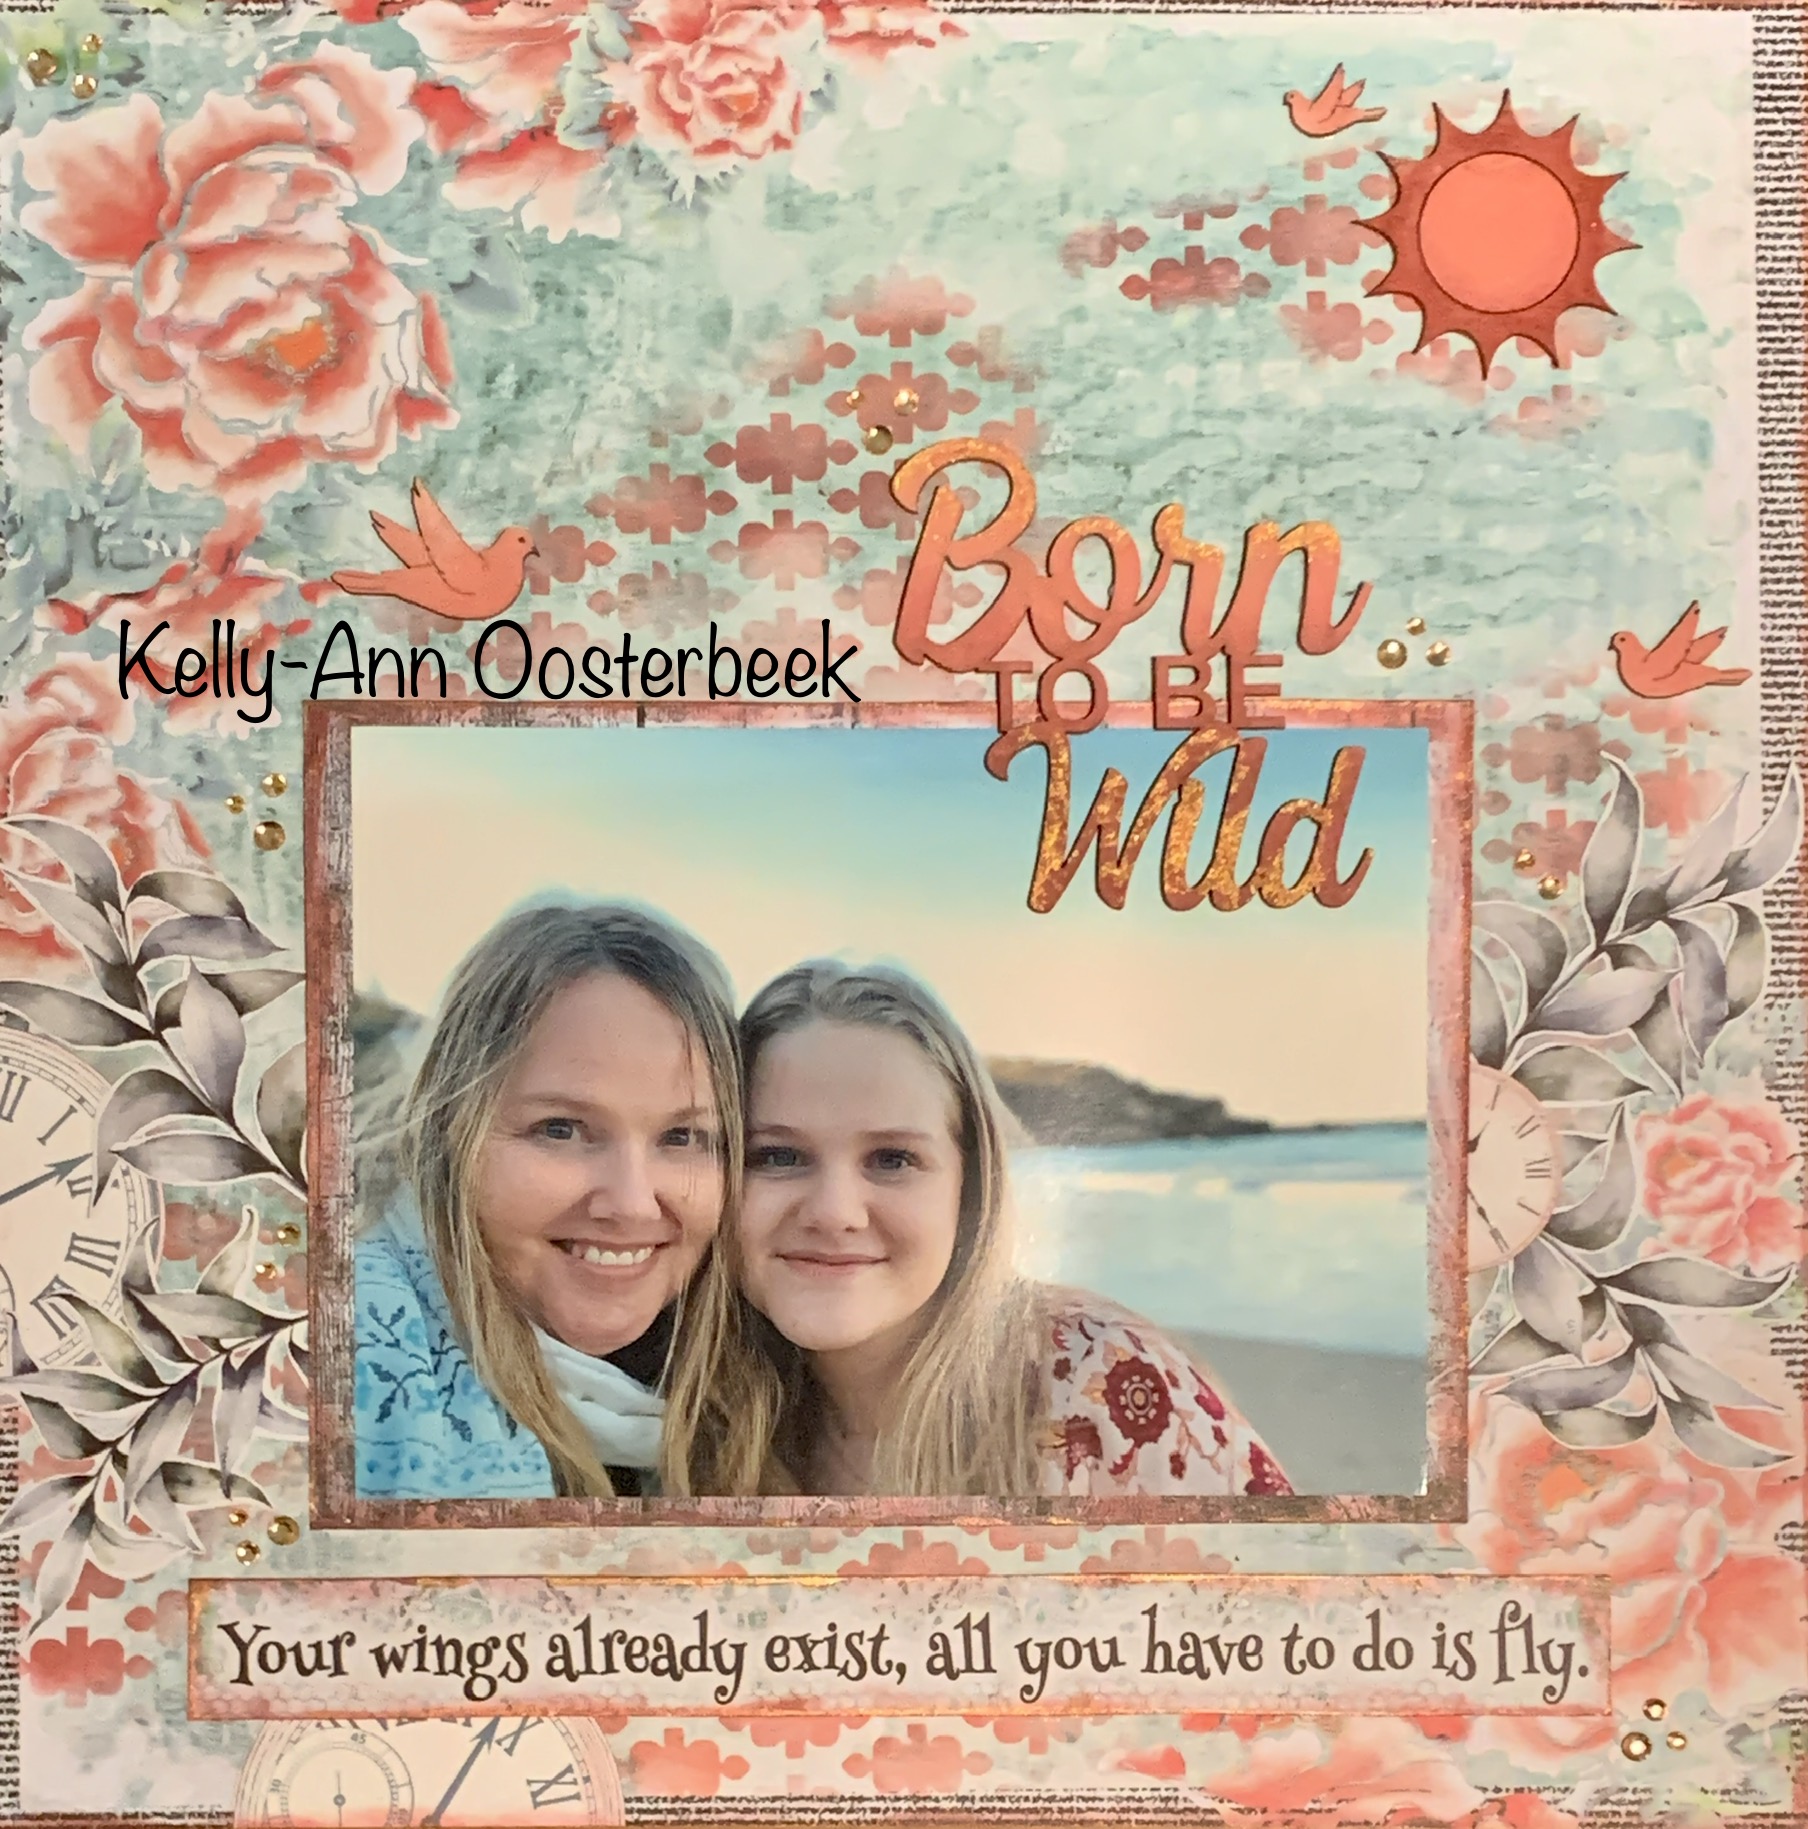

Starting with a white sprayed chipboard title, creating a variegated colour look is as easy as choosing two tones of whatever colour you like and then adding the lighter tint to the top of the title, moving towards the centre. 
Repeat this process with the darker tone coming up from the base 
until they blend in the middle of the title. 
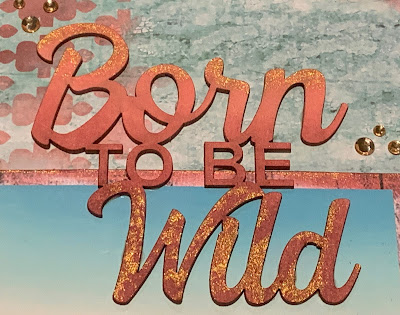

To create the sparkle at the top and bottom of this title I then touched up both 
areas with some copper ink.
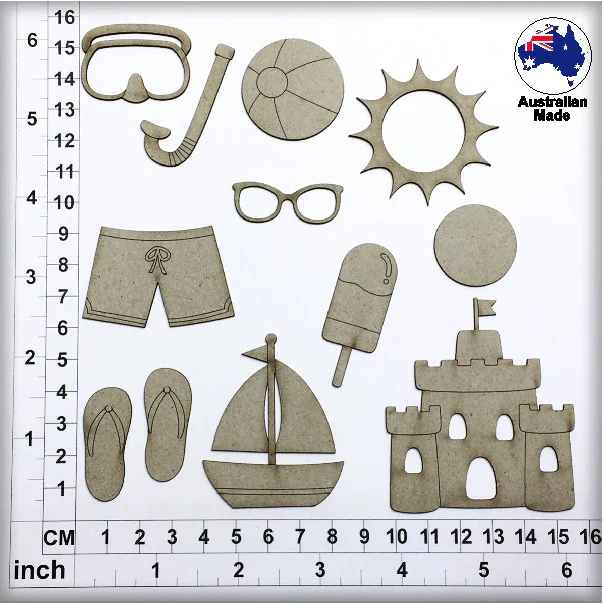

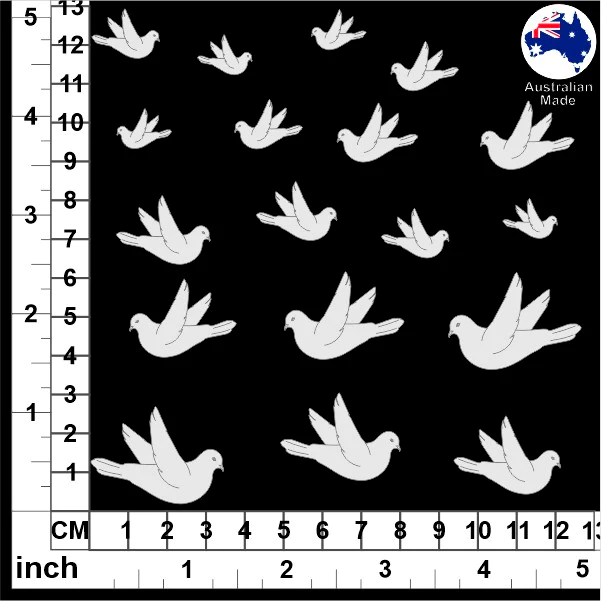
I did the same thing with the two elements of the sun chipboard as well.


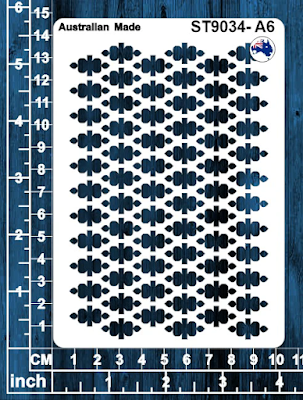
Using the same coloured inks and blending them randomly, I then added the pattern from this stencil. 
The pattern helped to lift the layout by tying together the title and flowers ... 
Scrapmatts stencils are fabulous for this little design trick! 


For this second layout, I decided to just go with a plain title as the patterned papers were 
so dynamic already.... but I did use another stencil just to pull the different papers in the background together and give the whole layout a sense of cohesiveness. 
💛

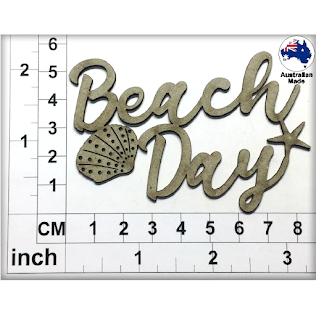
This cute chipboard title was easily covered with some mat blue ink.


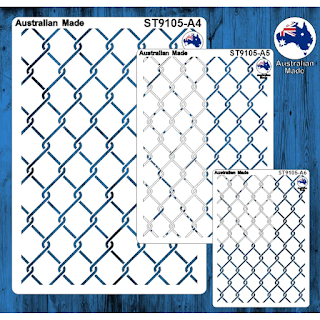
I used the A4 size stencil from this set and a white gel pen to create a pattern
 that blended with the white pattern on the dark blue papers of my layout.


This technique works really well if you are wanting to create some subtle background patterns. 
Gesso or white paint would have been a lot more solid and/or opaque so this gives us a 
lovely muted pattern that looks particularly good with a shabby chic design.


To finish with I added more of these ready-to-use scrap words chipboards to the page.


These make a wonderful alternative to journaling.


And to lift the whole layout I also scattered clusters of these 
4,5 & 6mm Champagne Acrylic Craft Gems around the page.


And that's it from me this time, I hope you have got a few good ideas from this 
post that you continue to enjoy your own crafty journey.


Cheers,
Kel xo


Monday, March 27, 2023

Birthday Celebration

Hi everyone

Well I have lost a week!!!  I thought I was so organised.  I planned to do this post tomorrow night, which would have it posted on the 22nd - which is my date.    It wasn't until this weekend that I realised I that the 22nd was last Wednesday.  😆😆

Well life happens and time gets away from you.  I swear it was only just Christmas time, now Easter is almost here.

I only have one layout for you today, but it is a double page spread.  I don't do them that often these days.  

Last year for my birthday the girls organised dinner in at Darling Harbour (Sydney).  I have said it before but I love going out with my daughters as adults.


ST9091 - Pattern Stencil


CB4072 Wildflowers 01


CB5177 Wildflowers 04


CB1271 Scrap Words 55


CB1159 Hearts 05


Hopefully next month I am on time! 

I hope my layout inspires you to take photos celebrations for you!  As mums we don't really record our celebration and milestones, we usually focus on others.

Until then, stay safe

Happy Scrapping

Lisette  😄


Tuesday, March 7, 2023

Marvelous March

 Well, my lovelies here I am again, bringing what will hopefully be some inspiration for you all. 

My first page is of my lovely great niece Lailah with her magnificent horse, to say that there is a bond between these two is an understatement, something that can be seen in the photo.


For the chipboard title I inked it with a nice rich chocolate brown, added a key and did something a bit different with the chipboard leaves, I spritzed the plain leaves with water and once they were a little bit soggy, not too much, I pulled the layers apart, inked with a lovely green and tucked under the flowers. This not only gave them texture, but also gave at least two to three leaves instead of just one.


PRODUCTS USED

CT094 - Best of Friends - Raw


CB11166 - Leaves 02 Raw


4mm Pale Pink Acrylic Craft Gem


The brass key I sourced from the last Scrapmatts Retreat at Neville, but there are some lovely packs of keys on the website, check them out.

Next, I have my beautiful cousin Sandra and her handsome husband Rod on their Wedding Day, I cannot begin to tell you how much I love her, she is the most amazing person, and I am so delighted that she has found someone who will love and cherish her, like she deserves.

The gorgeous Layered Heart and Cog set, plus some other cogs just seemed to really fit with this photo especially once they were inked a lovely silver as did the inked brick background using the same silver as on the chipboard, again some pretty blue bling, and Scrap Words to tie it all together.


PRODUCTS USED


CB1076 Gears 04 - White Mist


Well, that is all for me for this month, I truly hope that all is well with you and yours, I'm looking forward to sharing with you again next month.
Until then 
Hugs and Love
Annette
xx


Tuesday, February 28, 2023

Watercolor fun

 Hi all, I've returned today with some more bright and bold projects featuring my teenagers - who simply refuse to wear colours anymore! lol 

They often just wear black these days, making my scrapbooking quite the challenge. My theory now is not to worry if they won't bring the colour to our photos, that's my job now - some cute papers, a bit of creativity and in this case some bright watercolour paints and we are back to living life in colour! 


For this page, I started by adding in a bit of watery blue and green to the background. This photo was taken at the beach, and I wanted to reflect this feeling. 

Once the watercolour paint had dried I used this groovy heart stencil to simply draw in a background pattern. I used the A6 stencil from the multi-pack for these smaller-sized hearts.


I also used watercolours to paint onto these beautiful floral and stem chipboards to create my little flower patch ... this is a super easy and effective way to colour chipboards... and to add a bit of variety to the finished flowers I also did a few details with a white gel pen before hitting them with the colour. 


The good thing about watercolour is that once it has dried you can go back over the chipboard as many times as you like, making the colour richer and richer if you are keen.


The rest of the layout is just a big blur of fun pen work and embellishments - I was really wanting the page to reflect the whimsical fun of the photo.


My second Project is a gift tag that I just couldn't resist whipping up from the leftover papers and chipboard I used for my layout. 


This time I made my flower chipboards stretch even further by cutting one in half and offsetting them on the edge of the tag ... I also went over them with more paint so that they were a very bright pink.


This time I used the heart stencil at the end and just kind of let it be a guide as I added hearts to the finished tag rather than my usual trick of using it as a background tool. 

I also added a special message to the back of this gift tag ... tags are a great alternative to cards 💖

And that's it for me today, I hope you are all enjoying your creative journey and have found some inspiration in today's blog. 


Cheers, Kel xo