Monday, August 28, 2023

Achieving that 'painterly' look 🖌


Over the years I've been through a few different phases with my scrapbooking style but one that I just seem to come back to over and over is that lovely painterly look - I just a dore the messy edges and uneven flow of watercolour pigments so I thught I would lean right into that this month and use stencils and watercolour pens to liven up my pages this month.


For this first layout I used the beautiful tile stencil from Scrapmatts to fill in the border around my page.


I still used ink with the stencil (I find it easier to cntrol than actual watercolour paint) but I made sure to load on some edges and leave them unfinished or messy on others... the effect is subtle but really works to give the finished product a nice 'pinterly' feel. 


For my chipboard pieces on this page I simply used  water colour pens that allowed me to layer over sections to make some parts darker than others - giving the pieces that 'flowing' look.


And of course I chose papers that already had some watercolor flowers all over them - 
I just adore this set from Stampin' Up!


I also scattered some of these little gems about the layout to finish off with some sentiment. 


For the next layout I used a set of setncils to create a soft layered background look.


This wonderfully versatile set of stencils gives you 3 different size tress to use in building up a background effect - perfect for this kind of project (and very handy to have around at Christmas time lol). 


I used different colour water based inks to layer in the trees - deliberately overlapping them so they woud have that 'see-through' watercolour look. Another thing I did afterwards was some small water splatters to give them a bit of an extra painterly look (although I think most of this effect eneded up under my photo lol - you can still see a couple of the water marks on the second photo below). 


Giving the page a torn border is another way to add a watercolour look to a layout as that uneven two-tone edge is very reminicent of watercolour edges. 

Now I know what you are thinking - why go so much effort to have watercolour elements and not just use watercolour? The truth is that real watercolour is MESSY and you need some serious skills to control the flow of colour and form when using a brush - but these tricks make the look too easy! 😉


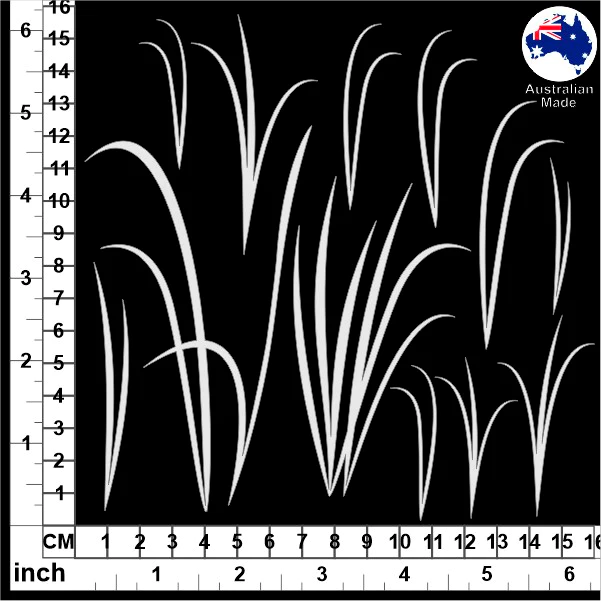
I used a classic watercolour look background paper here so the foreground was easy to add some shiloete shapes to and for this layout that meant thse beauful reed and grass chipboards.. 


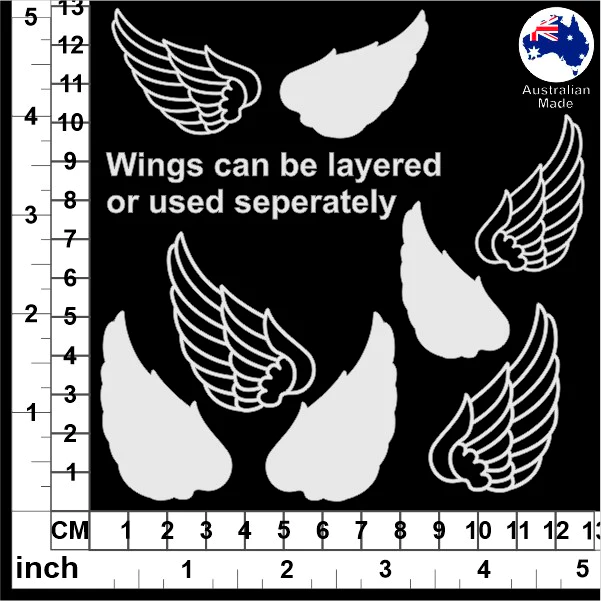
These guys I couldn't resist adding just because of my 'Love Birds' theme for this page...


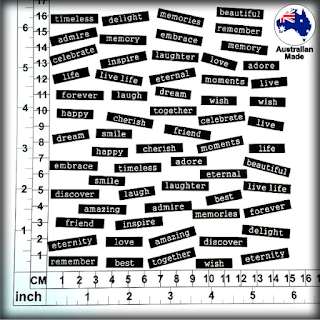
And to finish off I used this mix of chipboard words to add a title. 


And thats it from me today - I hope you have a lot of fun experimenting with your own watercolour and painterly styles - if you have any other tips for aching a nice painterly look, please drop them in the comments section below - I'm always keen to add to my bag of tricks! 

Cheers, Kel xo


Thursday, August 10, 2023

Dream - by Crece

 Hello fellow crafty peeps. Crece here with you today to share a layout of my beautiful granddaughter Lily. This little girl has come into my life at the right time, her smile brightens any day and her little giggle is infectious. I'm so lucky to be her Mee Maw.

This photo was taken on the first time she went to the beach with us, she had just finished in the water and was wrapped up all snuggled in her towel.

Dream


Close ups...


I love using these tiny words on my layouts, they can be used as a title like I have, or to sum up how you felt at that moment.


I used a white gold shimmer paint to colour the wings and the frame, he looked stunning against the paper collection I used - Sweet Magnolia from Uniquely Creative.

Scrapmatts products I used:

CB1200 Scrap Words 08

CB1120 Wings 01


Hope you get a chance this week to do some crafting, thanks for stopping by.
Come back again to check out what the rest of the design team has created this month :)


Tuesday, July 25, 2023

July Scrapping

 Hi everyone!

I am a couple of days late again this month 😞.  Had great plans to be organised, but the week got away from me.  Anyway here I am.

I have two very different layouts for you today.

The first one I completed for the White with 1 Challenge - White & Brown and it had to include tags.  I love these little Scrapmatts tags. So easy to add to a layout.  I just added a little but of gold ink to the Scrapmatts Chipboard pieces.  This gave them a little sparkle and some depth to the layout.


ST5007 Stones Stencil


CB5137


CB5188

CB1241 - Scrap Words 27


CB1205 - Mini Tags 01


My second layout for today is a simple quick one.


ST5006 - Circles


CB4069 - Ornate Frames 26


CB5082 Leaf Spray 02


CB1189 - Scrapwords 01

I hope these two layouts have given you some inspiration and different ways to use the fabulous Scrapmatts Chipboard and Stencils.

Until next time

Happy Scrapping

Lisette   


Monday, July 10, 2023

Me & My BRO - By Crece

Hello everyone, hope your July has started off well.

Todays layout I'm sharing with you is of my brother and I - the photo was taken when we finally got to go and see Snoop Dogg in concert earlier this year in Brisbane. It was a really fun night hanging out with my brother - we don't get to do it often!

Me & My BRO


And here are some close ups...


I inked the title and the cogs with a blue and a brown shade of ink and then used my fine white posca paint pen to go along the outside of the chipboard, to make it pop from the page.

I also used some Black Gesso through the stencil I think it just adds more interest to the layout.

Scrapmatts Products I used

CB1238 Scrap Words 24


ST9087 Squares


Thanks for stopping by, make sure he come back again and check out the rest of the design teams creations for the month. 
-Crece xxx


Friday, July 7, 2023

July Scrapping

 Hello again my lovelies and welcome to my post for July. I missed last month, my bad, but sometimes these things happen and there isn't a lot you can do about it.

This month I have two very different pages, the first is of my cat, Lotus, she can be a bit anti-social and tolerates me because I feed her. It is really hard to get a pic of her where she's not looking like she is plotting your death! This is probably the best I can get; she will be 11 this year and still likes to play and cuddle up to me on the bed of a night.

I inked the title, little cat and the mandalas (which I cut in half and used each side of the page, more bang for your buck that way) black, on the little hearts, which were leftovers from CB6117 Assorted words 30, I used a beige ink that has a lovely shimmer to it, and for the little butterfly, also leftover from the same set, white ink used.


PRODUCTS USED


Second page is my gorgeous little neighbour Alaina, she makes the cutest little Easter Bunny ever.

I wanted to make this page full of colour and used her bunny ears as the inspiration. The word Easter was inked a lovely shade of shimmery pink, little birds in a different pink, yellow and blue. I kept the Bunny chippie intact and just inked the letters to match the colours on the page. Finally, a brick stencil used behind the pics helped to pull it all together.


PRODUCTS USED

CT138 - Easter BUNNY


CB1087 Birds 02


ST9023-A5


Well that is me for this month.
Happy creating and see you next time.
Hugs and love
Annette xx