Monday, November 29, 2021

Tis the Season …


This is it ... the First of December is just around the corner and it's well and truly time to get cracking on Christmas shopping, Christmas decorating, Christmas cooking and Christmas crafting 💚

We absolutely adore this season in our home and every year I take photos
 with next years layouts in mind lol 😆

This year I've been having a ball with all the traditional Christmas colours and some gorgeous templates. Here's where it all started - with fairy lights and stars...
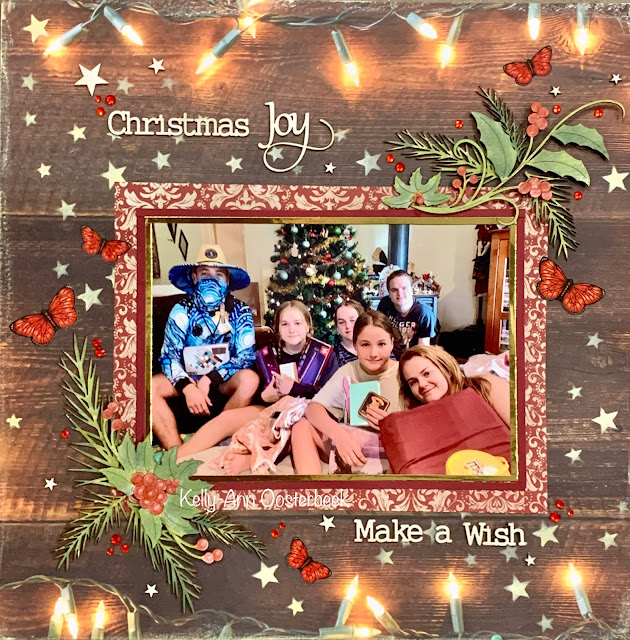

I love fairy lights and the warm glow they bring to everything, to emulate this effect I decided to use Inka Gold wax with some of the different size star templates that Scrapmats sell in a set... 
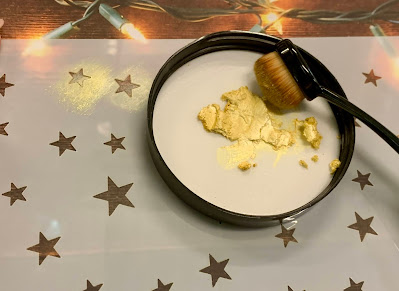

I find the cheap make up brush applicators that you can buy in sets from Kmart do a fabulous job of gently working the wax into the fine corners of stencils. 


I also added extra chipboard stars to the mix to compliment the chipboard title.
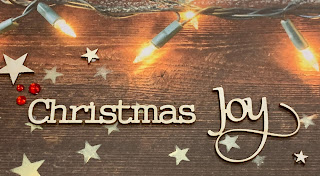


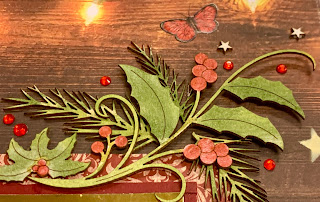
And of course I just had to toss in some Christmas pine and holly decorations ... all of which I inked simply while they were still sitting in their chipboard bases.


These wonderful holly flourishes are gorgeous embellishments that colour up beautifully! 


For the next layout I leaned into a red and raw colour scheme, 
using all the white coated chipboards as they came...
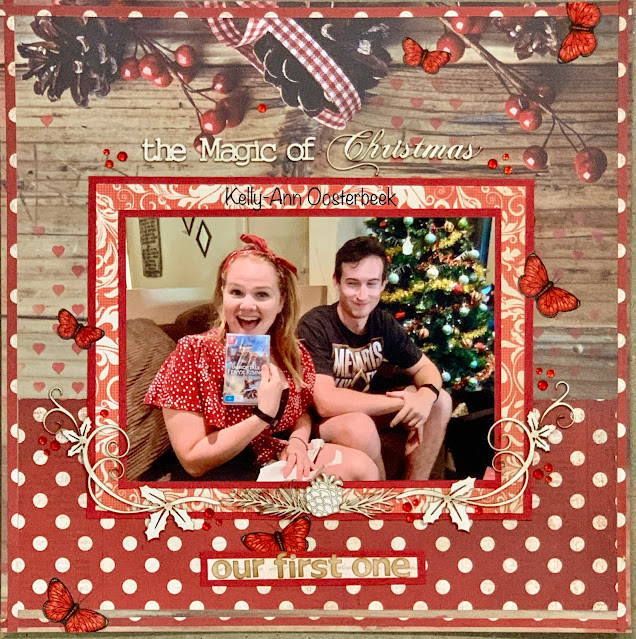

I stole the pine needles and pine cones from this gorgeous circle set ...


... and mixed up different styles of chipboard words to create my title again



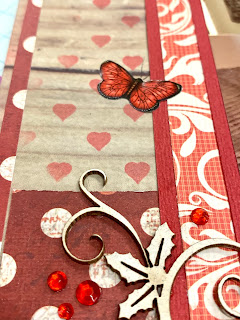
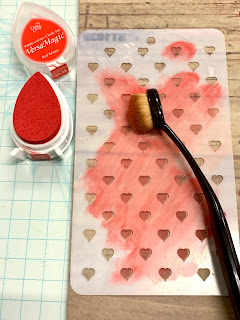
I also inked in some red hearts for a bit of background action...


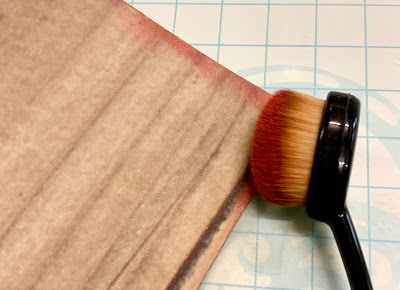
... then I used this ink to cut in around the outside edges of the whole page as well... this pulls the page together by ensuring the same colour used in the centre appears around the edges.
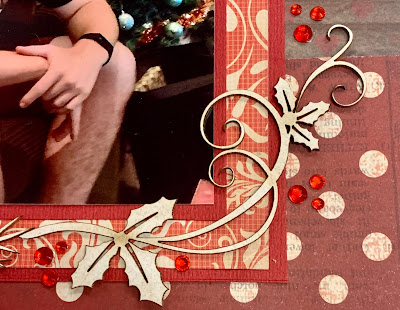
 
More beautiful Christmas themed flourishes 


And last but not least we have the start of the 'special' Christmas cards... I always go to trouble for a few close family members and make sure they get beautiful unique hand made cards.

This year I chose a simple paper and dressed it up with Christmas tree and star stencils ⭐  topping it all off with some of Scrapmatts' divine reindeer chipboards.
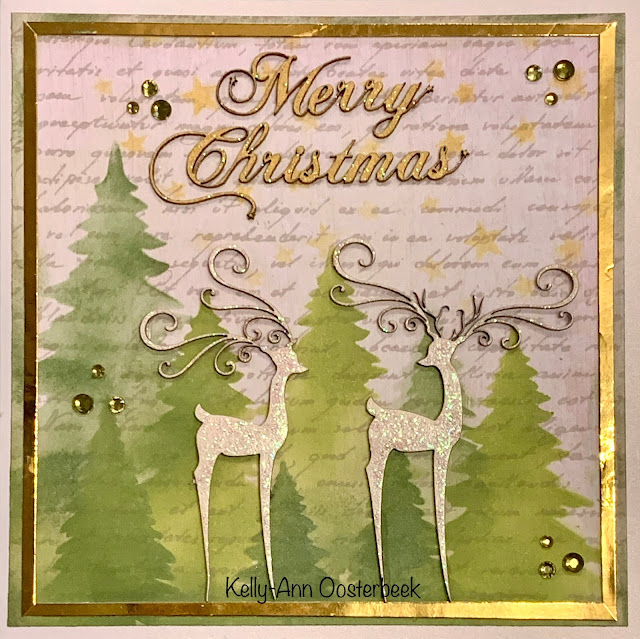


I used different size trees from all 3 stencils.


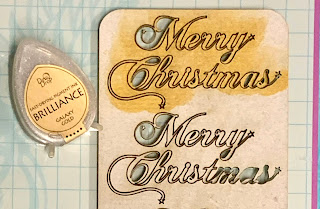
A bit of Gold ink on the title tied all the elements together nicely.



and these gorgeous reindeers only needed a small amount of Crystalina Kindy Glitz to finish them off.


Have a wonderful Silly Season everyone ... 
stay safe and have a very beautiful and blessed Christmas 

Cheers from Kel xo


Friday, November 26, 2021

Believe in Christmas with Heather

Good morning all This month I have continued on my Christmas theme with a layout with one of my favourite photos of my hubby at my work Christmas party a few years ago.
I started by using the ST9071 Circles A4 Stencil on the background with some texture paste I then used some of the Australian Federation Tray 05 frame which is embossed with black embossing enamel.
CB6111 Assorted words 27 - some pieces I left in the raw and other pieces I just simply inked with oxide inks
I hope that you are all enjoying being able to shop again and are almost ready for Christmas Thank you for spending time with me again this month Heather

Tuesday, November 23, 2021

Gorgeous Girls


Hi everyone, Lisette here with a couple of layouts for November.

Love these layouts as they are of my beautiful girls.  It was my husband significant birthday earlier in the year.  Amongst other celebrations around Covid restrictions, we had a fabulous lunch by the beach.

Earlier in the year I posted some other layouts from this day, but realised I hadn't shared these.  The girls will kill me - but they will never know!

Each of the layouts are quite different, just like these two sisters!

I love using the Scrapmatts chipboard flourishes as part of a flower cluster.


ST5064 Stencil - Scallop Pattern


CB4069 Ornate Frames 26


CB1115 Leaves 01


CB6103 Scrap Words 21


This one is a little softer.


ST5007 Stones Stencil


CB6043 Card Borders 05


CB6103 Scrap Words 21


I hope my layouts have inspired you to use the wonderful Scrapmatts Chipboard and Stencils. I can't believe that my next post will be just before Christmas.  What a strange year we have had!

Keep safe and I hope you enjoy the festivities in the lead up to Christmas.

Happy Scrapping

Lisette


Monday, November 15, 2021

November Creating with Lizzy

 Hello there!! Well we are on the down hill slide to the end of the year, and often it can be a very busy time. I have a layout to share with you today that I hope will inspire you to create a page using some fabulous Scrapmatts chipboard that I have left raw or uncolored.. It gives such an organic look that works well for any style. (and it helps to get a page done a little quicker!!!)

As I have used a white cardstock for the base I wanted to add just a hint of color and I did this by using an ink pad and a dauber and a pretty stencil..


I then sprayed a bit of water onto the stencil and patted it onto my layout to add some splats and splodges.. and remember to clean off your stencil after use.. (I just used a baby wipe).

Then it was onto deciding how I was going to use the papers and layering under the photo.


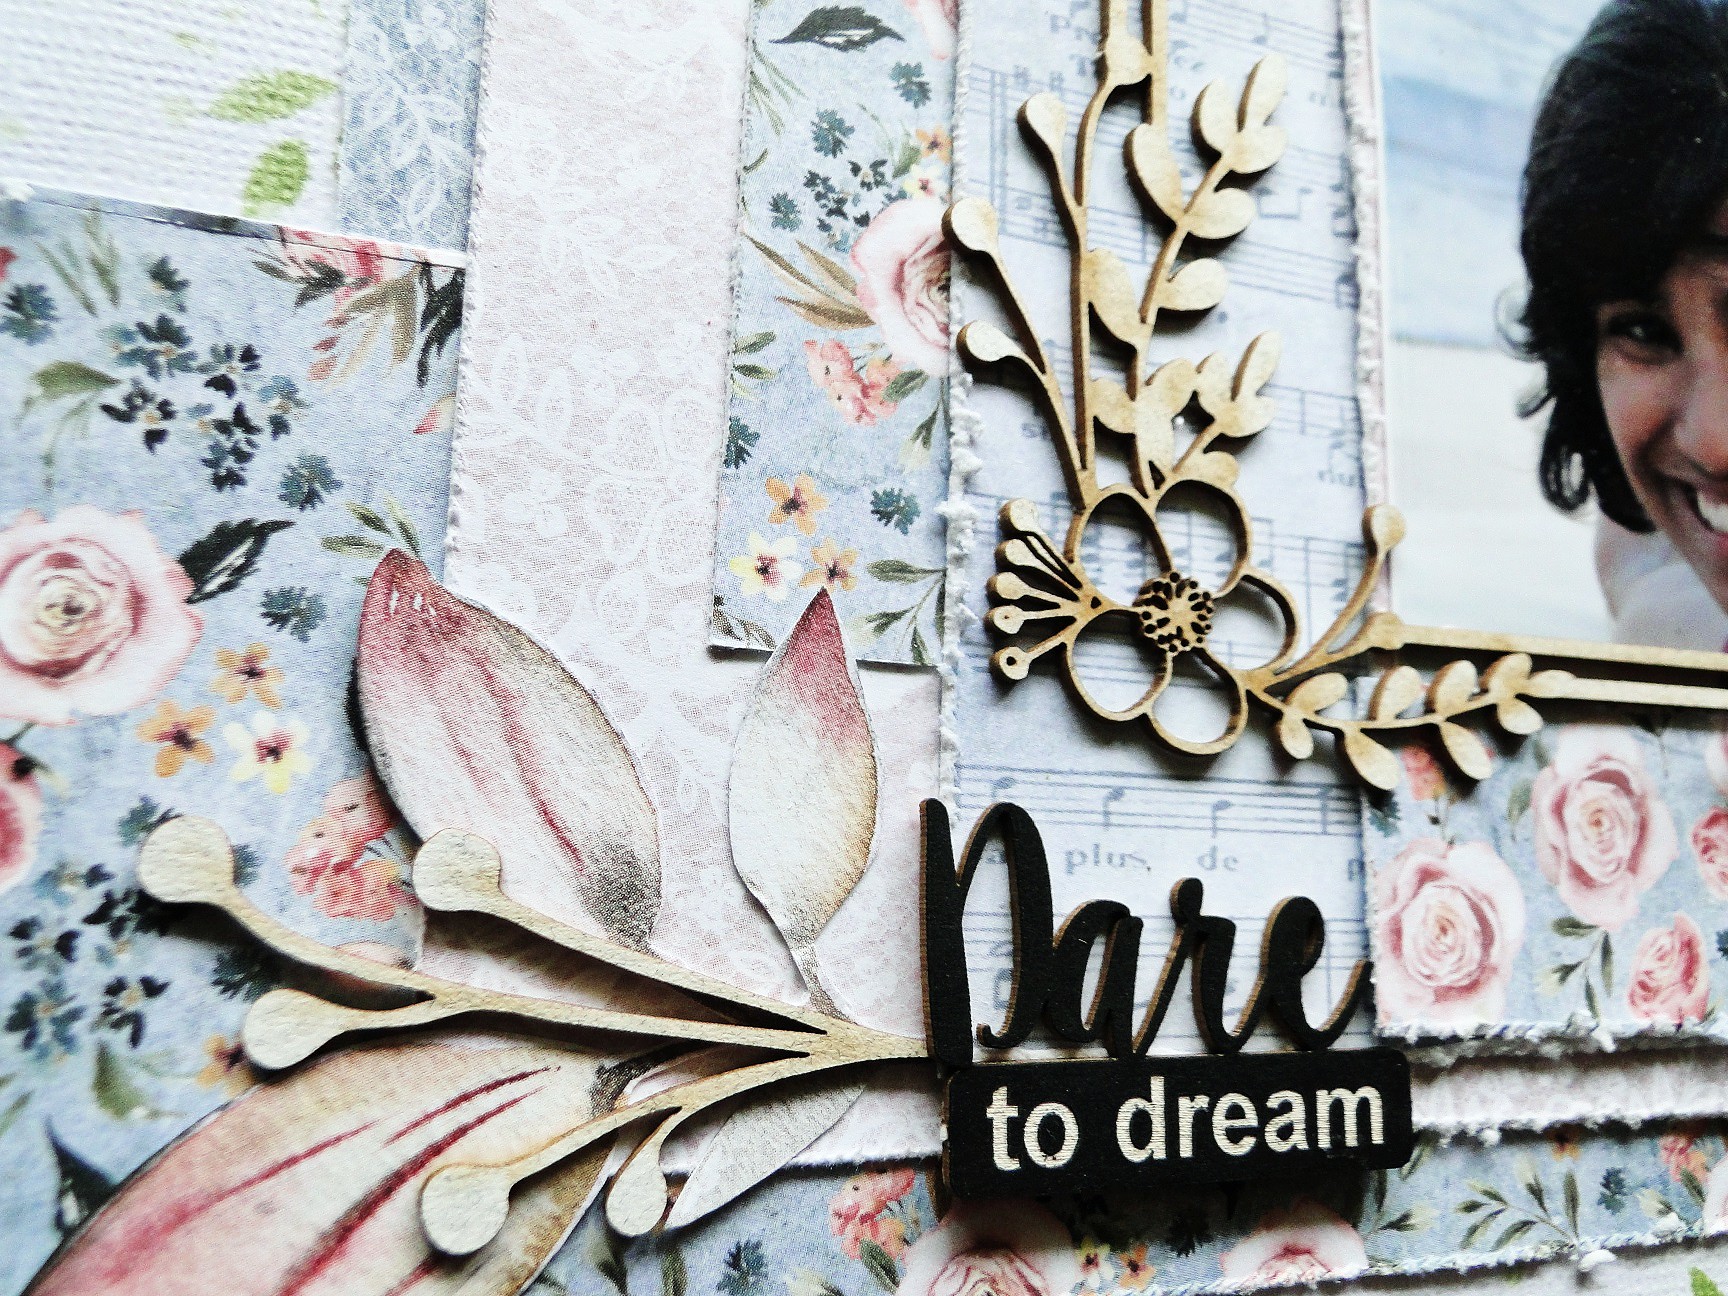
I have used the beautiful Wildflowers chipboard frame around my photo. It looks so good raw and I found this title was just right too.. It stands out in the black.. ready to use.. so good..


I did some fussy cutting of these papers and layered them with some old cardboard..The simple leaf spray added a little bit of dimension but not too thick for my album.


I did a little corner embellishment and placed the Wildflower chipboard on top to add to the cluster..

and my layout.. Dare to Dream.


The Scrapmatts Chipboard looks good embossed or colored with paint, but I like it just the way it is for this  soft feminine layout.. 

and here are the Scrapmatts I have used on my layout..

ST5066 Stencil Floral Pattern 


CB4073 Wildflowers 02 


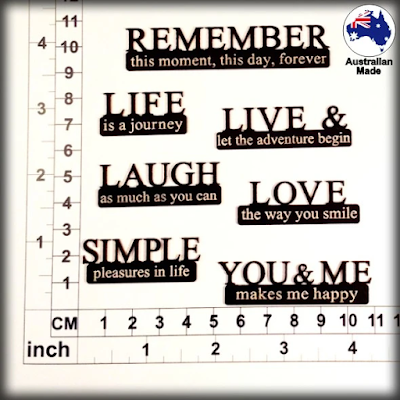
CB1252 Scrap Words 35


CB1198 Scrap words 06 


You can find all these and lots lots more at the SCRAPMATTS ONLINE STORE HERE and just a little reminder that there is a fabulous section for CHRISTMAS too HERE!!!

Thanks for coming by, I hope you get some creative time just for you in these busy days with the end of the year approaching. 

Until Next Time, Happy Scrapmatting..


Wednesday, November 10, 2021

Christmas Ornament Shakers - By Crece T

It's almost Christmas, and I have been busy creating some fun shakers with the NEW Christmas Shakers from Scrapmatts.
There are 6 New designs including Plum Pudding, Window, Gingerbread man, Star, Bell & Tree.
Original Shakers came in 2 fantastic Snow Globe Designs.

Here are the 4 I am sharing with you today.


Plum Pudding Shaker

I have been after a Plum Pudding Chipboard Shape forever, so I was super excited when I was given this Pudding Shaker to create with.
I have used hot foils to cover the base and frame in burgundy to give it a rich colour. You cant really see it in this photo but I have used iridescent white foil for the icing.

I then added some shaker elements to it, glued it all together and topped it with holly covered in foil with red rhinestones, and the word joy in gold foil. 

The pack contains 1 Base + 3 layers + Acetate + 3 pieces of Holly, 4 Stars + 1 Word 'Joy'


CB6136 Shaker Ornament Pudding 01


Mr Gingy & Miss Gingy

The Gingerbread Shaker pack comes with so many extras, and 2 different sized bows, so I thought it would be a great idea to create a mr and miss Gingy.
I used Distress Oxide Inks to cover the chipboard pieces for this shaker.
Miss Gingy has gold and red shaker bits, and Mr Gingy has gold and Green.


CB6136 Shaker Ornament Gingerbread Man 01

Window Shaker

My final shaker was the Window.
I wanted to create a night sky with snowflakes falling.
I coloured the window using a brown water colour pen. I then used some Tim Holtz Grit paste to create the build up of snow on the window.
I used some pattern paper from Stamperia for the base and the angel.
Silver ink was used to  colour the stars and 'Noel'


CB6136 Shaker Ornament Window 01

I found these really easy to put together, To cut the acetate I used the image inserted with the product and just used my scissors to cut out the shape.

Thanks you for stopping by,


Sunday, November 7, 2021

CUTIES

 Hello again all my lovelies.

Today I am sharing two layouts with pics of my cute little great niece and my youngest brother when he was a toddler.

First up is Willow with such a cheeky little look on her face.

I only used two different types of chipboard on this page and relied on the the Bling it on Gems to give them that extra bit of pop (I did add some to the pieces on the top left hand corner but that was after I photographed the page oops).

As the paper had a weathered background look to it I used the Flower stencil in 2 different sizes with crackle paste, the different sizes of the stencil made it so easy to get a gradually flow to the page.

Sorry if the image is a bit dark, terribly overcast, rainy day here today so I had to photograph it inside.


PRODUCTS USED


ST9041 Flowers Stencil


CB5139 String Circles 03


CB5177 Wildflowers 04


5mm White Sparkle Acrylic Craft Gems


This page features a pic of my youngest brother Lance, I don't know the date or location but he is such a cute little boy.
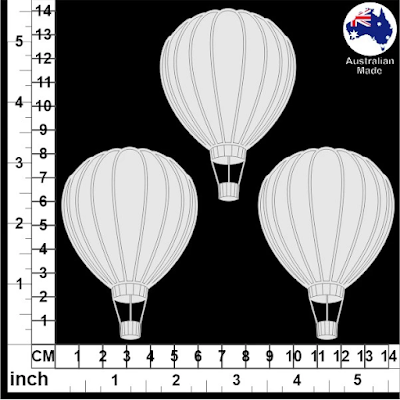
The hot air balloon and clock give it that bit of a vintage feel but adding the metal cogs as well as some of the left over triangle pieces make it a little boyish.


PRODUCTS USED


CB50405 Hot Air Balloons 02


CB1260 Scrapwords 43


CB6049 Clocks 03


That is it for me this month.
Looking forward to catching up with Andrew and Sophie at their Neville retreat this weekend and sharing some inspiration to the lovely ladies there.

Hope life is treating you well
Hugs and love
Annette xx