Tuesday, January 17, 2017

Happy 2017!

Wow it is so hard to believe that we are 1/2 way through January.  Almost forgot about this blog post. We have 2 and a bit weeks in lovely Tasmania over Christmas and New Year and then I have had to work full time for a couple of weeks. I feel like my feet haven't hit the ground yet for 2017.

Here are a couple of layouts that I did during last year, both using lots of Scrapmatts products.

The first is a family photo.  Hubby's Aunt and Uncle visited from England in April.  We had a family lunch.  It has been ages since we had all been together. 


For the background I used  ST1028 Stencil Flowers with Gold texture paste

CB6106 Assorted  Words 24
CB6095 Assorted Words 18
CB1146 Leaf Spray 01
CB1707 Hearts 04 - Separated
I painted all the chipboard to fit with the yellow, white & black layout


This layout is a less structured.

Again I have used stencils on my backtground.
ST5020 Stencil Retro Squares
ST1032 Stencil Plus Signs
CB1707 Hearts 04 - together this time
CB5124 - Hexagon Mesh 03
CB6103 - Scrap Words 21

I hope you have found some inspiration with my layouts.

Hopefully things will settle down for me the next couple of weeks and I can get some
scrapping done.

Lisette


Wednesday, January 11, 2017

JANUARY CREATING WITH LIZZY!

Happy New Year! Welcome to a new year of creating with the wonderful products from SCRAPMATTS !

I have two things to share with you today.

The first is a card I have created using several SCRAPMATTS products!

I love the Ornate Frames which you can use for a layout or card with the Assorted Words for the sentiment. I have embossed these in white. I have also used the Butterflies and Flowers from the Picket Fence pack which I have painted white and added some glitter. ( Don't forget to use those little chipboard pieces in the packs!!)

Here is a list of what I have used with a link for you to the online store..

CB1220 Ornate Frames 22


CB4017 Picket Fences 04


CB6102 Assorted Words 21


The second creation I would like to share with you is a layout I created of my daughters at the beach. I love the beach and I love taking beachy photos, and SCRAPMATTS have a wonderful selection of beach themed chipboard to use!

Some closer views showing the fabulous SCRAPMATTS I have used!

I just love the Triangle chipboard which I have layered with some fabulous grass..  And check out that shell which I have pushed the middle out to add dimension with a touch of sparkle from glitter glue!

I have used the Layered Designs under my photo and my title is from the pack of Scrap Words.

I have added some texture using modeling paste and the Triangle Stencil and I love the ships wheel from the Nautical Designs pack.

and my layout..

Together..

Here is a list and link of the fabulous SCRAPMATTS PRODUCTS I have used in creating this layout..

ST5032 Stencil Triangles


CB5159 Triangles 04


CB5100 Grass 02


CB6045 Layered Design 02


CB6064 Nautical Designs 01


CB6065 Nautical Designs 02


CB6113 Scrap Words 32


CB1238 Scrap Words 24


I hope your year is off to a great start! Thanks for checking out my blog post today, I hope you found some inspiration for your next project using some lovely SCRAPMATTS products. Until next time, take care and happy creating!!!

Monday, January 9, 2017

Picture Perfect and a Card

Helen with you today.  Welcome to the New Year.   
I hope your festive season has been filled with Joy and Peace.
Well we are off and running with another year of creating 
and today I’m sharing two projects for the Scrapmatts DT.
CLICK HERE 
to check out all the wonderful products in the store
I’ve used 49 and Market paper for the background, the Vintage Artistry collection, "Botanical Press".  The paper is sturdy enough to take lots of mixed media.
I used all sorts of left over bits and pieces of papers to form the mats.
I love this stencil which I used with texture paste and LSG spray
The Honeycomb chipboard was treated with Lindy’s Stamp Gang “Moon Shadow” mist
The Leather look Chipboard words matched the papers well without any treatment.

The journalling is on the back of the page and it reads:-

This is one of my favourite "little bubba" photos of you Oliver.  It shows your happy nature and your twinkling eyes.  It also shows that you still have your front teeth, so it was taken before they got knocked out.   Not long after this, you had a bit of a fall when Mummy took you to the play ground and you knocked your teeth right up into your gums.  The dentist said they might me OK and they did gradually come down again.  But one day when we were looking after you, you tripped and knocked them right out!!!  Oh no!  I was mortified that it happened on my watch. It was late in the day, we couldn't phone a dentist or get hold of your parents, who were on their way to pick you up.  The perils of Baby sitting.   Now at almost six, you still have a big gap in the front. 
The perils of Baby sitting!  Photo taken 5th March 2013

The card was created on water colour paper.
The diamonds on the background were created by using crackle paste through
then rubbing distress ink into the cracks.
I used alcohol inks on acetate to create the butterfly. 
      CB1243 Scrap Words 29 
add the finishing touch to an all occasion card.

Thanks for calling in and for any comments you care to leave,  I love reading them.
Do you use Scrapmatts products?

Why not upload your projects on to the Gallery so we can leave you some love.

Saturday, January 7, 2017

Love Is In The Air by Rhonda

With Christmas done and dusted and my family fresh in my mind
the following 2 projects showcase the love my children
express to those close at heart.
Scrapmatts really do spoil me for choices with their diverse range
of products again making it easy to transpose my ideas into little
pleasures like the wee little Shadow Box and Happy Canvas below.

The Shadow Box's simplistic nature creates a great environment
to house special moments like this.

Cherished Moments


The shadow box comes like a flat pack and first needed assembling
so my 1st step was to glue the picture to the background.
From there you build the sides ensuring they are square with
the back and once dry assemble these two components...
To help the part stay together I wrapped it with some patterned paper.


Whilst they are drying its now time to work on the front.
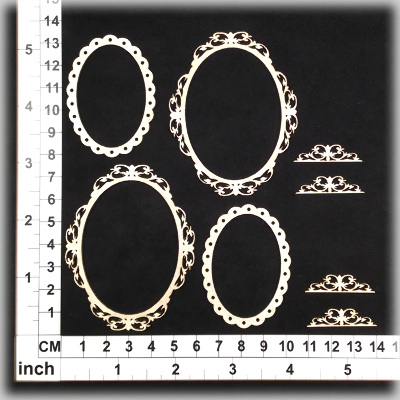
For me this meant colouring each of the top frames in
sandy & ocean colours.
Dressing the box with some nautical marine chippies really made a difference...
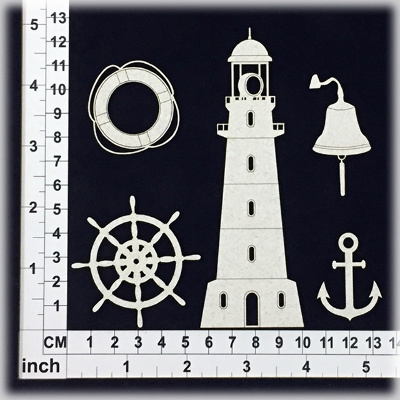
I tried the lighthouse on the outside first but thought
it looked much better inside.
Affixing a piece of string to complement the beach feeling
to hang was the only thing left to do.

Scrapmatts
1A01 Shadow Box
CB1221 Nautical Designs 04
CB1191 Scrap Words 03
Dew Drop Brilliance - Moonlight White
FMS
Versa Magic – Sea Breeze


Happy


I just love doing canvases and taking inspiration from my
daughters dress set to work in my busy craft room. 
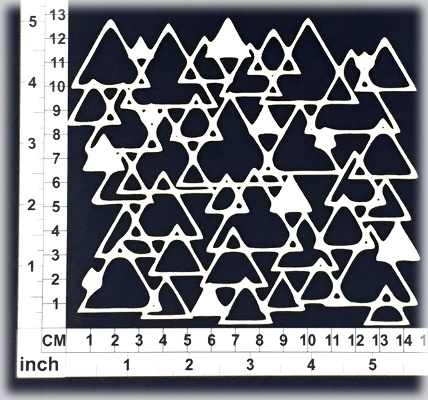
To break up the plainness of the canvas and add depth
I first stencilled some circles & bricks then coloured it with some mists.
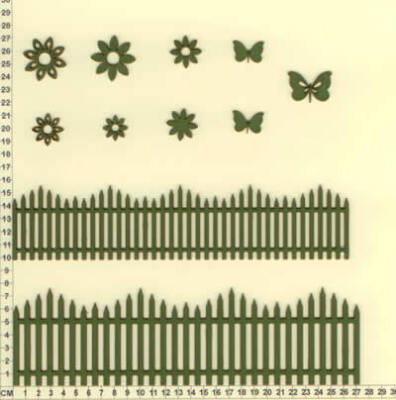
I then coloured the individual chipboard pieces with
Brilliance Inks and set them aside to dry. 


The group of flowers in this and the opposing corner
were chosen to highlight the background whilst adding
that special bit of femininity.

I made a dress out of strips of lace, ribbon and string beads
the same colours as the dress in the photo and
draped it over a Dress Form.


The photo was from a night out at a wedding and I felt
that a chandelier would fit well with the theme but as
Scrapmatts didnt have one I made it myself out of an
ornate topper and some chain.


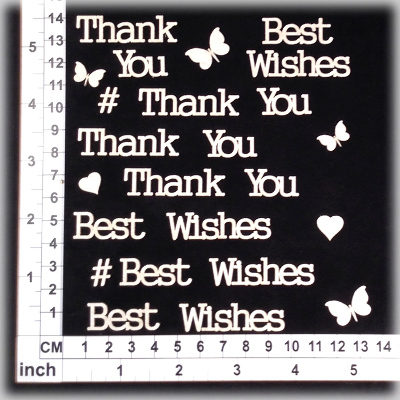
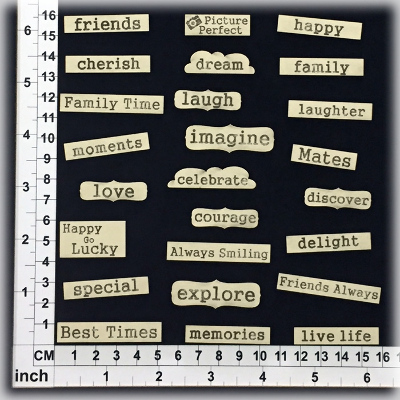
Again I turned to my lovely Scrap Words for a fitting title
and keeping it simple with just one word was my choice...

Scrapmatts
ST5045 Stencil Circles
ST5013 Stencil Bricks
CB1197 Scrap Words 05
CB2021 Vines 02
CB1229 Chains 02
CB5137 Ornate Toppers 01
CB1090 Clocks 06
CB6036 Dress Forms 01
CB1159 Hearts 05
FMS
Texture paste
LSG – Tiffany’s Blue, Passionate Plum, Love At First Sight, Lavendar
Flowers – WOC & Prima
Old packet backing cards
Lace, Ribbon & Beads to cover the mannequin
White Gesso wash to tone things down
Scrapmatts don’t have a chandelier (yet) so I made one

Thank you so much for stopping by!
Make sure you pop back in a day or two or head over to the 
 to check out the Design Teams amazing creations!
If you have creations using Scrapmatts products why not upload
them into the gallery?!
(We would love to see them!!) 

Until next time
Happy Crafting
X

Thursday, January 5, 2017

Fiji Mini Album - Lauren Tomecek

Sofie and Andrew, the lovely owners of Scrapmatts, came to my town to run a day of classes in December last year. It had been far too long since the last time I got to catch up with them, so I took the day off work and signed up to do Sofie's mini-album with a cruise/beach theme. I was doing so well following instructions and got through most of it during the class... but then I got home and went a bit rogue. Before I knew it, there were pockets for hidden journaling, a lift-the-flap photo, even extra pages!


This beautiful cover page is entirely Sofie's design. A stunning mixed media piece, I didn't change a thing from what we created in the class.


For the inside cover I wanted to expand the seaweed at the bottom but didn't have any chipboard left. By masking off the areas I didn't want, I was able to use the frame as a mask and misted some extra seaweed. The photo on the right formed a pocket for a journaling card.


I created a lift-the-flag photo on the left because I had two photos of the jet boating I wanted to share.


The two chipboard shells were raw chipboard I painted with white gesso and then watercolored over the top to get the subtle muted tones.


More hidden journaling in this one. The tree branch is one piece that I've cut to fit across the two pages.


Sometimes the journaling works best without being hidden. 


I used the chipboard to create mini-scenes for each of these pages, continuing the elements from within photo. There are journaling cards behind each photo.


The back page is just to show Sofie I was able to use that beautiful paper as a feature instead of using the reverse striped side like her instructions told me to. :)


Most of my chipboard for this project was specially made in a kit for the class, even taking into consideration the extra pages. Before I was on the Design Team, I would always make sure to take a Scrapmatts class at every expo I went to because there are always lots of extra chippies to play with when you get home included in the kit. If you were looking to replicate this album, similar chipboard includes: CB6062 Shells 02, CB1218 Scrap Words 19, CB6113 Scrap Words 32, CB6103 Scrap Words 21, CB5056 Twigs 02, CB1126 Marine Life 01, CB1221 Nautical Designs 04. I also used stencil ST1004 Stencil Bubbles.

Sunday, January 1, 2017

*HAPPY NEW YEAR*...Welcome to 2017 with Scrapmatts!


Hello, and a big warm welcome to 2017 
with
SCRAPMATTS


Hope you all had a fabulous New Years Eve & not to many of you have sore heads today?

Today I would like to share a few of the Christmas cards I have made over the last month and remember it's always good to get a jump start on 2017 Christmas cards, because as we all know, those 365 days come back around way too quickly!!!


[This card was made for the amazing staff of my boys school]
Scrapmatts products used;

Scrapmatts products used;
 The Reindeer image on this card is actually a serviette which I stuck onto my background paper using transparent gesso.


Scrapmatts products used;

 This card is also made using a serviette & clear gesso

Scrapmatts products used;

Scrapmatts products used;

Scrapmatts products used;

Well, I do hope you have enjoyed looking at my Christmas 2016 creations, hope they have given you some inspiration for Christmas 2017?

I am looking forward to another wonderful year of creating and hopefully inspiring, with the amazing team here at 
SCRAPMATTS

Keep safe if you are traveling over the holidays & I hope you find a little quiet time to maybe get some creating done?
Be sure to pop back here at the Scrapmatts blog in a couple of days to see what the other design team members have been creating

LOve & BIg HuGs

Kim
X