Sunday, March 29, 2020

Whats your favourite page size?

 So what size page floats your boat?

I cannot resist a good 12" x 12" layout, but rarely indulge in doubles these days.

I take roughly about ONE MILLION photos a year these days ( may be a slight exaggeration - but it feels true!!) and I really had to get a bit picky about which ones I would print and scrap... so I came with the formula of just doing the really special ones, which means that often I don't have a series to scrap, just a special shot or two at the most - hence the single page craze I currently find myself in.

But I don't mind putting togehter a mini album or two here and there either. My favourite size for these are 8" as I can still get plastic sleves for this size. They also mean I can source A4 size cardstocks to use in them - here in OZ, they are considerably cheaper than 12" x 12" cardstocks - BONUS! 
On top of that I can use all my little 6.5" paper pads for patterned papers in them.

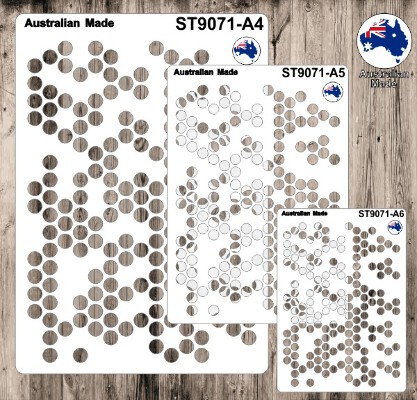
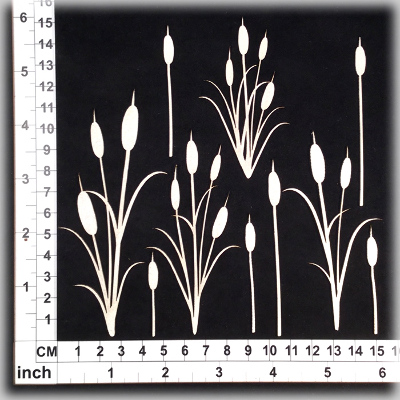
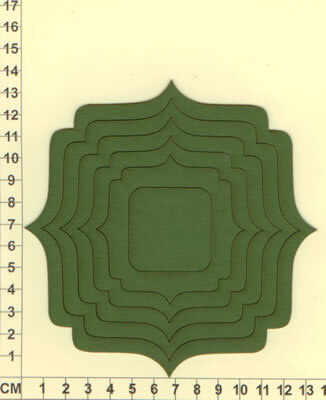
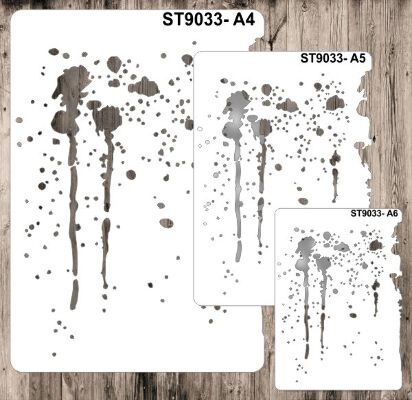
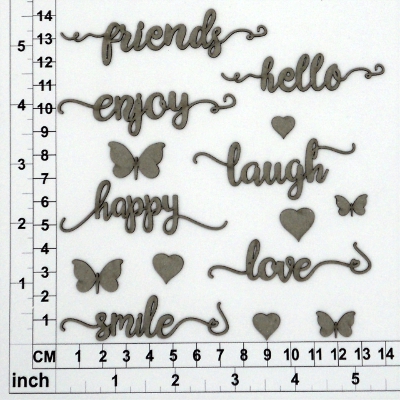
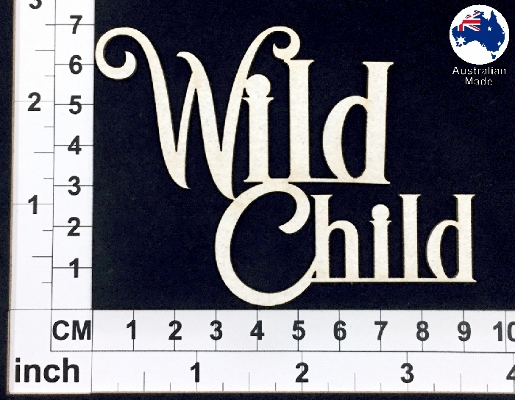
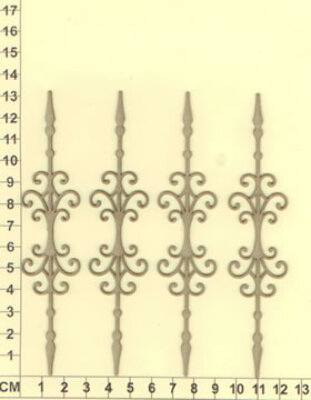
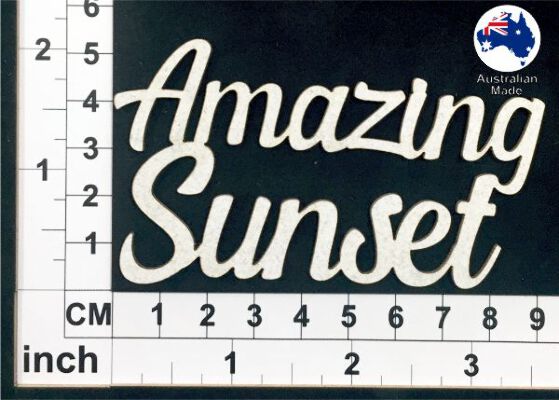
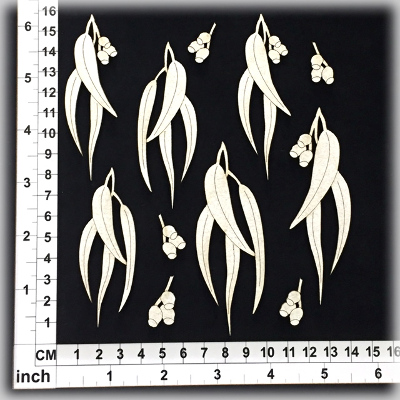
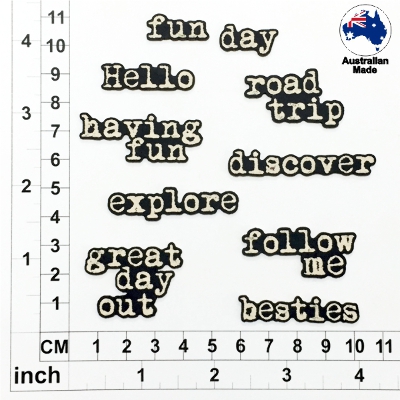
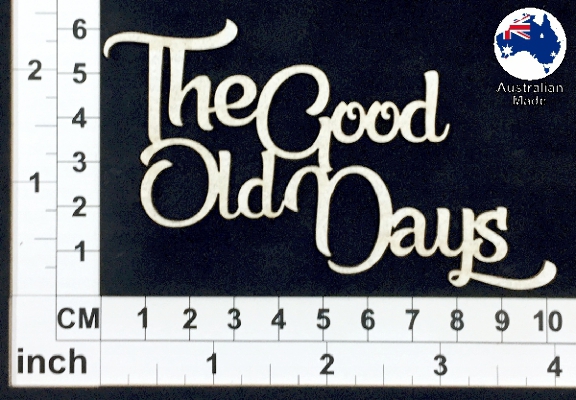
Whatever size you scrap though, the right chipboard titles and embellishments always make pulling a page together that much easier - here are a few of my recent examples of this theory...

TOUGH GUY - 12" x 12"

I made this layout using the Antiques Collection from Kaisercraft and yellow paint


I used yellow and green ink for adding colour to chipboards.


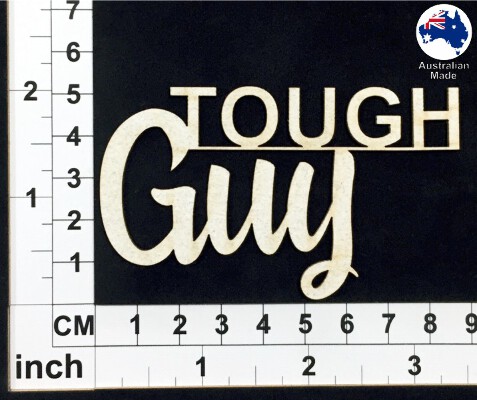
I used yellow ink on the title and edges of frames.
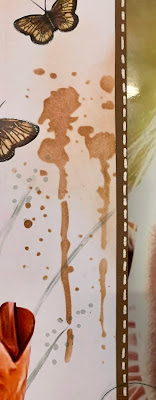


BEAUTY - 12" x 12" 


I designed and printed this background paper myself and used brown ink 
with the template and on the chipboards.


.  


8" MINI ALBUM PAGES

These were all scrapped onto black card stock and I used Couture Creations 'Sunburnt Country' 6.5 paper pad for the patterned papers. The chipboards were coloured with either inks or metallic pens.


.                           


Whatever you size you scrap in - the important thing is that you have a great deal of fun doing it!
I hope you are at having as much fun as I am 💚

lots of love from Kel xo


Friday, March 27, 2020

Printer's Tray Project- Crece T

 Good Morning Everyone, Crece Thomas here with you today to share a couple of projects I have been working on this month.

 Together We Have It All - Printer's Tray


And here are a few close ups...


I started by covering All the parts to the Printer's Tray with some Pink Acrylic paint. I then gave the top layer a coat of some crackle paint, then a layer of white acrylic paint.

I then used a beautiful paper range by Scrapboys called - Victorian Home to decorate the frame.

I then painted some of the Chipboard Leaf Sprays in some green paint, and then tucked them behind the paper cut out flowers and roses.

I added a little white acrylic to the green paint I was using to make a lighter shade of green for the title of the project.

Scrapmatts Chipboard I have used:


Together We Have It All - Coming soon


My Second project was a quick Easter Bunny I Whipped up with a Styrofoam Bunny I found at one of my local discount stores. 
My project started like this bare little Styrofoam bunny...and then....


 By adding some Scrapmatts chipboard Gears & Chain, a handmade little top hat, cheese cloth, and some art stones, I was able to create this cute little Steampunk looking Bunny.

Chipboard cogs used...


Once I was happy with the placement of the chipboard, I then gave it a coat of Black Gesso.
I wanted to give it that really old Vintage look, so I used the Petina Effect Paints by Prima. I then Used some Prim Waxes to help highlight areas on the bunny.


Thanks for stopping by for a look at my creations this month, Be sure to come back for some more inspiration from the rest of the Design Team.


Thursday, March 26, 2020

A bit artsy with Heather


Hi all

This month I had some fun with colour!! I definately left my vintage comfort zone alone this time.

The layout is just simply white smooth cardstock, distress oxides, texture paste, stencils and chipboard


The bottom layer of oxide was done by rubbing 3 different colour oxides onto my craft mat, spraying with water then laying the cardstock over the top. Once I lifted it off I could then lay it back down again to cover places that were missed that I wanted covered, then once happy I dried it with my heat gun

After that I used different Scrapmatts stencils with the same colours as used in the base and just kept layering - I love that you can do this with oxides and not get a muddy brown

I also used a little bit of texture paste with one of the stencils to help give a bit more depth, and I love how in parts the oxide is pulled up through the texture paste


The chipboard is very simply just inked again with the same colour oxides, and then I used my glossy accents to pick up the round word sentiments


When deciding what chipboard I wanted to use, I opened my box and noticed that I had packets that I had used most of but not all, I have used all these odd pieces to complete my layout, and I think unless I had told you, you would never know that I hadn't picked these pieces on purpose

For those of you who are in lockdown at home, this layout might inspire you to use up some of the odd pieces you have in your room, and to create your own backgrounds rather than trying to find that perfect piece of patterned paper


Thank you again for spending time with me

Heather
xxox