Monday, June 29, 2020

There's always room for a stencil...


Have you ever got the end of creating a page or card
 and just sat there thinking 

'theres something missing' or 
'it just needs a little something extra...'! ?

For me the chances are that 'something' is one of 3 items ...

1. Bling
2. Butterflies
3. Stencilling

Even though stencilling is much easier to add at the start of a layout (as it sits under embellishments), I often find myself adding it on at the end just to flesh out a page. That can be quite a challenge as you might imagine, so these days I just tend to start with stencils as a matter of course! In fact my new 
creative motto is...

'There's always room for a stencil' ๐Ÿ˜‚

Here are three examples ...

Click on ANY picture in this post to be taken to the corresponding product in the Scrapmatts online shop ๐Ÿ‘


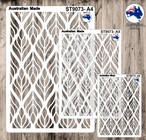
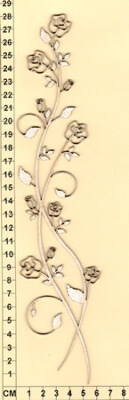
The hero stencil for this layout is the fabulous leaf spray... Quick, easy, and versatile, this stencil should be a stable in everyones creative box ๐Ÿ’œ


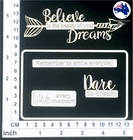
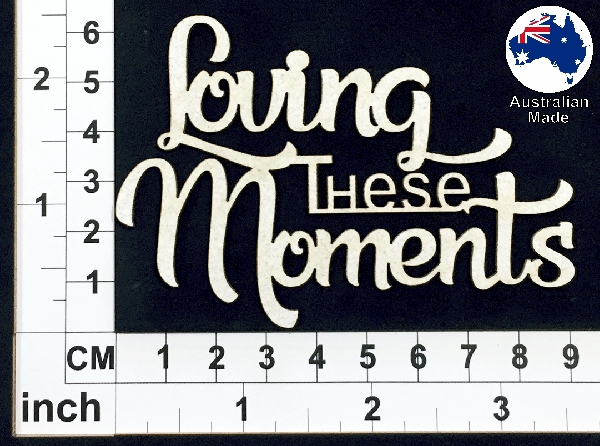
My title was a classic Scrapmatts chipboard ... 
I always keep a good amount of these general titles on hand for making either cards or layouts...
a bit of dew drop ink and you are good to go ๐Ÿ˜‰


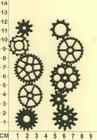
This is an awesome little chipboard embellishment pack that's fantastic for adding whimsical detail to layouts, both with indoor and outdoor garden themes. 


And these little additions are so simple to toss onto any project that I keep a bunch in my stash as well.... simple flourishes with a frame are awesome for corner embellishing.

.    


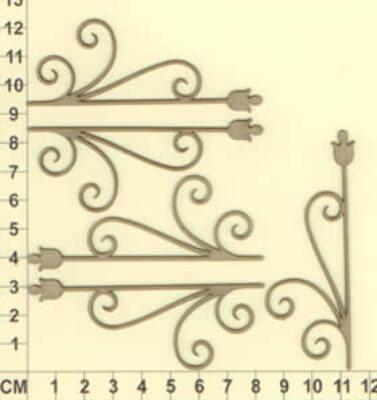
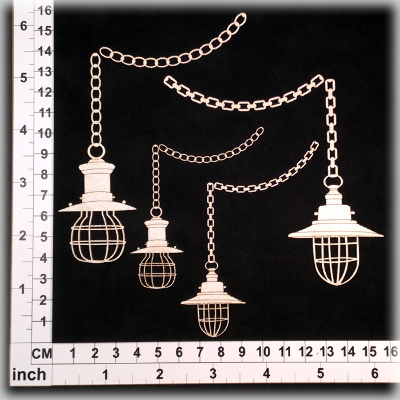
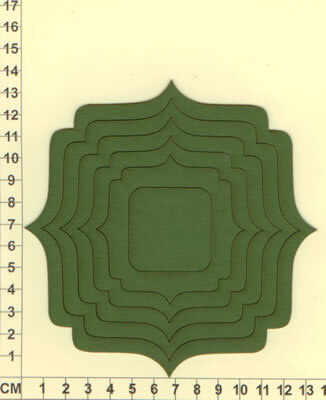
I also popped some Ornate Toppers on the page just to make it a bit more fancy... and to ensure I had extra brown elements on the layout beside the hanging lamp and the bird .
When it comes to composition it's important to remember that 
colour creates as much balance as spacial placement.


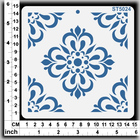
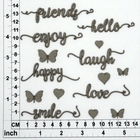
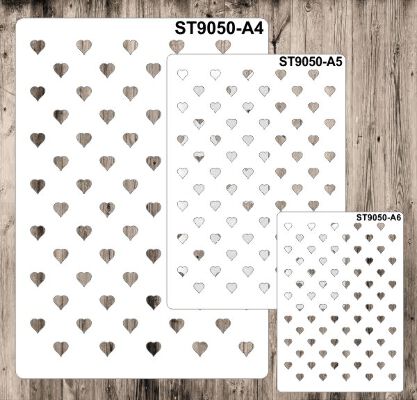
The stencil I used for this layout is the cute little A6 Heart design.
This is by far my most used stencil - I cant say why for sure - maybe because I scrap my kids and husband so much and I just love them all to bits?? lol 

In any case, these little hearts allow me to tie the whole layout together using the same coloured ink that 
I use on other chipboards and elements with inked edges. ๐Ÿ’™


This gorgeous chipboard needs very little embellishment as it is just divine all by itself so I just added some of the blue ink to it before laying it across the base of the photo.


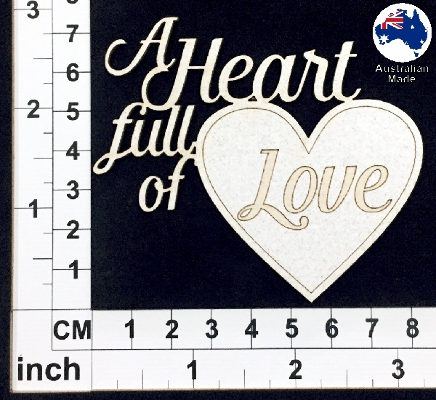
This title was a bit of a cut and paste job. I had previously cut the heart off this title to use on a card and just had the words 'A heart full of' left over. I NEVER toss my leftovers out, they get stored for latter use and sure enough I was able to rearrange some letters to make a new title!

I love how versatile chipboard is 
and the way we can use each piece any way we want!


FOLLOW ME CARD

And here we are back with the heart stencil again!! ๐Ÿ˜๐Ÿงก

when it comes to cards the quickest and easiest way to get colour matched 
elements happening is with stencils.


...while the rest is simply sentiments and embellishments...

.  

... a well placed journalling panel never hurt either! ๐Ÿ˜

.   


And thats it from me for another month...

I hope you have been inspired to pull out those fabulous stencils
 in your stash and put them to good use.


Cheers form Kel.

P.S. All of the papers I've used this month have come from the Colour Blast 'Love and Grace' paper collection.


Friday, June 26, 2020

A bit Blue

Good morning

This month I went off the page using a #scrapmatts art frame as the base.

Like a lot of Aussie scrappers I finally managed to get some of the new Mintay paper pack ranges and couldn't wait to play.

I have been sorting through my craft room and found the below kit that I'd bought at a craft show at some point and had it out to do, but I couldn't help myself and used most of the kit to create this


The clock I just used part of to create a frame around the frame. It was inked with black ink, highlighted with gold wax then embossed with 2 layers of clear embossing enamel.


On the front layer of the art frame I have sprayed with a couple of different shades of blue in the distress oxide sprays then have used a vein stamp with black ink over the top


Some of the smaller pieces of chipboard were sprayed with the blue oxides and some were left natural to add as a highlight 


Tuesday, June 23, 2020

Stencils, Stencils, Stencils

Hi everyone

During our Covid Isolation I have been watching lots and lots of online demos, including Sofie with the new Scrapmatts stencils. My favourite artist at the moment is Dina Wakley.  For those that don't know Dina, she does a lot of Art Journaling with many different mediums.  Although I am still not totally excited about Art Journaling, I have taken lots and lots of inspiration from these demos.

I did however do an Art Journal page for my first sample today. This is the only journal page that I am willing to show off. I used 5 stencils with a number of techniques - paint, gloss sprays, oxide sprays, texture paste, ink and scribble sticks.


Stencil 9073 Leaves


Stencil 9003 Circles


Stencil 9002 Hexagons


Stencil 5024 Tile Pattern


Stencil 9049 Hearts


CB6117 Assorted Words 30


CB1236 Scrap Words 20


I didn't use as many stencils for this next layout - just three!  Again I used a mixture of mediums with the stencils - oxide spray, texture paste and ink.  Compliments the stencils with quite a few chipboard pieces - including the circle on the phone indicating where we had climbed to that day!


Stencil 9002 Hexagons


Stencil 9064 Pattern


Stencil 5006 Circles


CB5128 Mesh 01


CB6105 Assorted Words 23


CB1253 Scrap Words 36


CB1075 Gears 3 


I hope you have found some inspiration from my art journal page and layout today.  This weekend I will be at a scrapbooking retreat and soooo looking forward to playing with the Sofie & Andrew's new stencils. Of course this is as well as spending the weekend with so good friends with lots of laughter (and a few drinks!!!).

Hopefully I will be able to show you my efforts with some of the new stencils in my July post.

Until then hopefully you will still be able to find some time to create.  As things start returning to 'normal', whatever that will be, please stay safe.

Lisette xo


Thursday, June 18, 2020

Smile For Me

Hi Rikki here, sometimes you just need a title to complete your layout but that doesnt mean it has to be simple or you cant add something to it....


So when doing your titles.... why dont you add some Enamel Accents? It will dry all glossy with the effect of puff paint - just got to let it dry for 12hrs and then your done- your very own puffy chipboard sticker.


 CT023 Smile for me


                                                   Now for something a little bit nautical.....


This time add Tim Holtz Oxides - just stroke it on in long lengths you will end up with a suede effect.