Wednesday, December 15, 2021

December Creating with Lizzy

 Hello and welcome to the middle of December.. I guess if you are like me you have thoughts of Christmas in your head and the planning for the season should be well  underway..(cough cough!!) And that might mean there is less time for getting in and doing some scrapbooking. I thought I would share two layouts that are similar but different, as sometimes if you are like me, just getting the layout started is the hard part.. but if you have a favorite layout design then use it.. These layouts are going into different albums so it is not going to matter that they use similar design features!!

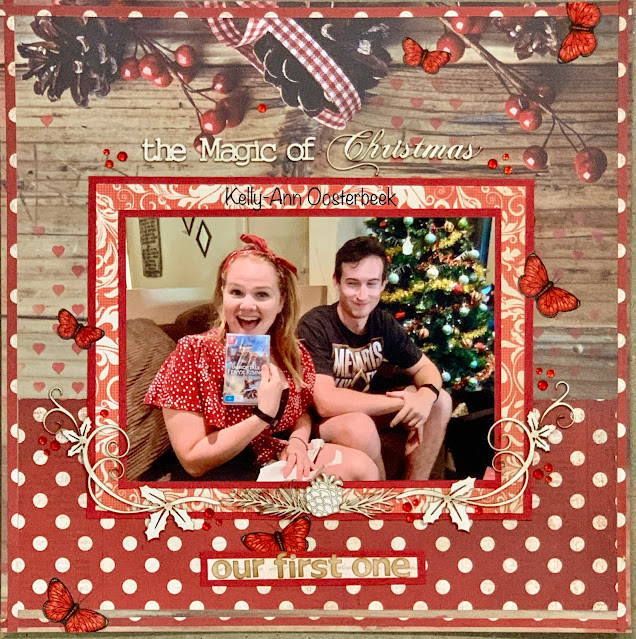
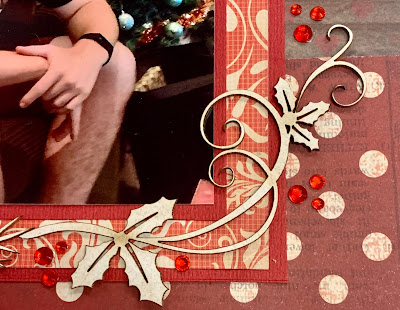
The first layout is using a photo of my Daughter and her Husband and my Grand daughter and I wanted to go with a romantic softer look.. I have a thing at the moment for using circle frames and cutting my photo to suit.. I have painted some of the chipboard and left others the way they come. 

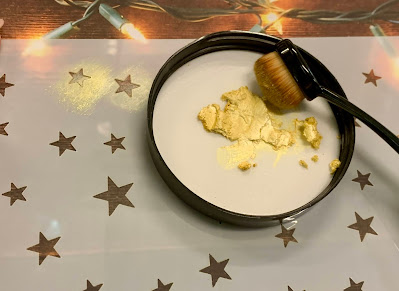
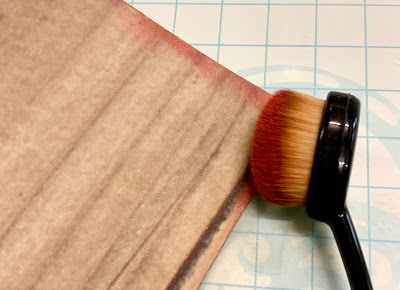
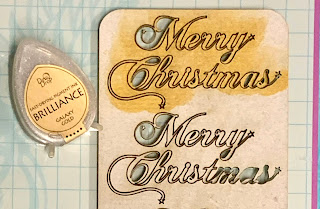
These are the pieces I painted using a cheapish water color paint.. 


However when I was placing the flourishes on my page some of the paint lifted off, but I did like the result as it looked quite rustic. so some closer views of my layout..


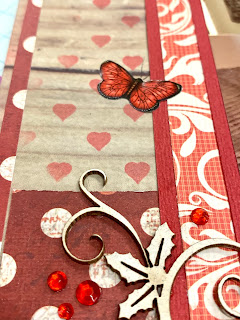
That is such a pretty flourish and I had to use the Heart Frame around my photo as the moment captured is all about love..


The Scrap Words are always handy to pop onto my layout to add some emotion.


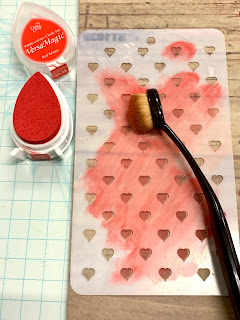
To add some more "love" to my page I used the Hanging Hearts Stencil randomly.


And a closer view of the sweet butterfly I glued onto the frame.. 

and my layout..  Love.


And here is a list of the Scrapmatts I have used on this layout.


ST5035 Hearts Stencil 


CB5055 Hearts Frame 07 


CB5189 Flourishes and Leaves 


CB1269 Scrap Words 51 


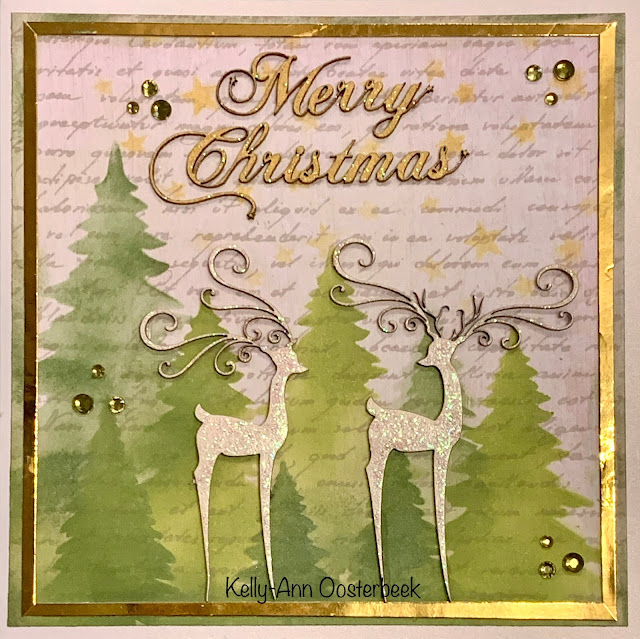
The second layout I am sharing is using a photo taken quite a few years ago but it is a favorite and I just needed to do something festive!! 

I started by making up some flowers using the chipboard flowers..(CB1026)  I painted them red and layered them up using die cut flowers.. I think this worked well and gave the flowers some dimension.


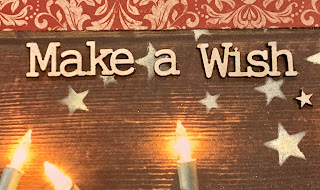
I stenciled some stars onto the back ground just using gold paint.. I usually mix the paint with texture paste but I didn't this time and the paint on its own worked well..

some closer views of my layout..


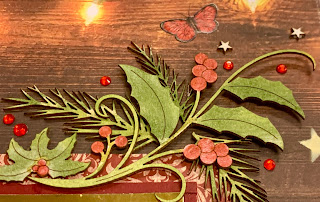
The flourish I painted lightly in a tan color to match the back ground papers.


These Holly branches were painted with a light green and they just pop on this page!


A closer view of the flowers which I think turned out really good.. 

and my layout.. 


and here are the Scrapmatts I have used on my layout.

ST5002 Stars Stencil 


CB4069 Ornate Frames 26 


CB1026 Flowers 06 


CB5164 Holly 05 


CB4071 String Circles 07 


I hope I have inspired you today with my creations, two similar but different layouts.. memories captured on a page.. 

Thanks so much for coming by today.. I wish you and yours all the joys of this season of Christmas and all the very best wishes for a Happy New Year..

until next time.. Happy Scrapmatting..

Monday, December 6, 2021

FUN WITH CHRISTMAS CARDS

Hello again my lovelies.
Can you believe that it is only 19 more sleeps till Christmas Day?
I would ask the question, where has the year gone? but I think we all know the answer to that.
As the title of this post suggests I have had a lot of fun making Christmas cards to send to friends and family.
There are so many fantastic Scrapmatts Christmas themed products to chose from that you can get a bit lost, so I decided just to use a few different ones and little bits n pieces that I had from leftover projects.
Here they all are and instead of putting the products under each card I will do it right at the end of the post except for the first two which are part of the new range of shaker ornaments now in stock.

I had so much fun creating these and I can confidentially say that I will never get all of the glitter out of the house.


For the star shape I used a silver gel pen to colour in the shape with a gold one for the star circle. Seed beads are inside with all the little pieces which I again used gel pens on. I kept a little piece of the holly to add to the front.
 
PRODUCTS USED


This one is where I went a wee bit overboard with the glitter!!
Again gel pens and white gloss paint for the small pieces which I then covered with glossy accents for the beautiful shine.
For the frame of the window I used crackle paste and on the snowflakes white gesso.
For the background I utilised the small circle stencil with texture paste and heaps of coarse white glitter.
The little bling gems were the perfect finishing touch.

PRODUCTS USED


Now for the cards. 
I used  stencils, bling, chipboard, scrapwords, lace, glitter pens, sharpies and even made my first easel card. 
Thanks to Kim for teaching me.


PRODUCTS USED


Well I must have tried putting too many pictures of the products in this post because it wouldn't let me do anymore than I had, oh well, at least the links are there.

I hope that you enjoyed looking at my cards and that it inspires you to create some of your own.

I would like to take this opportunity to wish you all a joyous and peaceful Christmas with the hope that the New Year will bring you a better year than we have just had.

Hugs and love to all
Annette xx


Monday, November 29, 2021

Tis the Season …


This is it ... the First of December is just around the corner and it's well and truly time to get cracking on Christmas shopping, Christmas decorating, Christmas cooking and Christmas crafting 💚

We absolutely adore this season in our home and every year I take photos
 with next years layouts in mind lol 😆

This year I've been having a ball with all the traditional Christmas colours and some gorgeous templates. Here's where it all started - with fairy lights and stars...


I love fairy lights and the warm glow they bring to everything, to emulate this effect I decided to use Inka Gold wax with some of the different size star templates that Scrapmats sell in a set... 


I find the cheap make up brush applicators that you can buy in sets from Kmart do a fabulous job of gently working the wax into the fine corners of stencils. 


I also added extra chipboard stars to the mix to compliment the chipboard title.


And of course I just had to toss in some Christmas pine and holly decorations ... all of which I inked simply while they were still sitting in their chipboard bases.


These wonderful holly flourishes are gorgeous embellishments that colour up beautifully! 


For the next layout I leaned into a red and raw colour scheme, 
using all the white coated chipboards as they came...


I stole the pine needles and pine cones from this gorgeous circle set ...


... and mixed up different styles of chipboard words to create my title again


I also inked in some red hearts for a bit of background action...


... then I used this ink to cut in around the outside edges of the whole page as well... this pulls the page together by ensuring the same colour used in the centre appears around the edges.


More beautiful Christmas themed flourishes 


And last but not least we have the start of the 'special' Christmas cards... I always go to trouble for a few close family members and make sure they get beautiful unique hand made cards.

This year I chose a simple paper and dressed it up with Christmas tree and star stencils ⭐  topping it all off with some of Scrapmatts' divine reindeer chipboards.


I used different size trees from all 3 stencils.


A bit of Gold ink on the title tied all the elements together nicely.


and these gorgeous reindeers only needed a small amount of Crystalina Kindy Glitz to finish them off.


Have a wonderful Silly Season everyone ... 
stay safe and have a very beautiful and blessed Christmas 

Cheers from Kel xo