Showing posts with label Chipboard String Circles. Show all posts

Saturday, August 29, 2020

Stencil and Chipboard Tips and Tricks

 Hello again... 

I'm very happy to be back again with more tips and tricks for using stencils and chipboards.

Today I'm going to kick this post off with an up-cycled Christmas Card ... 

just add paint, a stencil and a gorgeous chipboard set and you you'll have a unique and stunning card!


Here are the steps I took to get this look ...

1. First I loaded my old Christmas card with paint - a dark blue, a light blue and some white. 


2. Next I spread this paint out with a brush, working the colours into each other a bit.


3. To finish off the painting I did diagonal brush strokes to even out the tonal ranges .... but my photo for this step was too blurry to use - so just imagine that !! 😂


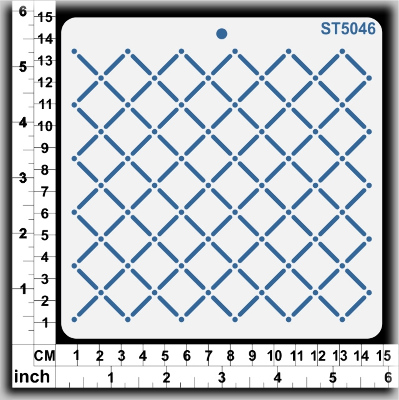
4. Next I took some heavy white gesso and the lattice stencil and added this to the base of the front panel.


Tip: If you lift the stencil and find you missed any bits 
- just touch them up with a white pen after the paint has dried.


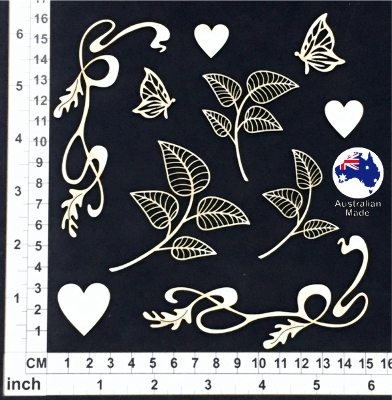
5. Next I prepped this fabulous card Chipboard set ...


6. Waste Not , Want Not! After taking out the floral elements I used a black sharpie on the outside chipboard support frame - it was the perfect frame for my card front. 


7. I painted my chipboards white - BUT if you buy them in the white mist colour you can skip this step.


8. I Put down my base colours using water based markers.


9. Next I used white Gesso to blend the colours on the chipboard to give it a more painterly look.
( YEP - you can add white paint straight over the top of water coloured shapes and they bled beautifully!!)


10. Finally I assembled all the elements on the card, added a title, rhinestones and butterflies.


Tip: I also used tiny 3D dots to create a multi layered look to the bouquet.


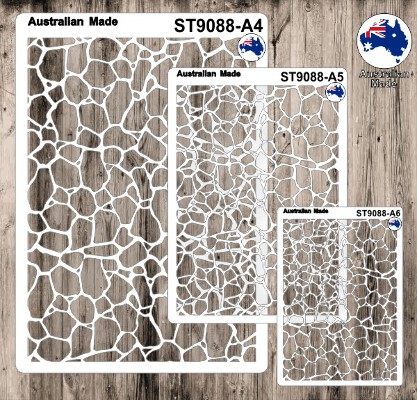
While I'm powering on with the stencils I wanted to also share this layout I did using the A4 Cobblestone template that I just managed to get my hands on recently ... I LOVE this outdoors look and teamed it up with some hanging vines and flowers ... and a few of the new Scrapmatts bling bits!



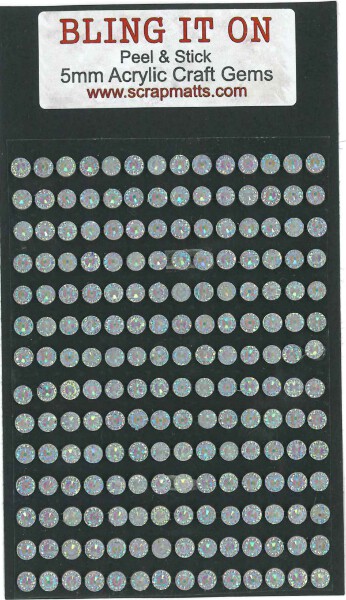


.   

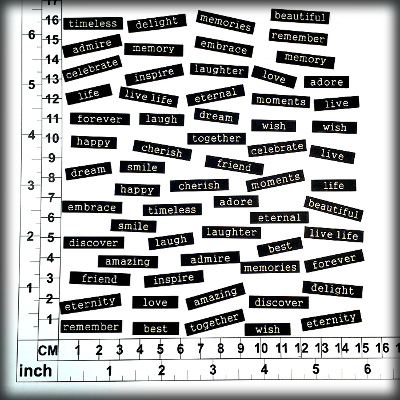
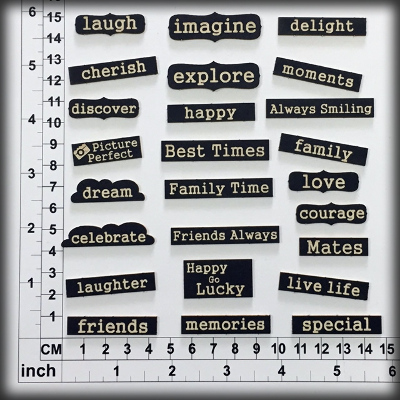
Apparently I'm addicted to the string circles chipboard and have to use them on every second layout I create!! lol 😂 My theory is that when you are onto a good thing you should definitely stick to it - which is why I also love popping any number of these fabulous chippy words on my layouts too 💚


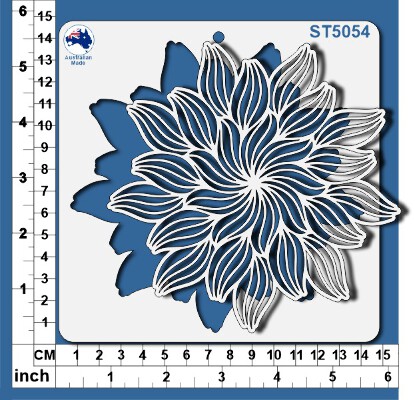
And I just have one more layout to share today ... one that was entirely inspired by that absolutely awesome new flower stencil you can see there in the background!


Scrapmatts have a whole new range of these STUNNING stencils that just make gorgeous additions to any layout... I've used some metallic structure paint with this stencil to create the patterns on this page....
an effect I adore! 


And of course no page is complete without some lovely chipboard elements, and these leaves and flourishes were the perfect additions to this layout. 


A bit of blue paint and Crystalina kindy glitz finished them off nicely. 


Thanks heaps for popping by the blog for a look, 
I hope you have found some inspiration and ideas for your next creative adventure.


Cheers from Kel


Tuesday, September 26, 2017

A touch of Magic

Good Morning Crafters,
Its Danni here stopping by to share something a little magical.
I'm hoping when you see what I have for you I can be forgiven for running a day late.
Technology at times is a mystery to me...
But Scrapbooking is something I do understand and is something I can certainly navigate...
So lets get onto the fun stuff!!

I recently visited Artvo in the City.
For those of you from Melbourne its a great afternoon out.
But be ready for plenty of snaps and a little fun play!!!
I loved the image and wanted something just as magical to fit it.
So I got started using plain white cardstock and layered that onto a chipboard base.
This project gets wet so it really needs the extra re-enforcement to prevent any warping on the layout.
The supplies you will need for this
CB2009 Page Borders 08
CB6109 Lamps 11
CB4071 String Circles 07
CB4060 Ornate Frames 17
Gesso, Gel Medium and tissue paper.
I started by layering my chipboard pieces in my chosen pattern
The CB4071 String Circles I decided to keep one of the inserts to thicken the frame around my image.
I added the CB4060 Ornate frame pieces at this time.
This was then coated with a Heavy White Gesso

You can see the effects of leaving the frame combined here.
Once the Gesso was dry I then added the Gel Medium and tissue paper in sections
around my chipboard.

After this next step I then added the CB6109 Lamp and the CB2009 Page Borders
layered over the top.
Some chain was removed from the top of the page and I inserted this into my layout.
I added the paper flowers also at this time
This was all then coated with a final layer of Heavy White Gesso.
Once dry it was time to add Colour and a lot of it.
You can use any collection of colours you like and just be prepared for time
and layers.
This is all about creating the richness in the layers of colour.
Using shimmer pots and a paintbrush I added more depth to the colour to the chipboard
pieces to make them really come to life.
This was completed in stages using multiple colours.
It was also added over the tissue paper area and flowers.
The final layer was added to finish it with a touch of Gold.
The gold really pops adding another level of richness.

I'm in love with the final result...
The chipboard really pops and adds to the magic of my little fairy.


Lastly I have a card created as an invitation,
I liked creating something a little different for this one.
(Yes none of the details will make sense because I jumbled them)

It has a shabby chic feel about it and features
CB1202 Roses 02
CB6110 Ornate Frames 25


 The pieces blend beautifully and I have to say the roses are quick becoming a new
favourite.


I love there detail.
The Ornate Frame pieces add beautiful old world feel.


I hope you enjoyed a peak at what I've been up to! I love to see what you have been working on and how you featured Scrapmatts Chipboard in your projects.
For all these Chipboard goodies and more head to


Friday, June 23, 2017

All things Scrapmatts by Danielle Vertigan

Hi its Danni here today,
To say things have been hectic is an understatement.
I've lost track of days and months but on the bright side I've enjoyed an
amazing trip exploring this vast country of ours and due to an
injury I just may have snuck is some scrapping as we went.
 
I've got a bit of a gallery for you today sharing all things Scrapmatts from some of my favourite
layouts.

A flourish can be added to just about anything and boy what a feature do they make
when they are embossed.
Here they are accompanied by the Word Tiles!
These are just one of the most effective little gems.
CB1003 Flourish 04
CB1206 Scrap Words 09
 
 
The CB5102 Window 02 was absolutely perfect to showcase this little man.
I removed the ledge and embossed the frame to welcome Beau.
CB6084 Alphabet Flags 01 I left raw and used them as my title.

 
Who doesn't love string Circles!!
So I've slipped in this piece for a peak.
CB5114 String Circles 01
 
 
I had a lot of fun with this one.
Its amazing what we can do with left over pieces.
Particularly when using sets we can often put pieces aside and forget about them.
There to long. not quite right.....
In this layout I have trimmed some down and separated others to wrap around my layout.
This is a great way to utilise your pieces and maximise there effect.
Here I've used
CB4069 Ornate Frames 26
CB4060 Ornate Frames 17
CB4034 Floral Design 01


I have a new favourite stencil!
ST5005
Its featured recently in 2 of my layouts and I just wanted to share how
fabulous it is.
I think the best part is how this stencil creates all the embellishment these layouts needed.

 
I hope you can take away some inspiration from this and us it on your next project.