Showing posts with label Gum Leaves. Show all posts

Tuesday, May 2, 2023

Dynamic Backgrounds

With Mother's Day just around the corner, I decided to work on some pages 
using photos of my new granddaughter. I'm still in love with  
Australian themed embellishments so I made the most of them on this soft pink page...


The chipboards for the titles were pretty straightforward - the word Mother's I inked brown to make it stand out and the word Love I left as it was - as the raw look softened the whole layout. 


I used the Gum leaf stencil and two different green inks to add the leaves to the
top of the page. I decided in the end not to ink the Gum leaf chipboards at the top so 
they wouldn't be competing for attention with the leaves inked on the paper. 


but the leaves at the base of the photo got a good inking with the same two green
 inks that I used on the background stencils.


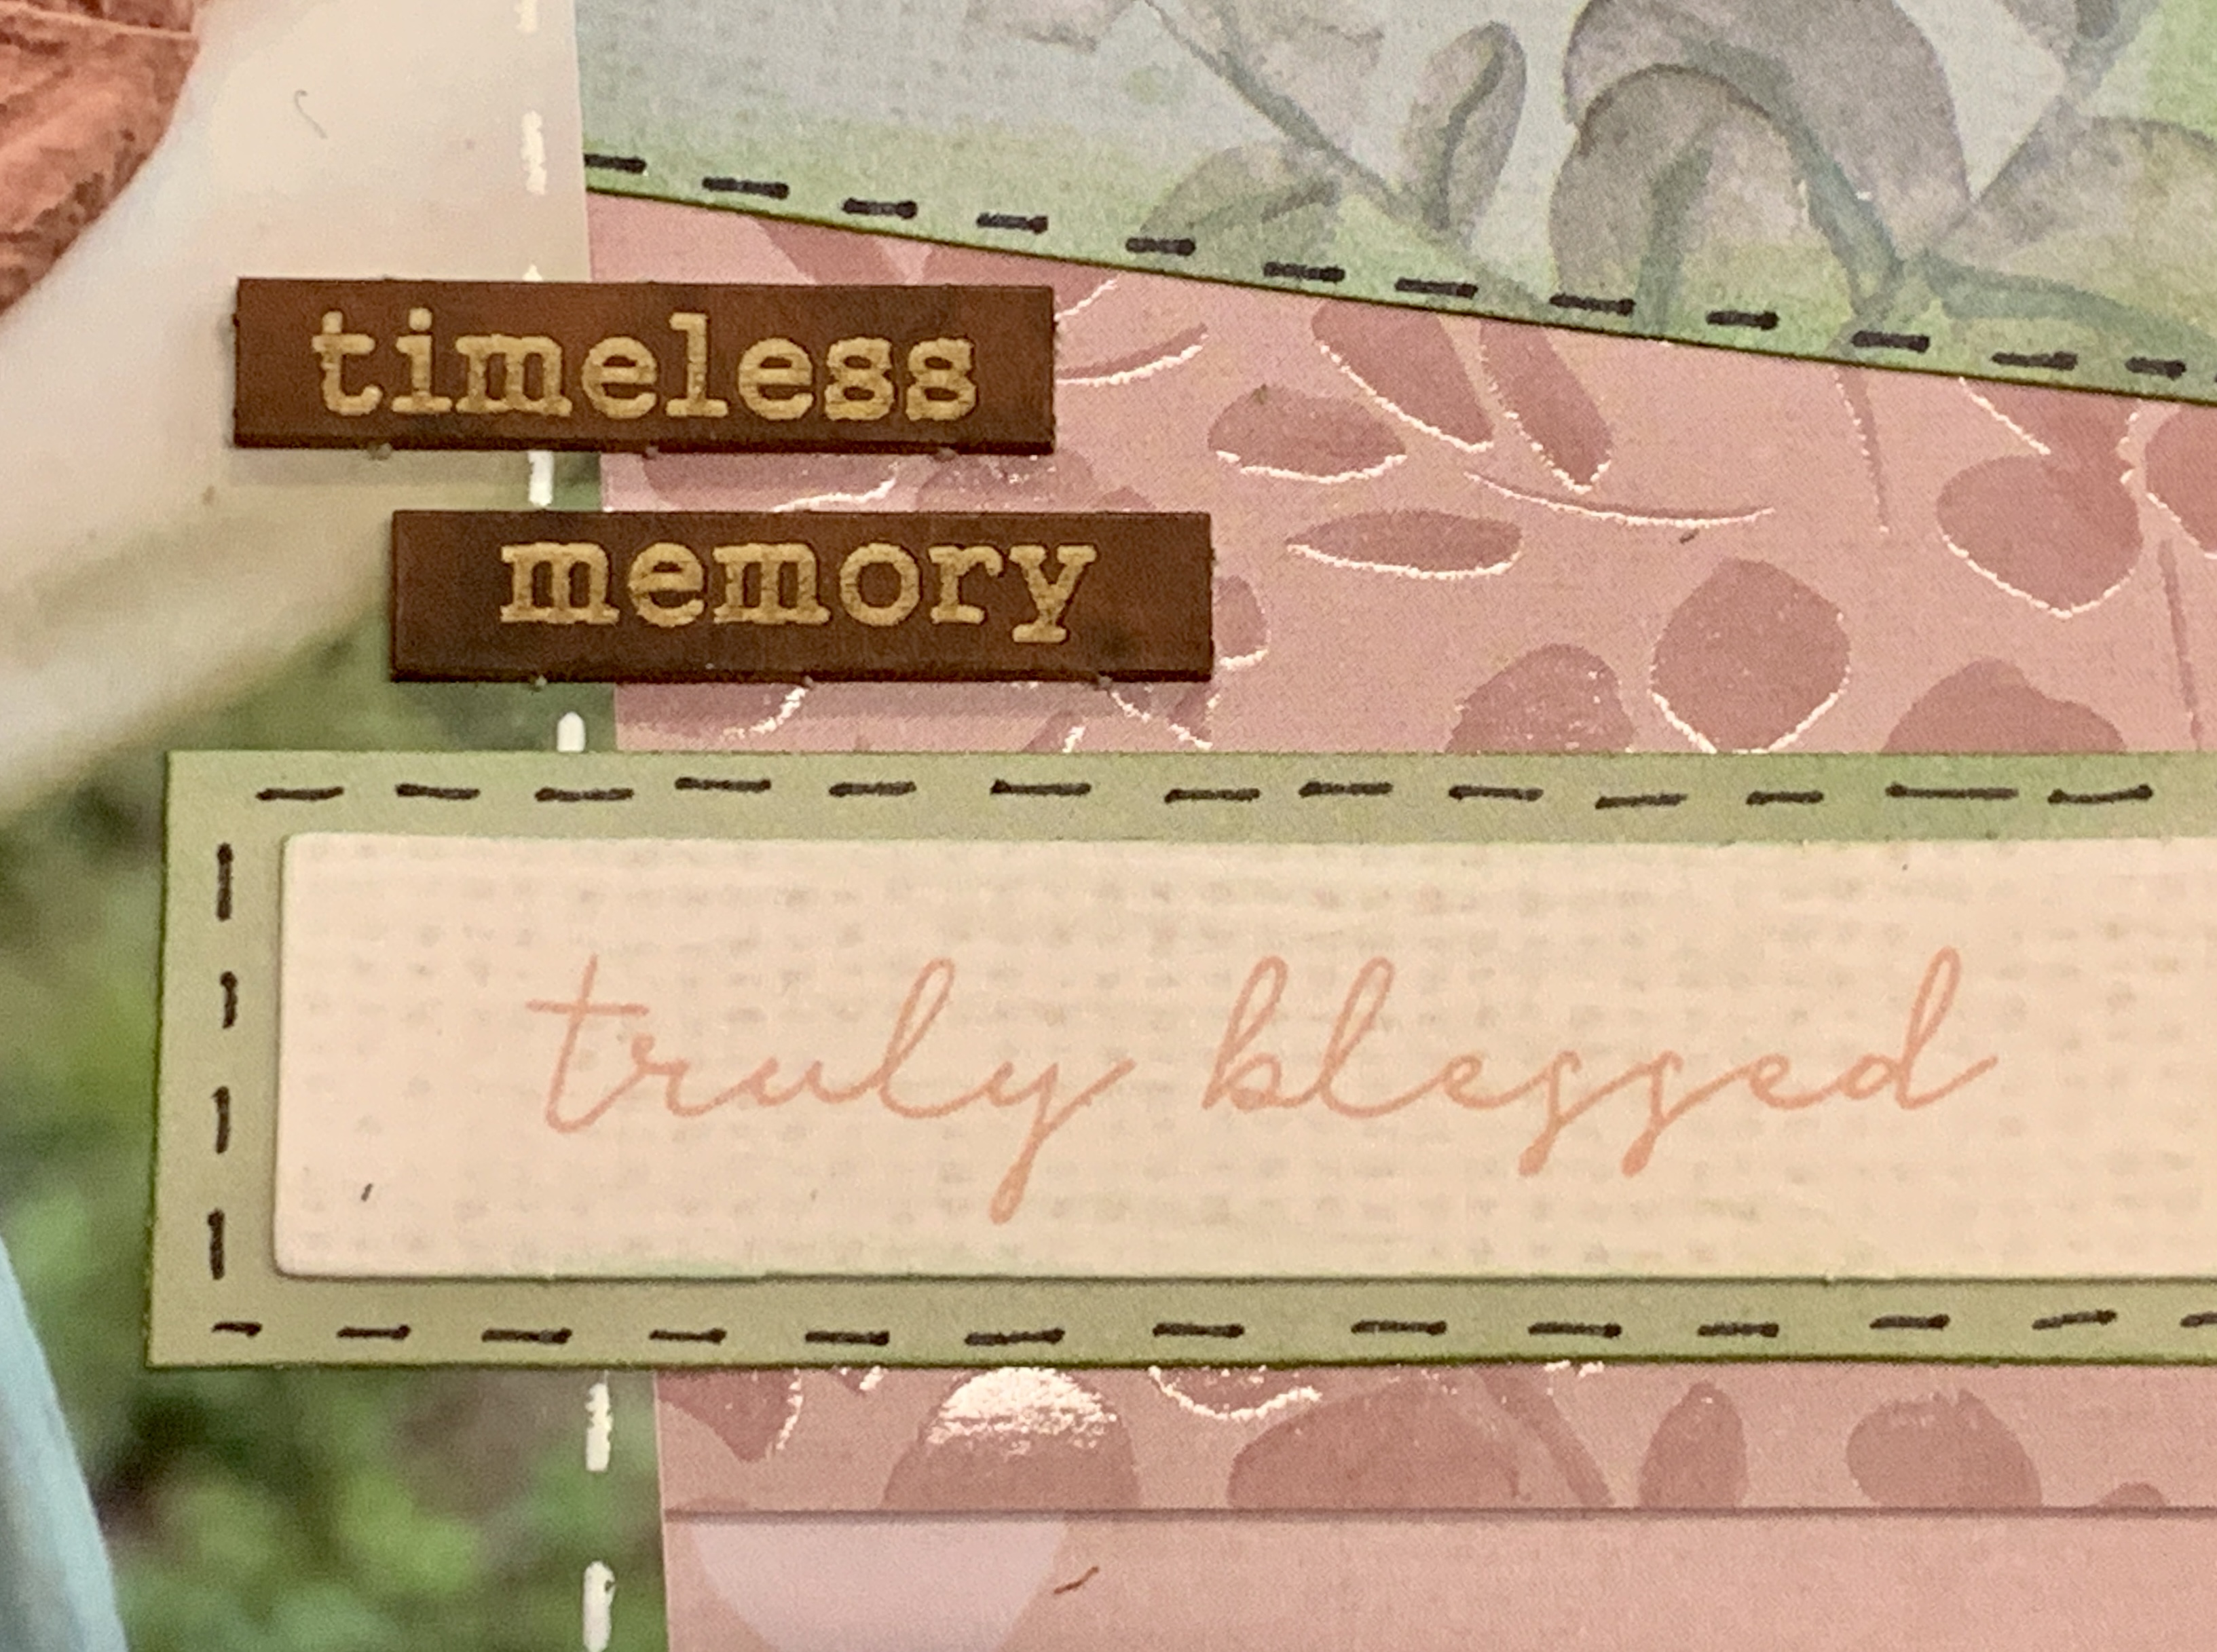
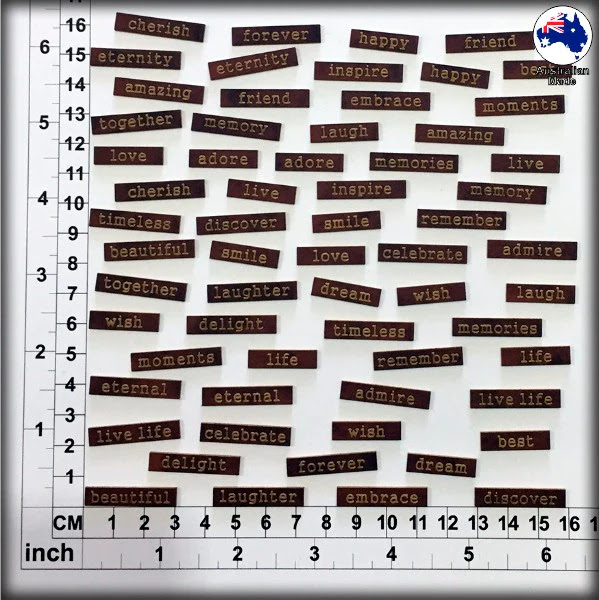
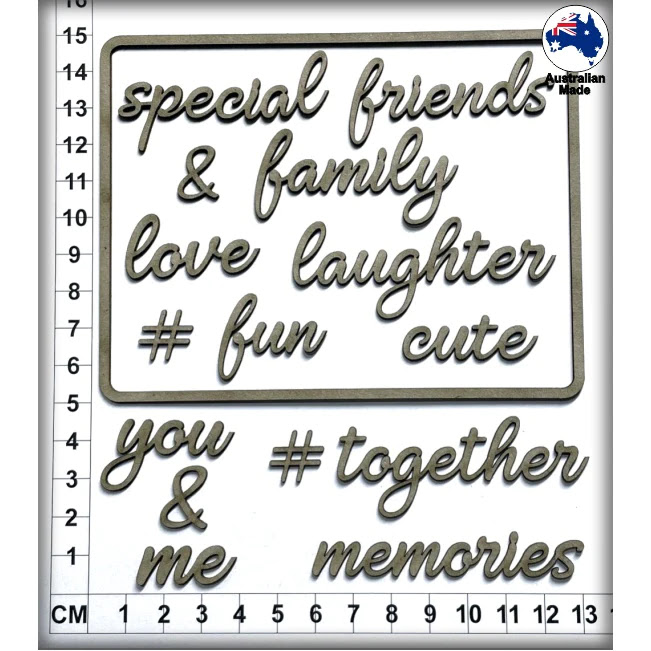
Of course, I just had to scatter a few of these wonderful journaling words around also...


For this next layout, I decided to go nice and bright and really lean into the
painterly qualities of the background on this paper.


The hero of this layout is the triangle stencil pattern in the background - created using
the A6-sized stencil, the hot pink triangles emerging from the lighter background really pop!


I rubbed the hot pink ink into the background using this cheap makeup brush
that I picked up at K-Mart on a whim, it worked brilliantly!


And for colouring the feather images I just hit them with some simple watercolour paints.


The various words on the page were gathered from the following sets and inked with brown
and then given a light run-over with Crystalian Kindy Glitz. 


I used the makeup brush again when it came to colouring these flower chipboards as well ...


Then I dropped a bit of yellow paint into the middle of each one to make a simple centre.


I also ended up adding this lace to the page just to pull a bit of the white back in below the photo,
and it's just such a beautiful lace, It really seems to add class to any page I use it on.


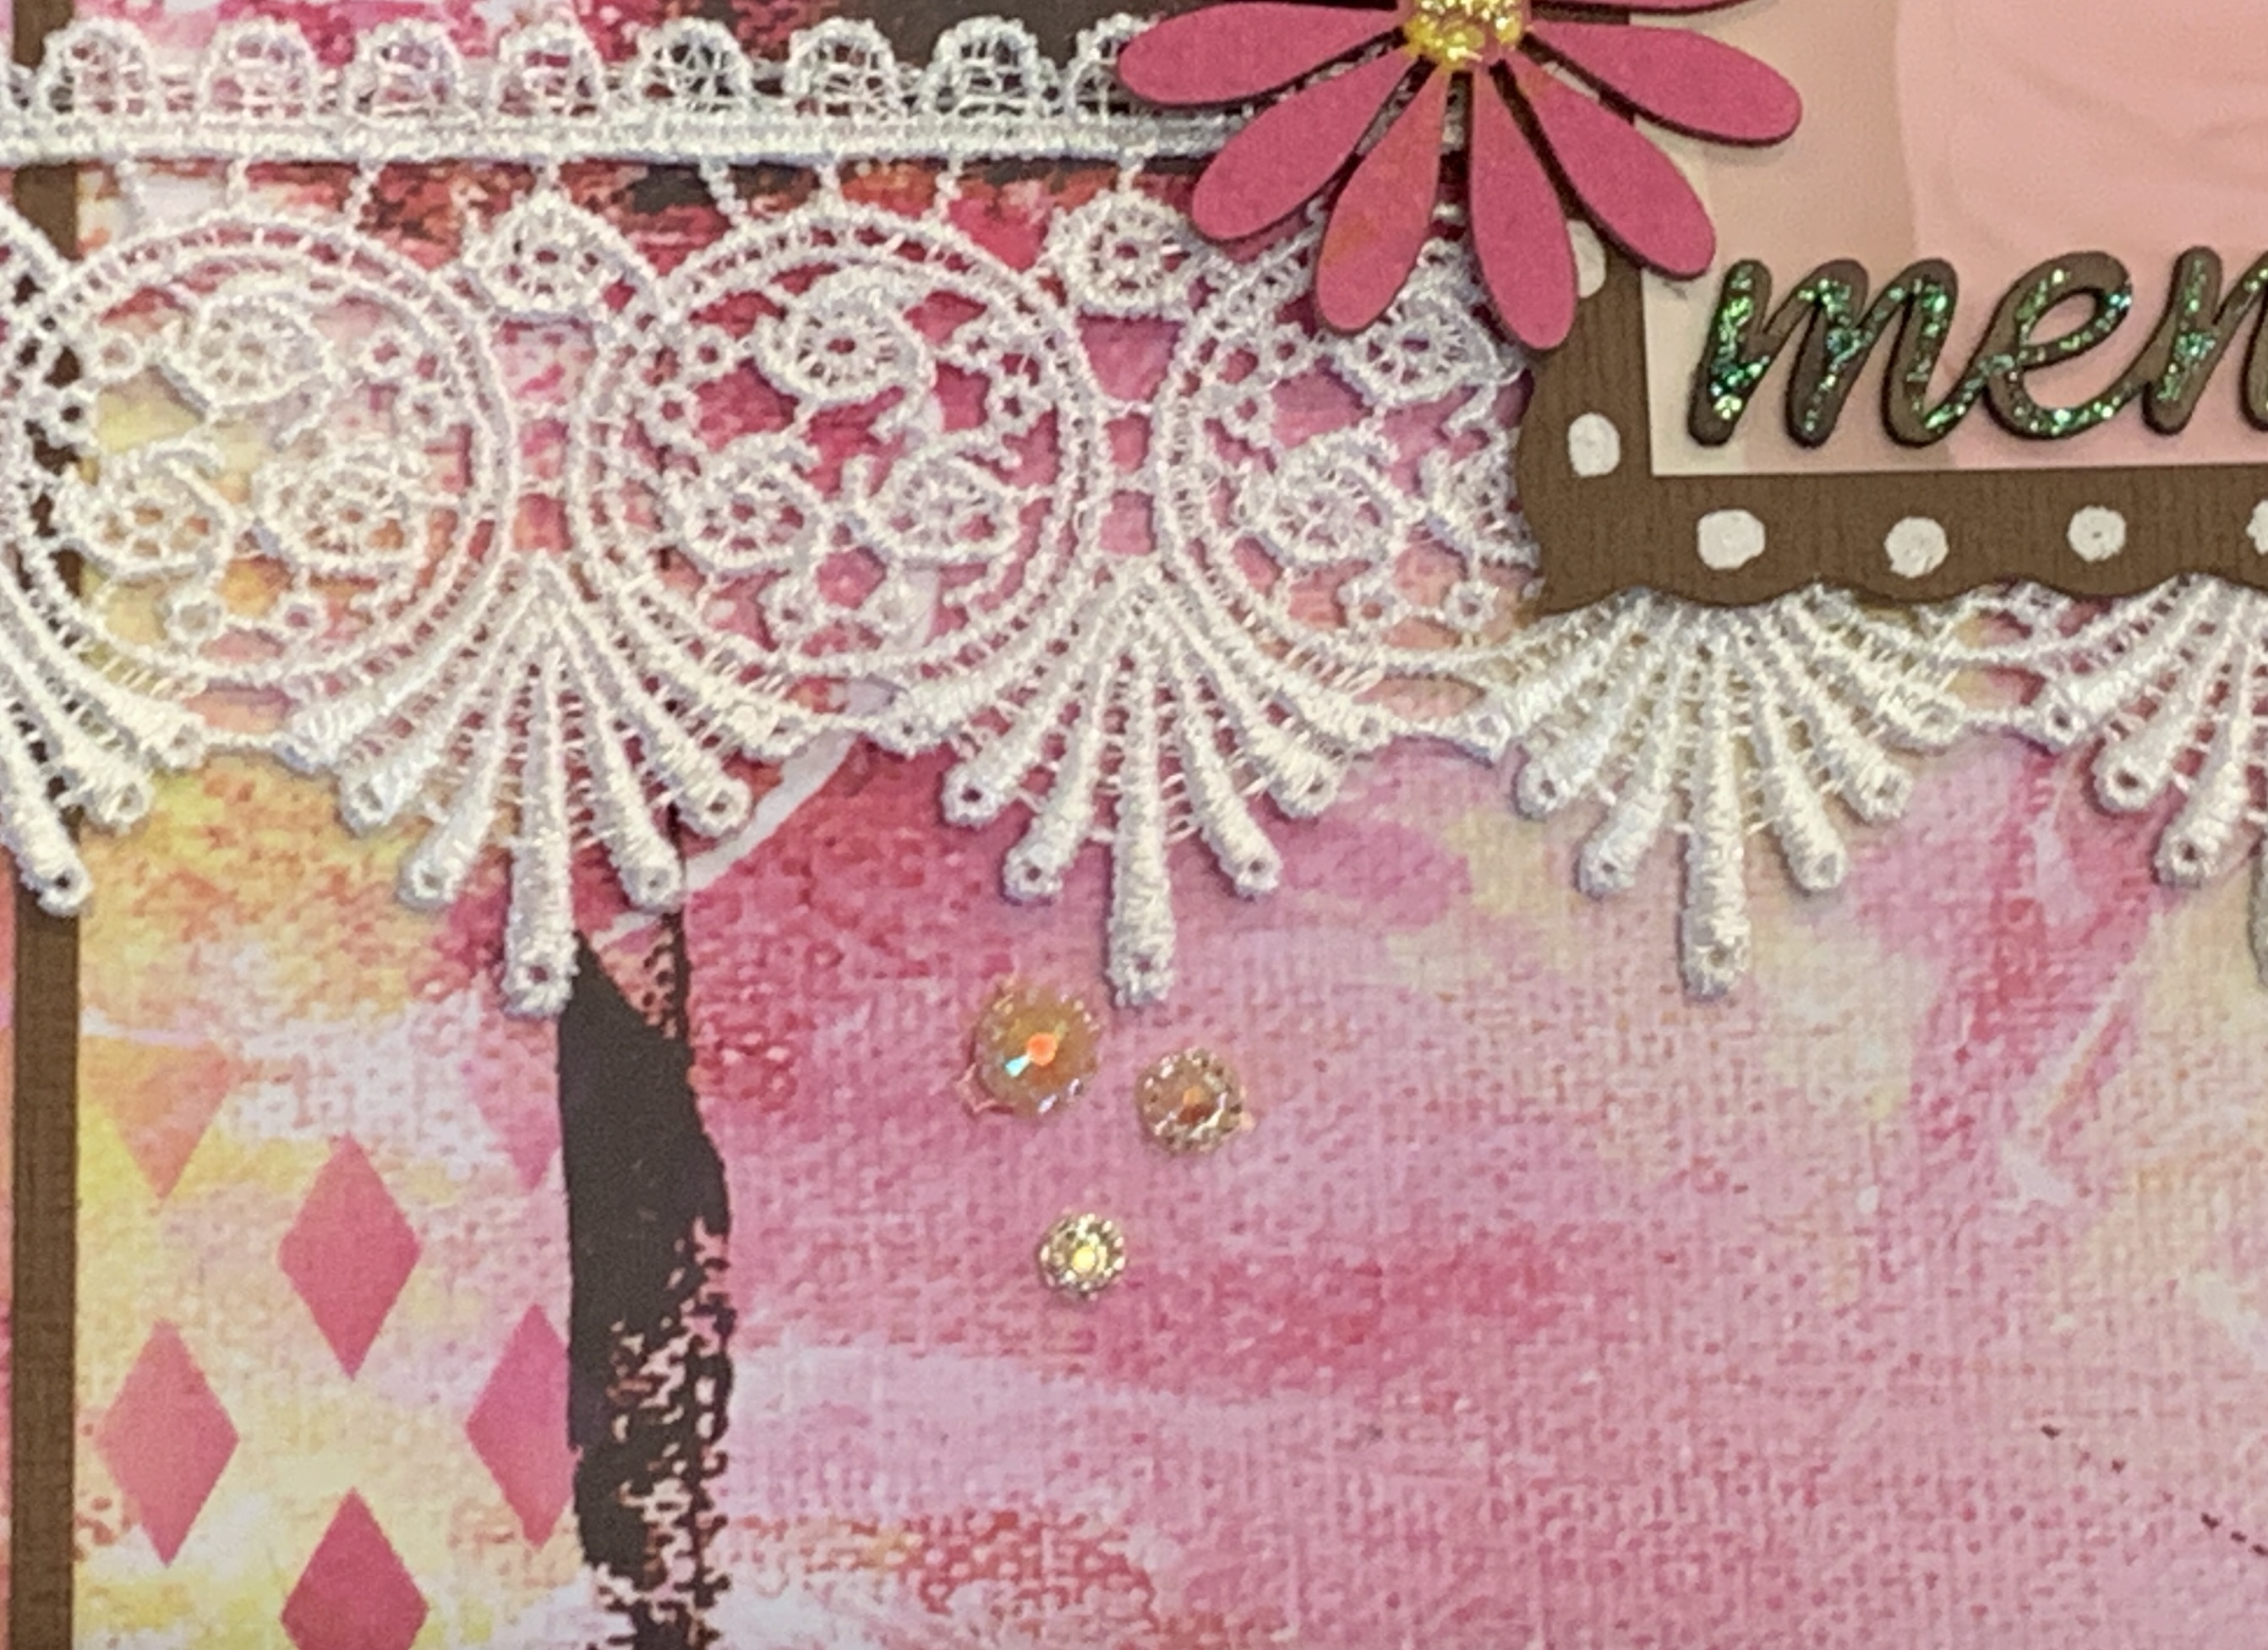
Finally, to lift the whole layout I also scattered clusters of these 
4,5 & 6mm Champagne Acrylic Craft Gems around the page and some random sprinkles 
of Crystalina Kindy Glitz.


And that's it for me this month, Thanks for checking out my crafty adventures.
And for all the mums out there - I hope you have a very beautiful and blessed Mother's Day this year 💕

Cheers,
Kelly-ann


Tuesday, August 31, 2021

Capturing the feeling you are after...


Hello again creative friends,

I'm back again this month with another set of scrapbook pages and a card - all made using the versatile products found in my Scrapmatts stash. 

For this first layout I was completely inspired by these BEAUTIFUL gum leaf stencils...


you know how it is sometimes when you find yourself looking at a product thinking 'I'm just dying to use this!' ... well thats exactly how this layout come into being...


I started by adding some small circles in white and light green around the lower half of the page...


After this I added the gorgeous gum leaves using the A5 Stencil... mixing colours as I went with some light, medium and dark green inks...


And on top of it all I used some birds from my all time favourite stencil as well...


To get these simple yet effcetive birds on the page I simply traced their images and filled them in with black.


Then I finished off the page by adding some simple black chipboard shapes and words. 

.  


And to add that very 'Aussie river bank' feel I used these amazing barbed wire chipboard shapes to frame my picture and decorate the page...


I LOVE the look of this one simple embellishment! 


This next layout was one I wanted to be very bright and very fun ... the photo has captured a fabulously funny moment in our family and making the whole page whimsical was my number one priority. 


The bright busy papers did most of the hard work for me, but some simple black chipboard shapes added to the whole page finished it off nicely. Sometimes simple and easy is exactly whats needed. 


I coloured these lovely leaf sprays with black ink to tie in with the various journaling on the page...
  

And of course added some special chipboard journaling words as I love to do ...


And to finish off today I'm sharing a simple card I made recently for a very dear friend. She's not a very tizzy or fussy person, but I wanted to keep it bright and playful so I opted to use glitter gel pens to colour the Happy Birthday chipboard title... 


It was a very simple process where I used red on each letter and then added a bit of orange to the base of each letter to give it a variegated colour effect...


Then next I used this fabulous circles stencil for the back ground of the card - I love this stencil because it reminds me of fireworks and always looks so festive! 


It actually looks even better when you use texture paste through it, but time would not allow me that trick so I used a pink glitter gel pen and just drew the stencil shapes onto the card ... simple yet effective.


And thats it from me this month ... thanks for sticking with the post to the very end.

Cheers from Kel