Showing posts with label card making. Show all posts

Sunday, January 1, 2023

Let the Summer fun begin 🌞


And just like that Christmas is done and dusted 
and the summer shenanigans begin! 
Summer holidays for us mean many days spent at the beach and I have been hoarding beautiful beachy papers and embellishments for months in preparation for this season, so let's jump straight in with this first layout.


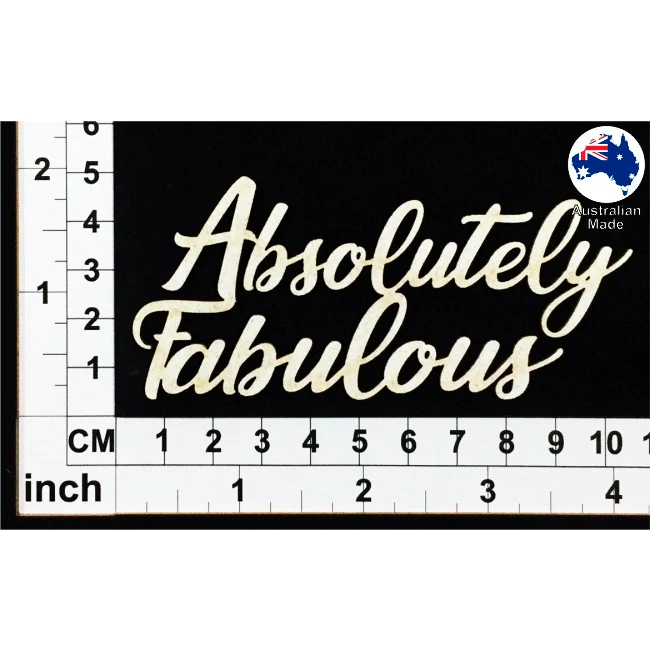
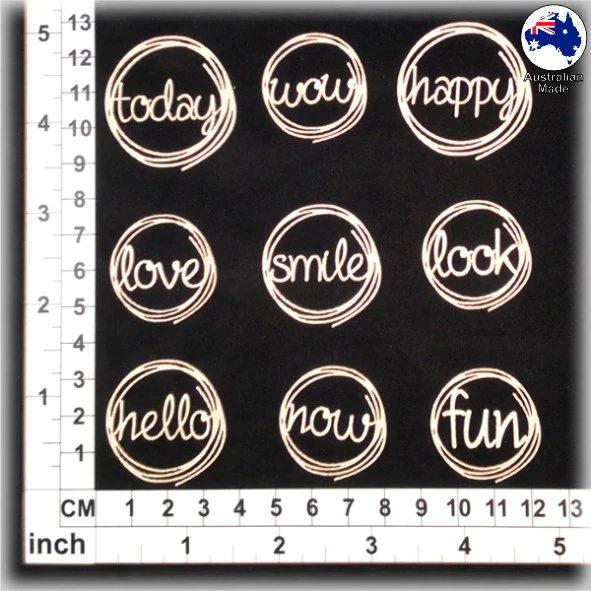
For my title I simply strung together some of these gorgeous word chipboards and inked them with the same teal I used on the background stencilling. 


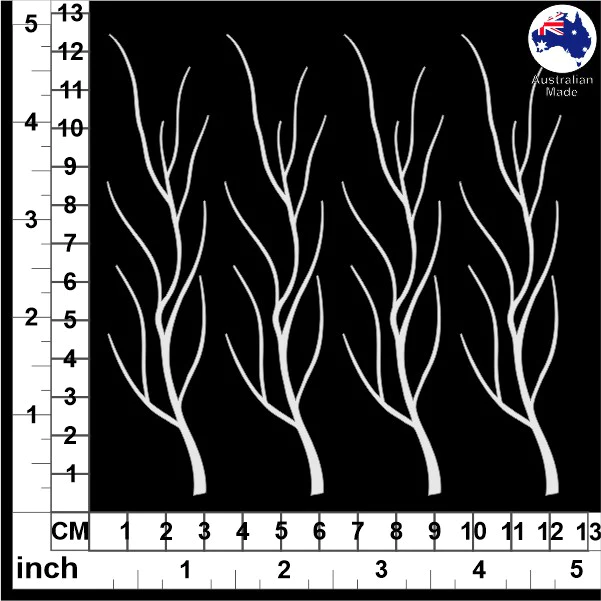
I also added in a few of these delicate twigs and grasses - which looked fabulous in their raw state so there was no colouring needed. 


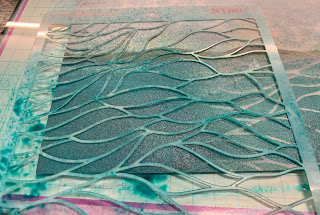
For the background I used a couple of different stencils - the first was this beautiful waves pattern that I gently pushed in around sections of the background.


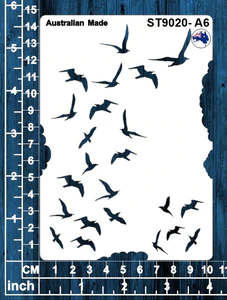
And then - just to add some interest, I used the fish from this versatile little stencil to pull in the cute element into my background.


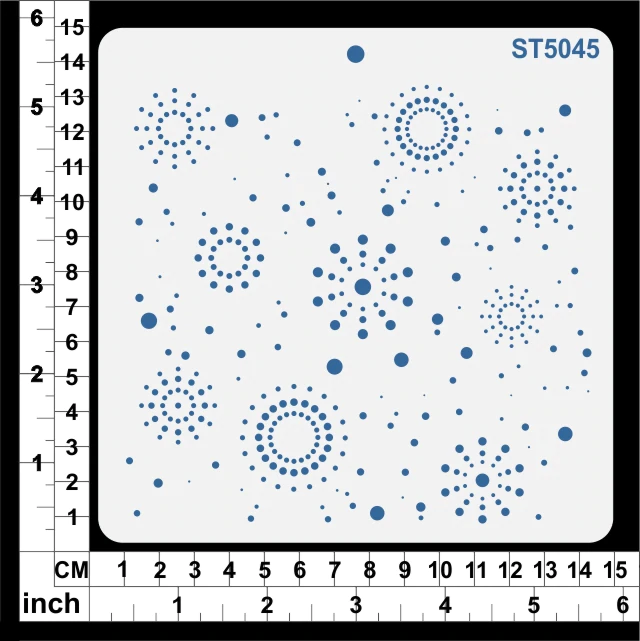
After inking the bubbles I covered the dots with glue that dries clear to give it a bit of a watery look. 


And of course, no layout is complete with scattering some of these gems around the page! 


With my leftover papers from the layout I was also able to create a fun birthday card - one that will hopefully suite a male recipient (I find guy cards the eternal challenge). 


The chipboard for this birthday card was from my favourite pack of chipboards - I love both the font and size of these chippies - they are PERFECT for cards! 


To really bring that background to life I painted inside the pattern of this 'Mermaid Scales' stencil with Crystalina Kindy Glitz and after that dried, went over the outline roughly with a white pen ...  
the effect is just a little bit of underwater magic! 


And that is just the start of the summer beachy projects. 
I look forward to sharing more with you next month. 


Cheers, Kel xo

Friday, July 29, 2022

Inspire

Hello, today I'm sharing some layouts and a card I made recently using a heap of Scrapmatts chipboards and the Mintay paper collection 'Graceful'.  Great products and beautiful papers make creating easy and I'm thrilled to be able to share a few ideas here with you as inspiration


On top of all the big titles, journaling tabs and cool feature chipboards I love to add in little sneaky extras like one of these string words - I adore the way you can easily make them a coordinating colour and slip them in with your page elements, they add feeling so easily and fit in effortlessly... 
I always keep a pack handy for this very purpose. 💕


I’ve been up to my usual tricks here too - adding in easy journaling with these fabulous word tiles and colouring a hurricane lamp to coordinate with the lamp embellishments in the paper range


For titles at the moment -  I'm working my way through this HUGE pack of chippy words - they are great value and the perfect size for page titles. I simply hit this one with some glossy pink spray paint - so easy it feels a bit like cheating! lol 😜


I was a tad over fussy cutting by the time I got to this second layout, so instead of relying on the papers to carry the embellishment burden, I added a heap of chipboard elements - making the process much easier! 


There were a lot of dark patches in my photo on this layout so I used black embellishments to balance all the light ones in the paper collection and tie the two together. 


This lovely circle element was easy to dress up with some simple white shines added. 


And I couldn't resist pulling in some colour to the background with this heart stencil and of course some simple silhouettes of flying birds. 💚


... and I'm still using up my chipboard titles ...
- this time they are decorated with ink using a variegated colouring scheme.


And last but not least - I have a simple card to share ...


Left over papers from pages are my favourite bits and pieces to use for card making
 and a few special chipboards makes this an easy process too! 

These simple small 'Happy Birthday' chipboards are a fantastic size for cards 
- I coloured these with a black sharpie.


There is no real reason why I chose this street lamp to go on this other than that I love them - they are my go to embellishment for any ladies card - along with butterflies and rhinestones of course! 🦋


And this beautiful pack of journaling words was perfect for saying just what I wanted on this card.


Thanks for stopping by the blog to have a look. I hope you found some inspiration and I look forward to sharing more creative projects in the future. 

If there are any techniques or elements you would like to see shared in the future, please leave a comment below, as the team and I love a good challenge! 👌


Cheers, 
Kel


Saturday, January 29, 2022

Spritz it, Paint it, Stick it!

I hope you are enjoying this brilliant summer we are having here in Australia... and if you are reading along from the other side of the globe... then hope these projects inspire you that warmer weather is just around the corner! 

I'm kicking off today by sharing a beach layout I pulled together using good old fashioned spritz ink... 


To create this look I spritzed over this gorgeous waves template and then ran the spritz all around the outside of the whole page to tie it all together.


Spritzing is perfect for creating that wind-blown, messy, water splatter look 
that works so well on beach layouts. 


To keep the colour scheme tight I also sprayed the title chipboard with the same coloured spritz
then added some white shine lines to finish it all off. 


Of course I couldn't resist adding some seagulls flying about as well - using one of my all time 
favourite stencils - these gorgeous flying birds...


These I simply drew on with a black felt tip pen and coloured until they were solid silhouettes.


I also added in a couple of other little bits a pieces of chipboards ... some hearts from this leaves and flourishes pack and a string circle word from another set.


Next I'm sharing a bit of a fun Birthday layout ...


I felt like there were too many colours in my photo to pin point a single one to coordinate with so I decided to just go with a green/blue background with black and white highlights. 

To start with I used this stencil with white gesso to give the page a bit of a celabratonry feel...


next I used my spatular to fan out more gesso over the page until I had a busy 
background pattern to mount my photo on...


I used black spray paint to give my title chipboard a nice matt finish.


This simple look is very effective against a contrasting background.


After that I added in some other fun chipboards from different chipboard sets...

I even used the black frame that came with this set!

These ones were already supplied in black...


and these ones I spray painted with black along with the title.


Last but not least I'm sharing some Quick and simple baby cards
 made for some special family members...


To create these I coloured some stamped images, and popped them on 
backgrounds I made using alcohol inks...


... to give the cards that edge I teamed them up with these versatile string circle chipboards
that I used more mat black spray paint on.


On the first card above I used the medium circle by cutting it into 2 sections.


For this next card I also used some of these fabulous scrap word panels.


And for this final card I used the large circle on a bigger square card and pulled in a couple of 
chip boards from some other chipboard sets...


and thats it from me for this month ... thanks for stopping by for a look 
at my latest projects, if you have any questions feel free to drop them in the 
comments section below and I'll be sure to respond


Cheers xo