Showing posts with label flying birds. Show all posts

Thursday, September 30, 2021

Life’s a Beach

 For those of us in the southern hemisphere the weather is finally warming up and beach days are back!

🌞 🐚 🐚 🐚 🌞

This is of course my favourite scrapbook page theme so I'm kicking the 21/22 summer season off with some  beachy layouts and a special card...


Stencils are the hero's of this first page ... 
I've inked Circles on the background of the sky, shells onto the sandy base of the page 
and of course some silhouette flying birds about like gulls.


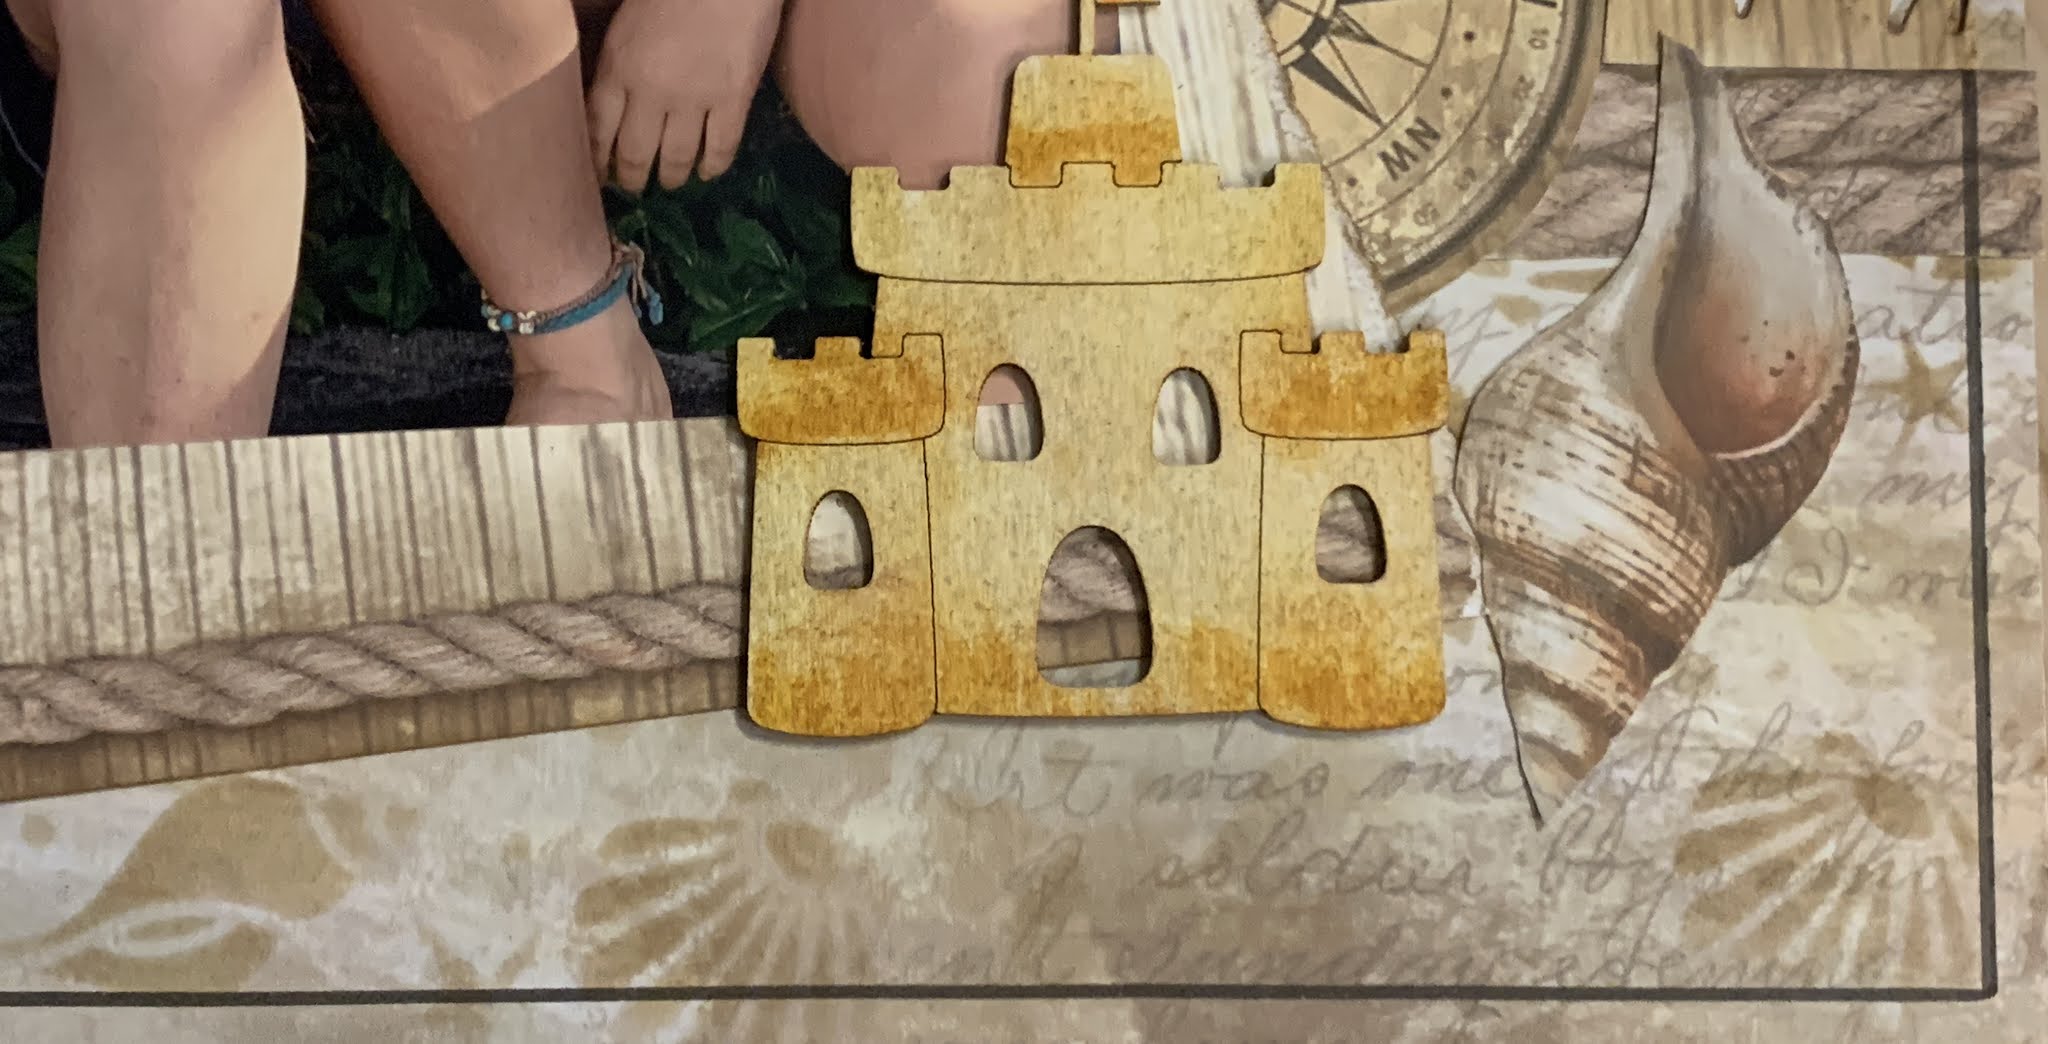
I also ended up using some of these super cute beach chippies as embellishments on the page - coloured using Distress inks. And of course I have a scrap words title to top it all off.


Summer Holiday Layout

Sometimes you need to get more than just one photo on a page right?
Well holidays photos are a lot like that for my huge family and divided pages
are a great way to get this done.

Here I have separated my photos into the existing panels on the paper to help frame 
them nicely while still getting a decent number of the onto the page. 


I used my beachy chipboards to simply dress the page up after getting all my photos on there 


And as I often do - I tossed as many of these scrap words all over the page as I could. 
I'm not a HUGE fan of journaling - but I do enjoy setting the mood with these wonderful little word tiles.


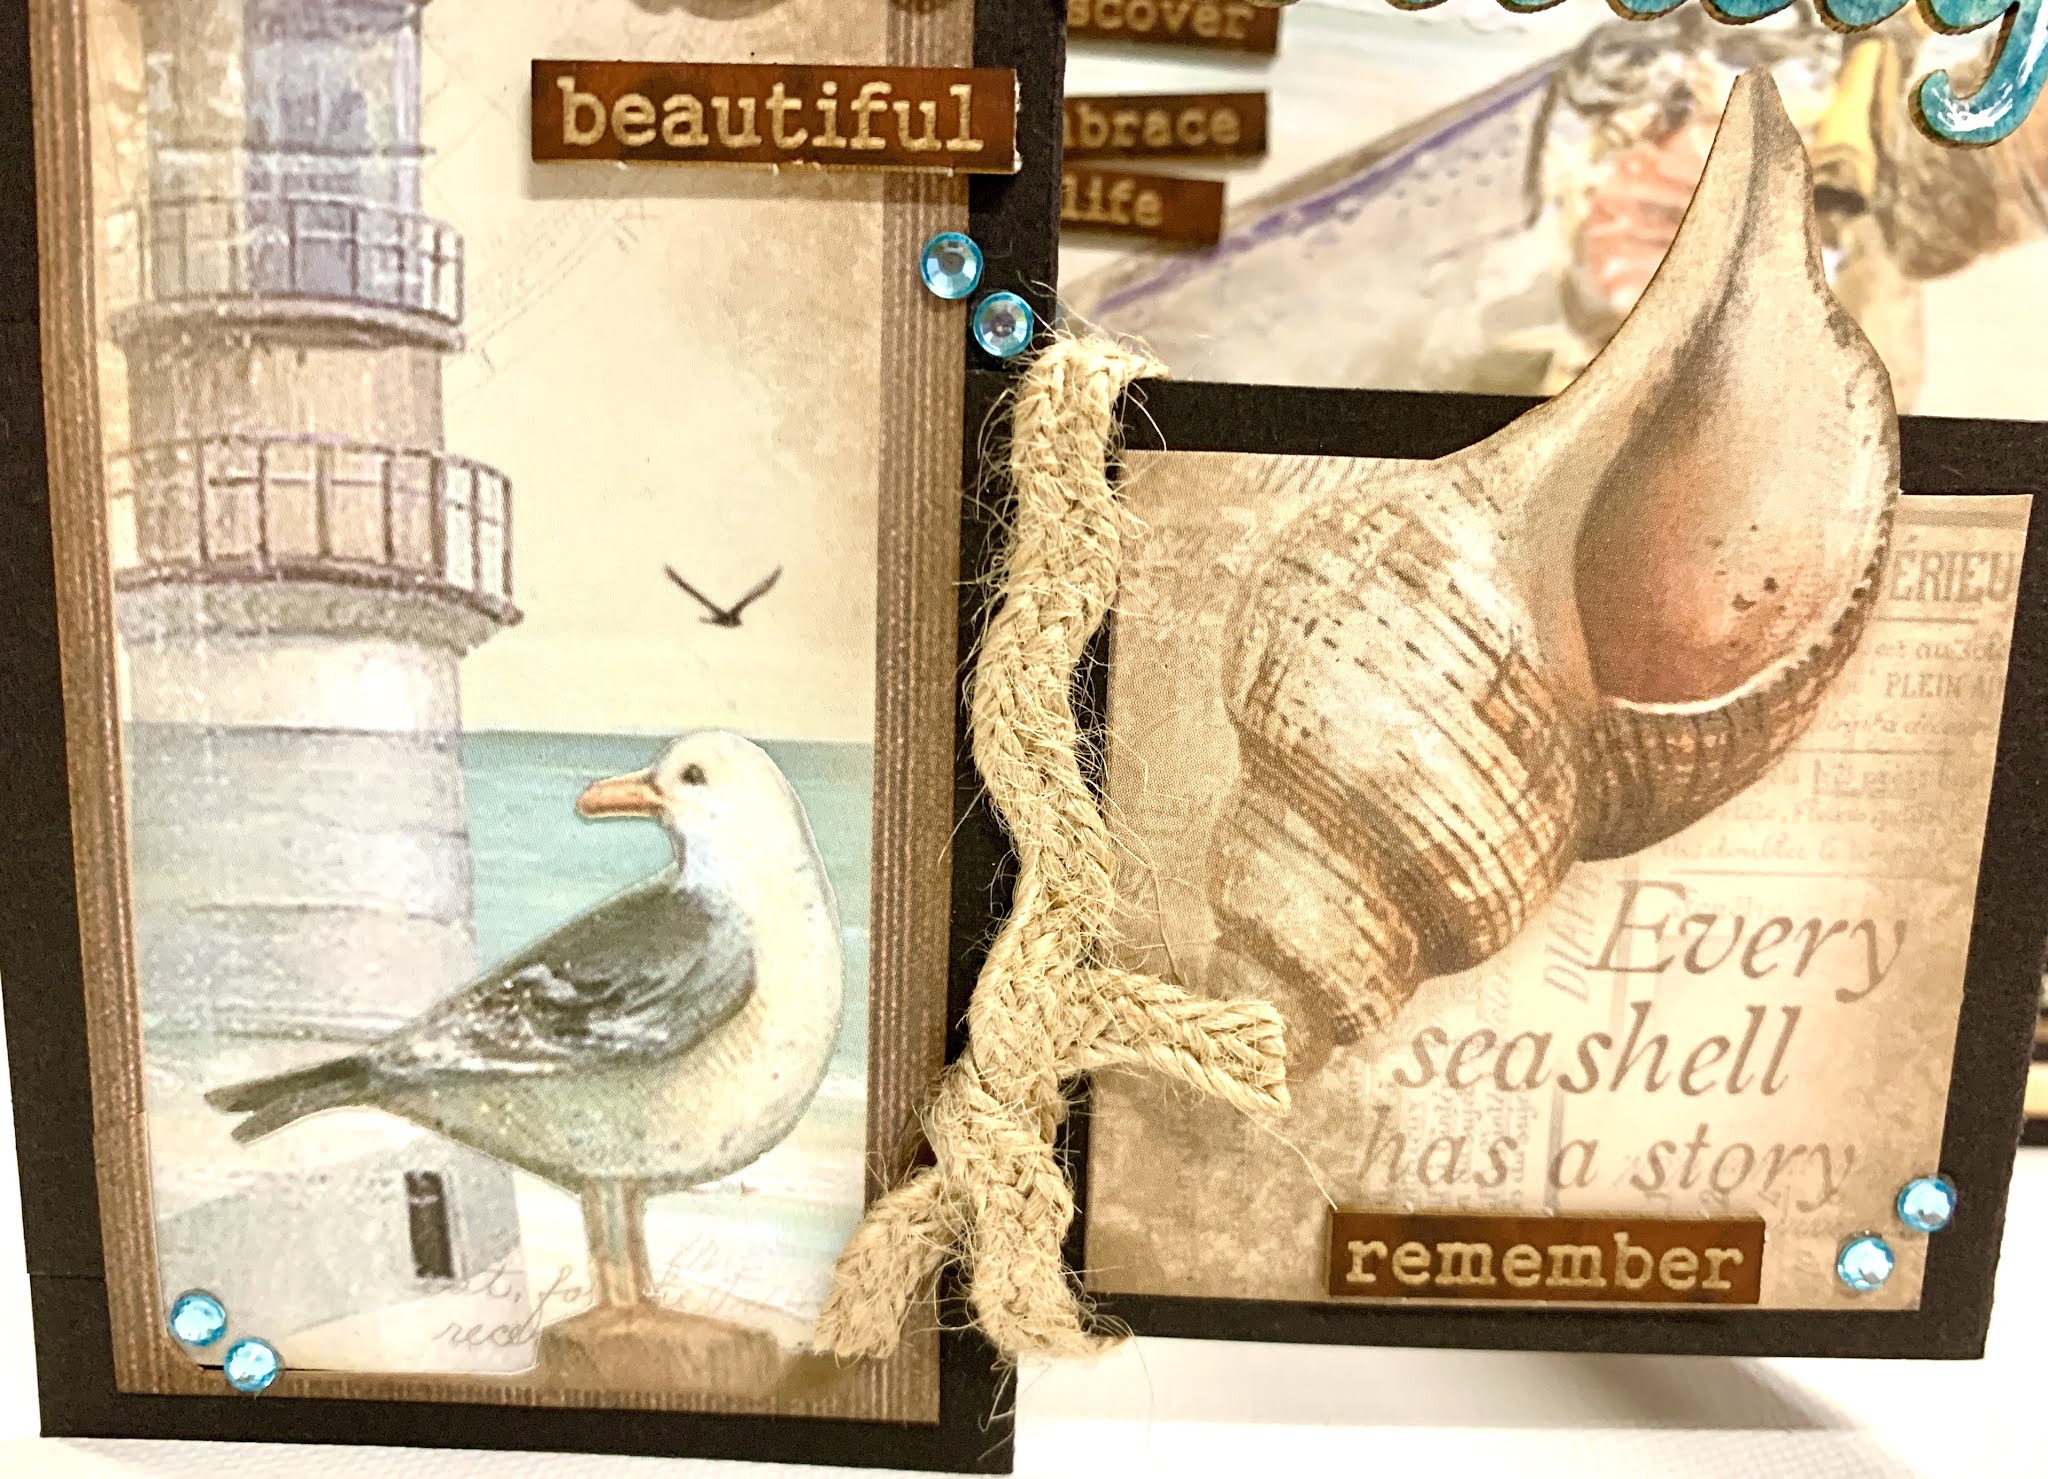
And with my leftovers from the two pages above I was able to make this special Z-fold card.


This special one was for my Daughters 16th Birthday - she adores the beach also and 
you have to go the extra mile of the big birthdays right!? 😉


Scapmatts have this fabulous Z-Fold card template that makes these kinds of cards too easy.
All I needed was a sheet of A4 card stock, a scorer and a pencil and this was 
ready to decorate in 3 mins flat!


The chipboard 'Happy Birthday' title was coloured using distress inks - a light blue on 
the top of the letters and a darker one on the base. Over the top of these I added shine lines with
a medium while gel pen - for a nice glossy wet look. 


And yes - again with more scrap words ! lol
🤣 🤣 🤣


Well that's it from me this month my creative friends, 
but I promise to continue to bombard you with summer layouts well into the coming season. 

Many, many smiles 
from Kel 
xo


Tuesday, August 31, 2021

Capturing the feeling you are after...


Hello again creative friends,

I'm back again this month with another set of scrapbook pages and a card - all made using the versatile products found in my Scrapmatts stash. 

For this first layout I was completely inspired by these BEAUTIFUL gum leaf stencils...


you know how it is sometimes when you find yourself looking at a product thinking 'I'm just dying to use this!' ... well thats exactly how this layout come into being...


I started by adding some small circles in white and light green around the lower half of the page...


After this I added the gorgeous gum leaves using the A5 Stencil... mixing colours as I went with some light, medium and dark green inks...


And on top of it all I used some birds from my all time favourite stencil as well...


To get these simple yet effcetive birds on the page I simply traced their images and filled them in with black.


Then I finished off the page by adding some simple black chipboard shapes and words. 

.  


And to add that very 'Aussie river bank' feel I used these amazing barbed wire chipboard shapes to frame my picture and decorate the page...


I LOVE the look of this one simple embellishment! 


This next layout was one I wanted to be very bright and very fun ... the photo has captured a fabulously funny moment in our family and making the whole page whimsical was my number one priority. 


The bright busy papers did most of the hard work for me, but some simple black chipboard shapes added to the whole page finished it off nicely. Sometimes simple and easy is exactly whats needed. 


I coloured these lovely leaf sprays with black ink to tie in with the various journaling on the page...
  

And of course added some special chipboard journaling words as I love to do ...


And to finish off today I'm sharing a simple card I made recently for a very dear friend. She's not a very tizzy or fussy person, but I wanted to keep it bright and playful so I opted to use glitter gel pens to colour the Happy Birthday chipboard title... 


It was a very simple process where I used red on each letter and then added a bit of orange to the base of each letter to give it a variegated colour effect...


Then next I used this fabulous circles stencil for the back ground of the card - I love this stencil because it reminds me of fireworks and always looks so festive! 


It actually looks even better when you use texture paste through it, but time would not allow me that trick so I used a pink glitter gel pen and just drew the stencil shapes onto the card ... simple yet effective.


And thats it from me this month ... thanks for sticking with the post to the very end.

Cheers from Kel