Hi It's Lisa here with you today.
Guest designing for Scrapmatts once again.
I've put together this fun tutorial for you using tags, inks, stamps, stencils and of course chipboard.
It's a little messy, but lots of fun.
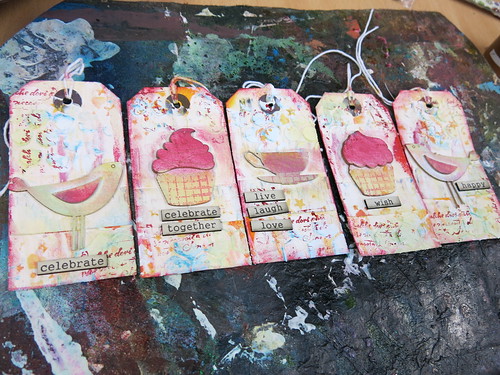
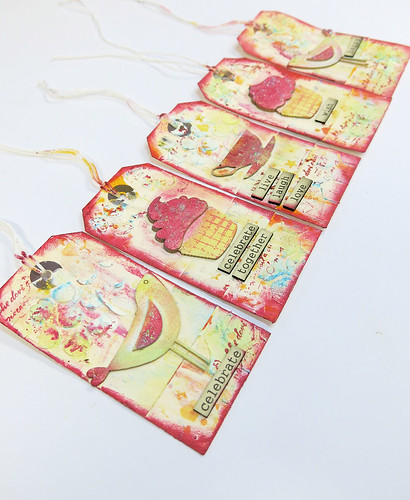
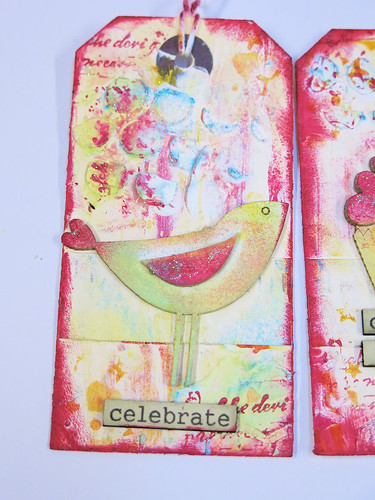
This is what we end up with.
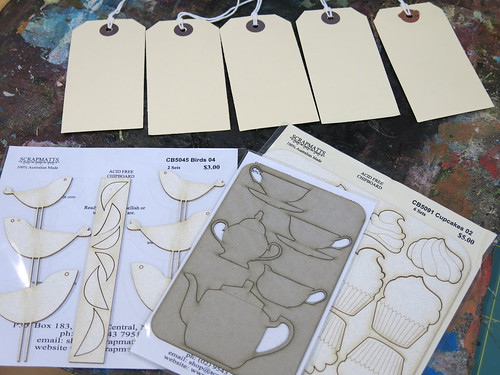
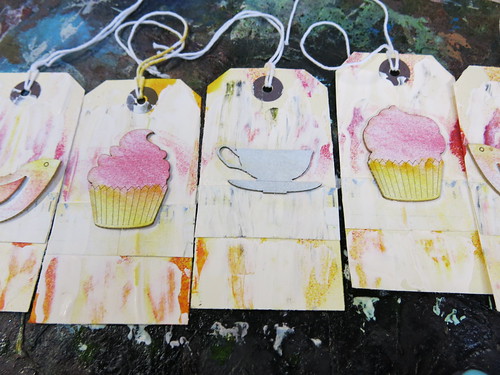
But we start off like this.
I used these cute chipboard shapes and some plain tags.
It's now time to get messy : )
Get that apron on and remove anything you don't want to get misty from your desk.
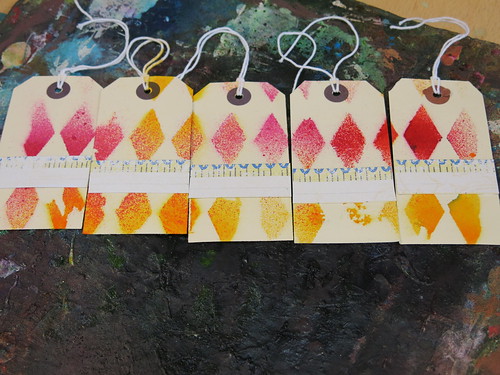
I've taken a big 12x12 Crafters Workshop Stencil and some mists. Laid the mask over the tags and randomly misted. I like to dry off with a heat gun between each layer to save time.
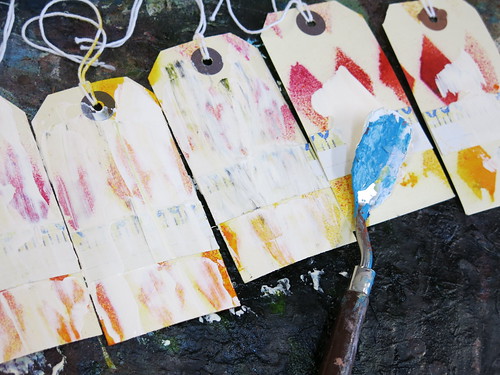
Once dry, I've stuck a piece of scrap paper on each tag.
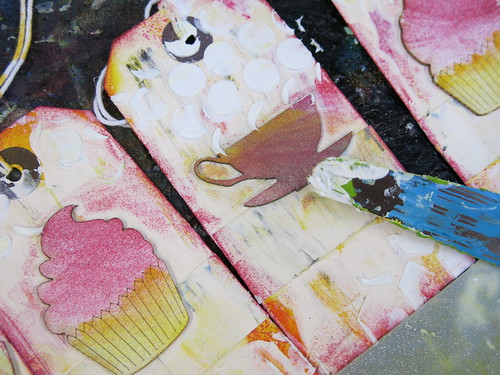
Then taking a palette knife (an old credit card will also work) I've spread some white acrylic paint over the tags and dried off.
It's now time to add the naked chipboard. I've used pva glue to stick it to the tags.
I've started to decorate the chipboard by using Prima Chalk Inks to add some colour. I covered the cup and saucer chipboard with a white Tim Holtz Distress Stain before adding colour.
Using another Crafters Workshop mask and some moulding paste, I've added some texture to my tags around the chipboard.
Once the paste is dry, I've taken some PanPastels and a sponge to dab over the new texture that I've just added. I love the contrast of colour now being added.
And they work great on the chipboard too.
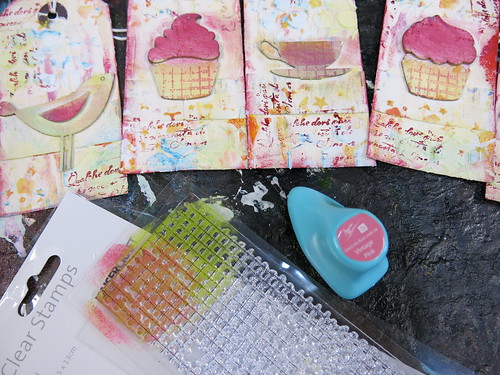
Time for a little stamping on the tags.
I've stamped on the chipboard over the pastels too.
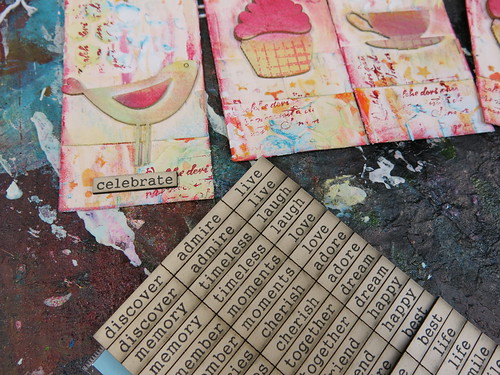
The tags are looking rather colourful and pretty now, so time to add some words.
I love these chipboard words. They really finish these tags off nicely.
I'm really happy with how these are turning out. A couple more things before they are finished.
The edges of the tags need inking and some glitter needs to be add to the chipboard.
There we go. They are finished now.
I love these : )
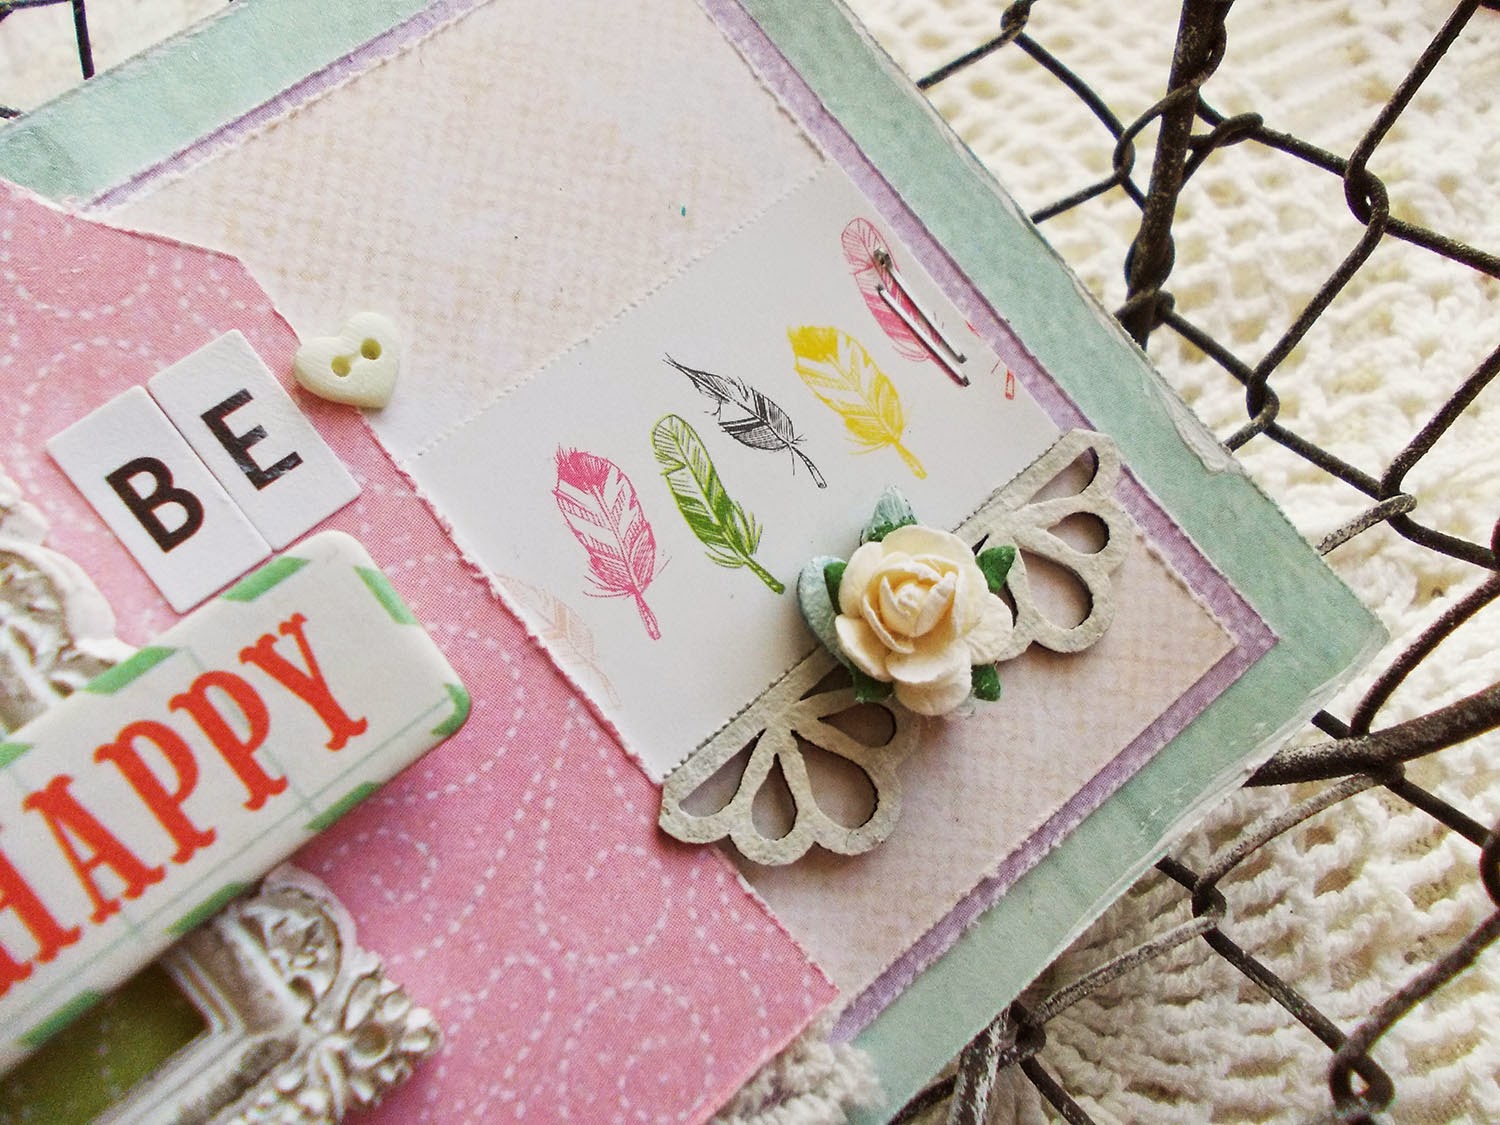
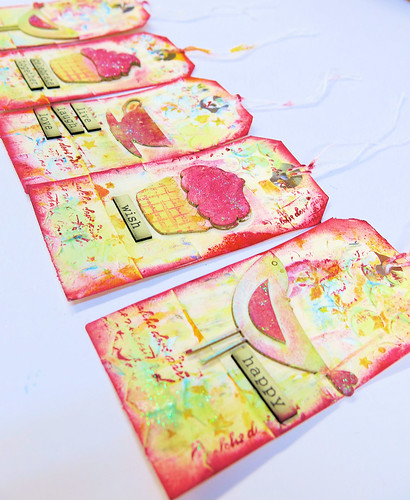
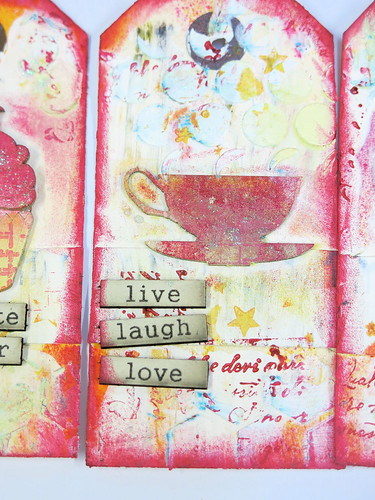
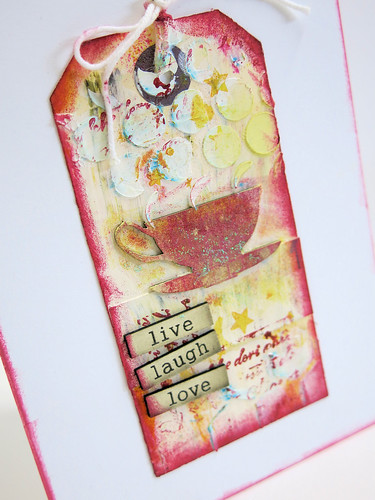
Here are some close ups.
Now you have these sweet tags, what to do with them?
I like to have them as stand bys. You can add them to special gifts. With a pretty ribbon tied around, they look great. I add them to LO's when I'm scrapbooking and I like to turn them in to cards.
I hope you have enjoyed this tutorial and have some messy fun yourself.
Lisa xx











.JPG)
.JPG)


